Vanilla OS is the newest addition to the growing number of Linux Distros. It is based on Ubuntu and runs the GNOME desktop environment. Let’s take a closer look at it and see how to install and dual boot Vanilla OS and Windows on our pc or laptop.
Getting Started
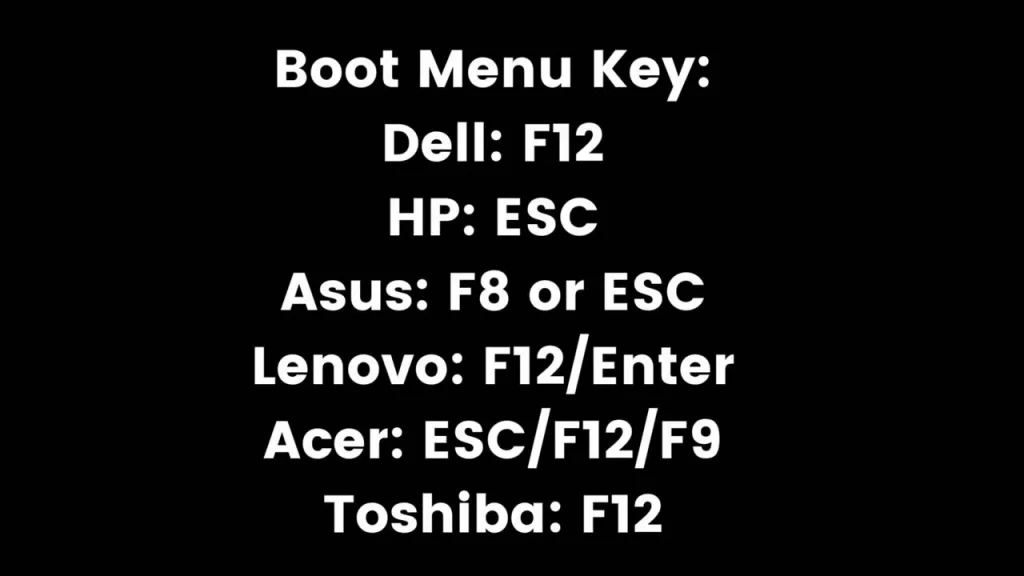
Before beginning, we need to make sure our secure boot is disabled from the BIOS menu of our system. For this, we need to power our system and then press the power button and the BIOS key (see image below) and enter the BIOS menu.

Here, we need to find the “secure boot” option which is usually under boot or security tab, and turn it off. Also if you have an older system, make sure to also disable the boot legacy option as well. Now save the settings and reboot the system.
Creating Partition to Dual Boot Vanilla OS
On the Windows desktop, right-click on the start menu and select “Disk Partition”. Here, we will shrink our C or D drive to make space to dual-boot Vanilla OS. Right-click on the C or D drive and select shrink and choose the desired storage space, usually 20 GB or more. Create the partition by following the instructions and don’t change anything.
Downloads
Firstly, we will download the Vanilla OS ISO image from here. Additionally, we need the Balena Etcher program to create the bootable drive. This will help us to install and then dual boot Vanilla OS with Windows.
Booting into Vanilla OS
Now, open the Balena etcher program and insert your pen drive into your PC as well. Choose the Vanilla OS ISO image that we downloaded, select your USB, and then start the flashing process. After the flashing is done, we need to shut down our pc or laptop. Now press the power key and Boot key (see image below) together and enter the boot menu. Select your USB from the list of devices.
Install and Dual Boot Vanilla OS
Select “Try or install Vanilla OS” which is the first option, this will take you to the home screen of Vanilla OS. Now we see two options, either “try” or “install” Vanilla OS on our system. Here we will select Install Vanilla OS and then start the set-up screen. It’s going to ask about the general setup options like, language, time zone, keyboard layout, etc. After that, you will see the option to choose storage to install Vanilla OS.
Now select your primary storage and select the “configure” option. Furthermore, you will see the option for dual boot installation (currently disabled). If you want to install it as your primary Operating System, then just select single boot installation and proceed to install. This will wipe everything on your storage, so make sure to back up before proceeding. Now, set your username and password and the installation will start. In the end, it will ask for a reboot to apply the changes.
Setting Up
On the first boot, if you are unable to log in because of a password authentication error. Additionally, click on the person icon which is for accessibility, and enable “on-screen keyboard”. Now use it enter the password and log in. After that, you will see a welcome screen that asks for certain settings and options. So first connect to the internet using WiFI or ethernet.
Then follow the process and make sure to install the Appimage and Flatpak repository. It will also give the option to install LibreOffice or other miscellaneous programs. Once done it will install and then ask for a reboot. Even after reboot it will finalize the installation. Make sure to have an internet connection.
Install Applications Using Terminal
You have a software store built in the Vanilla OS. But if you need to install programs using a terminal then we have a “FlatPak” repository. To make it easier visit the Flathub site and then browse for the apps. Open the app and then scroll down to see the installation commands. Copy and paste the commands in the terminal and install the program.