Garuda Linux functions as a rolling release distribution, using Arch Linux as its base for continuous access to the latest software updates. The operating system is dedicated to maintaining a free and open-source nature, with its source code hosted on GitLab. There are a lot of advanced features and the best thing is the looks. Let’s learn how to Install Garuda Linux on a Windows PC/Laptop.
Garuda Linux System Requirements
- 30 GB storage space
- 4 GB RAM
- Video card with OpenGL 3.3 or better
- 64-bit system
Getting Started To Install Garuda Linux
The first step is to download the Garuda Linux ISO from the official website. Additionally, there are ten versions of Garuda Linux. This ranges from the looks-heavy dragonized edition to the lightweight XFCE edition. In this tutorial, we are going to install the Garuda Linux Dragonized edition. After you have downloaded the Garuda Linux ISO, we will move to the next download. This is the Balena Etcher Program which will assist in creating the Garuda Linux Bootable USB.
After both files have been downloaded, install and open the Balena Etcher program. Insert an 8 GB or above pendrive in your PC/Laptop and then open files. Select the Garuda Linux ISO image and then click on Flash. The flashing process will take a long time so do not interrupt in between. Also, if you see any issues with the USB or flashing error, then try to format it using the Windows File Explorer or Diskpart.
Booting Garuda Linux
Before proceeding, make sure to backup your data as Garuda Linux will replace the Windows OS. Additionally, this will format all the data on your system including your partitioned drives. Now, power off your system, and then press the BIOS key and the Power button. This will open your PC/Laptop’s BIOS menu, search for the option “Secure Boot” and disable it. Now, save the settings and while it’s booting press the Boot Menu key to open the Boot devices attached. You can skip the BIOS step if the Secure Boot is disabled.
Select your USB from the boot devices list and you will enter the Garuda Linux Grub Installer. Select the Install Garuda Linux with Open Source Drivers unless you have Nvidia, in that case, select the Proprietory drivers. After that, we will boot into the Garuda Linux home screen with all the Garuda system settings. But ignore that and click on the Install Garuda Linux icon on the desktop.
- UPI on HMD, Nokia Feature Phones Will Stop Working After August 1
- How to Play Brown Dust 2 on Linux Using Heroic Games Launcher
- Google’s Leaked “Aluminium OS” Could Be the Biggest Android Shift in Years
- How to Install & Play Neverness to Everness on Linux Using Steam and Proton
- Before You Reinstall Windows, Try These 10 Built-In Fixes
Install Garuda Linux
The installer window will open up and now we have to connect to the internet using Wi-Fi or Ethernet. Hereafter, select the language, region, keyboard layout, etc and then we will arrive at the installation screen. Here select the third option “Erase Disk” to install Garuda Linux as the primary operating system. Consequently, create a username and password and then click continue to start the installation process. The process will take some time so leave it untouched and after it’s finished you will see a prompt to Restart.
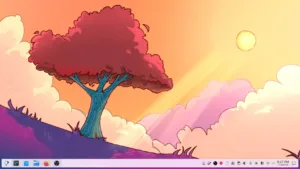
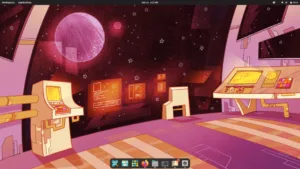
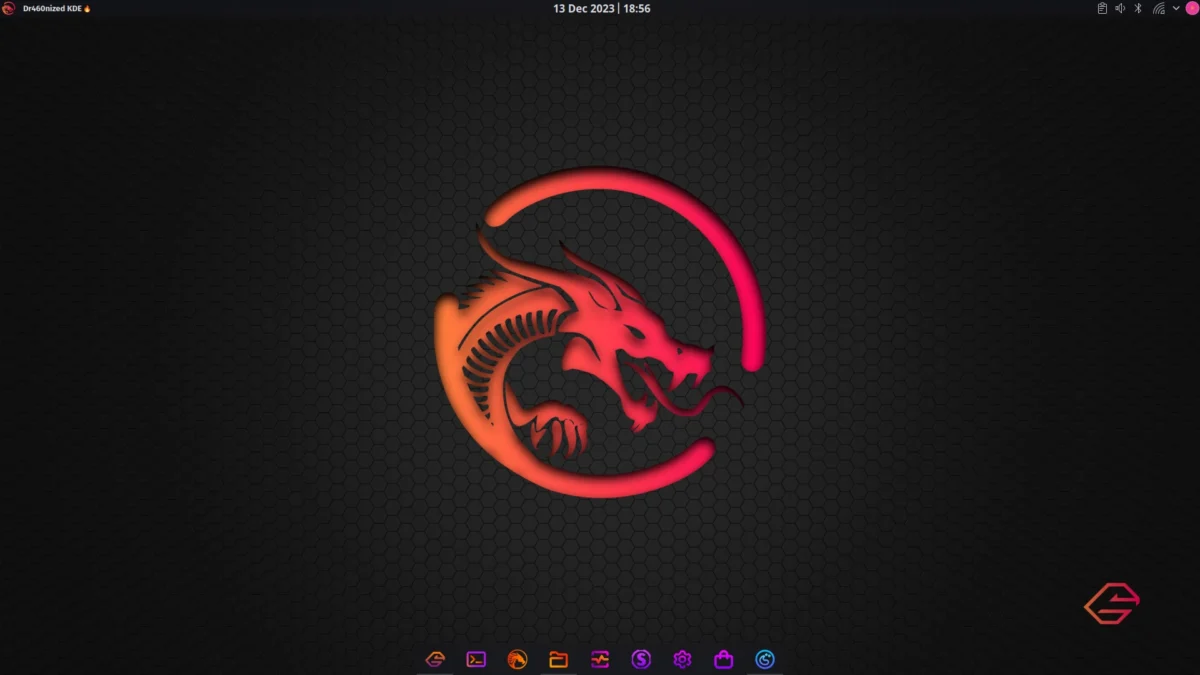
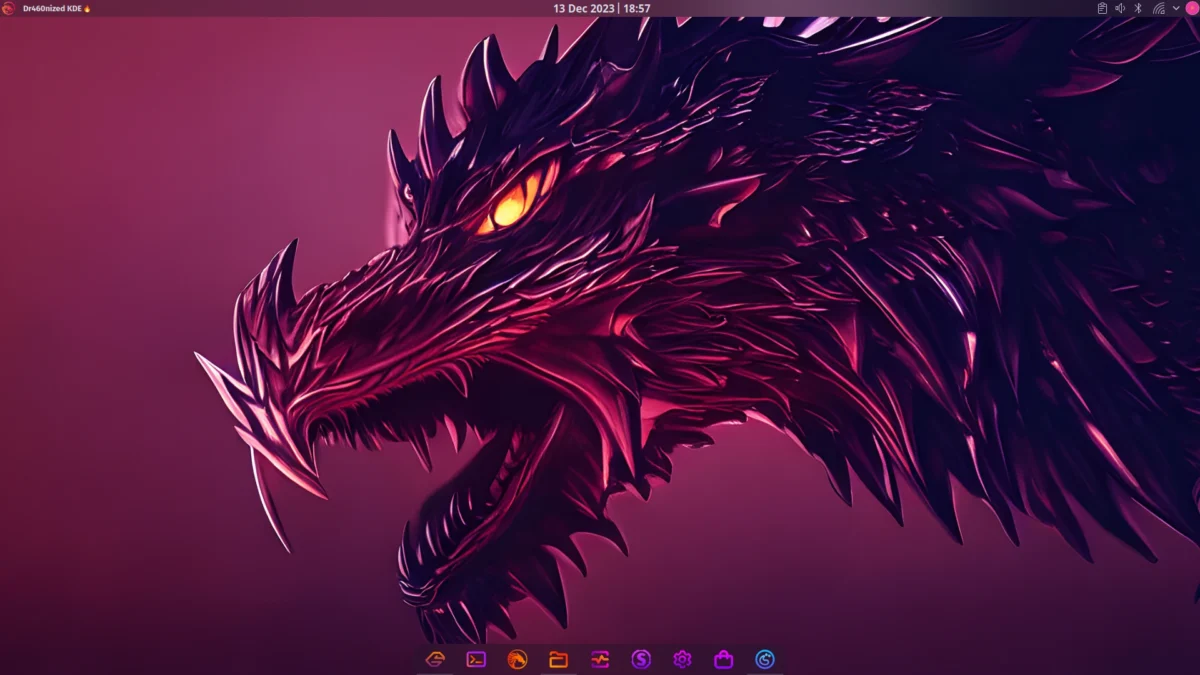
Welcome To Garuda Linux Dragonized Edition
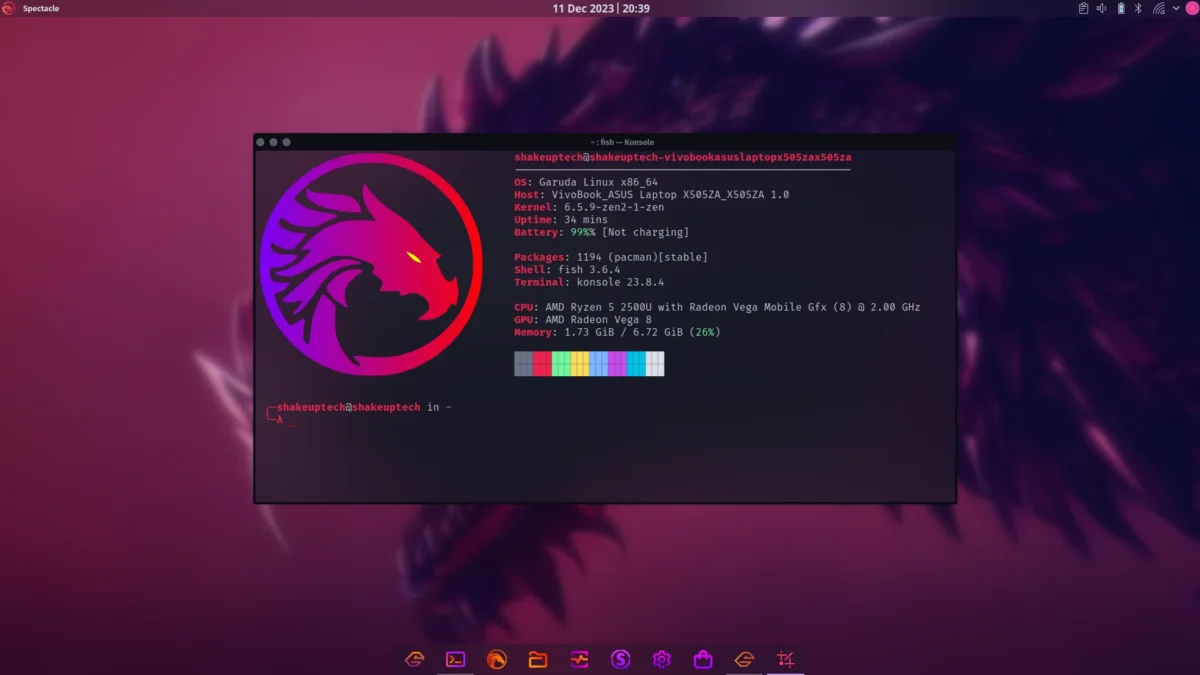
On the first boot, you will be amazed by the interface and the icons. The whole look is filled with neon colours, whether it be the settings and program icons, accent colours, window style, and more. For some, this can be overwhelming but I enjoyed the look and feel. Especially the blur in the user interface like when you open a program or another program overlaps. Additionally, we can widgets, change themes, window styles and colours and even download more online.
Garuda Assistant is Awesome
I faced an issue when connecting to Wi-Fi as it was being obstructed by the KDE Wallet. Even after putting in the password it still asked for it on the next boot. So to fix this issue, open the KDE wallet program and create a password or you can do that when the app interferes. Now coming to usability, we have a lot of useful apps and programs already installed. For example, programs to view images, videos, documents or listen to songs. We also have the full LibreOffice package with all the MS Office alternatives.
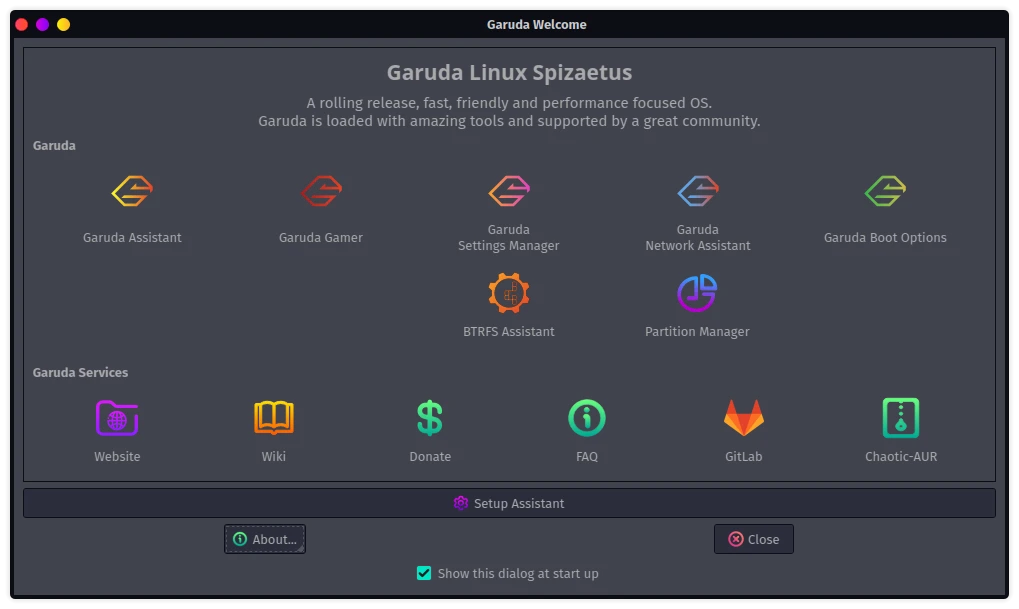
Moreover, to install additional programs and apps, we can use the Octopi program. Alternatively, using the Garuda Assistant we can install app stores like Plasma Discover. Not only that we have the option to install programs across categories like media, development, graphics, games and more. This eliminates the need to install programs by ourselves later from the terminal or any other app store. Overall the experience was smooth with little to no lags, and the looks are just amazing.