Nobara OS is currently regarded as one of the best Linux distributions for gaming. It features some really impressive attributes that gamers and emulator users will appreciate. In this guide, we’ll explore those features and learn how to install them, including setting up a dual boot system.
System Requirements
| System Requirement | Minimum Specifications | Recommended Specifications |
|---|---|---|
| Processor | Modern multi-core processor | Modern multi-core processor |
| RAM | 4GB | 8GB or more |
| Storage | 20GB available disk space | 20GB available disk space |
| Graphics | Integrated or dedicated GPU | Dedicated GPU recommended |
| Display | Resolution of 1024×768 pixels | Resolution of 1920×1080 pixels or higher |
Interface & Customization
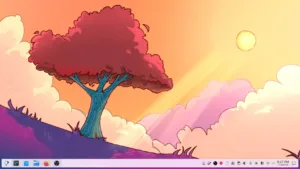
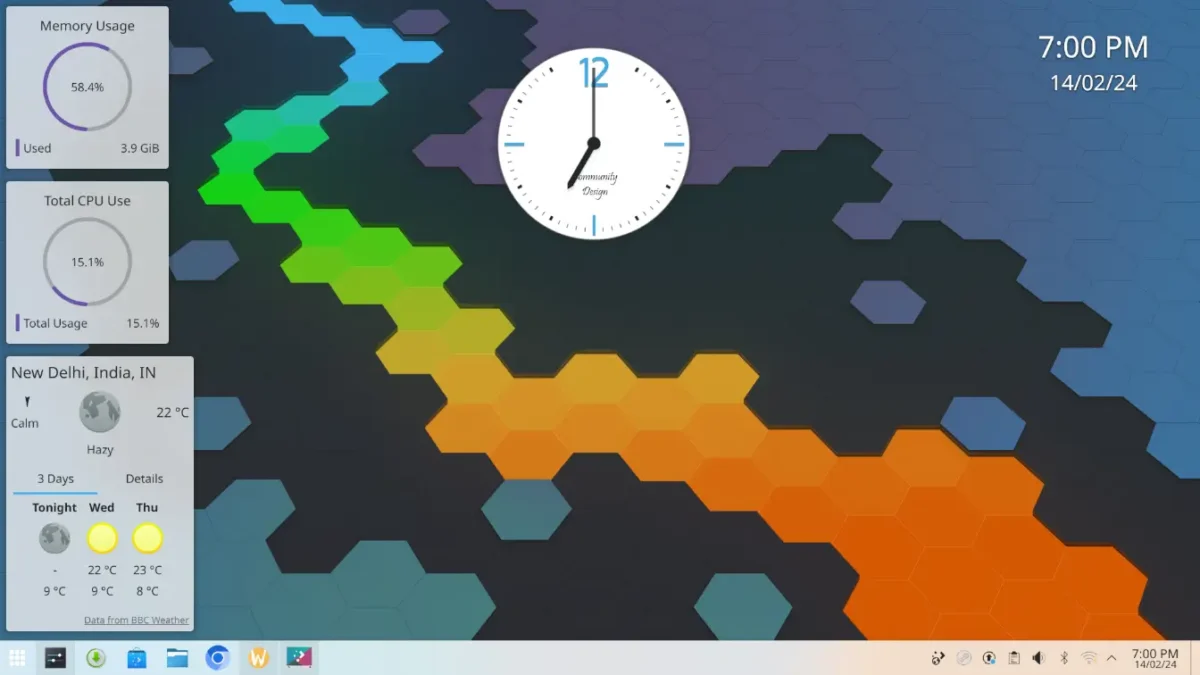
Nobara OS features a Windows-like app launcher and taskbar. The app launcher houses the apps, shortcuts and power menu. On the left side of the taskbar, we have the quick toggles ad notifications. Since Nobara OS is based on the KDE Plasma Desktop Environment, the interface is more or less the same.
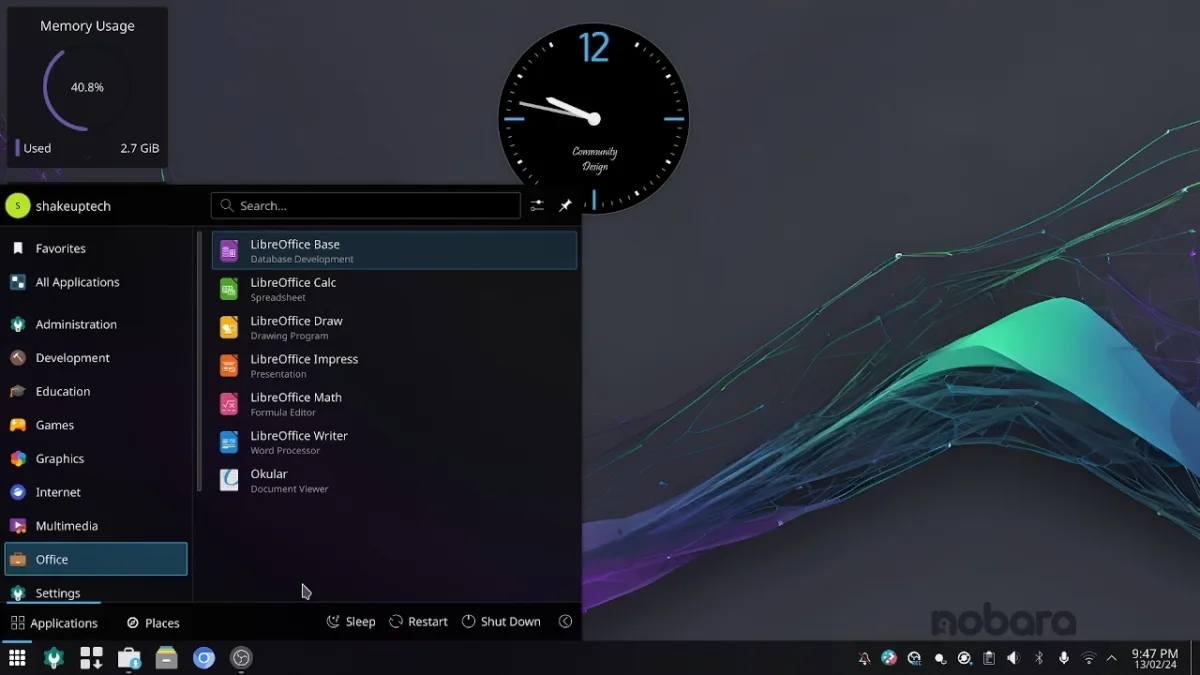
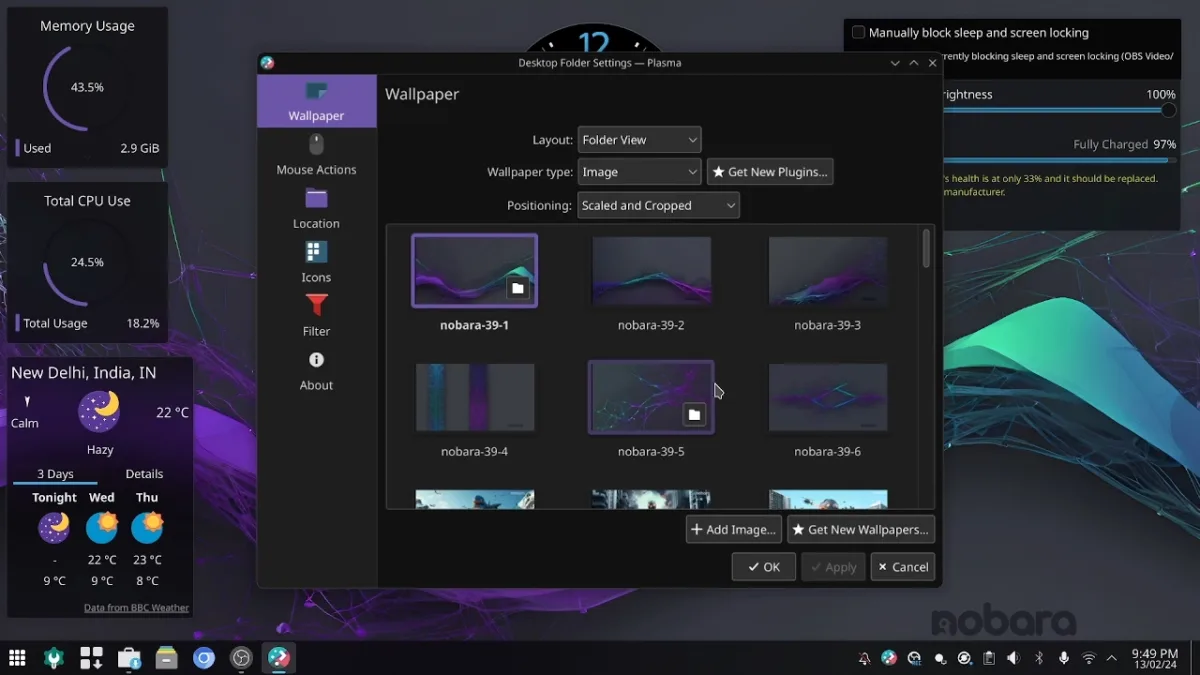
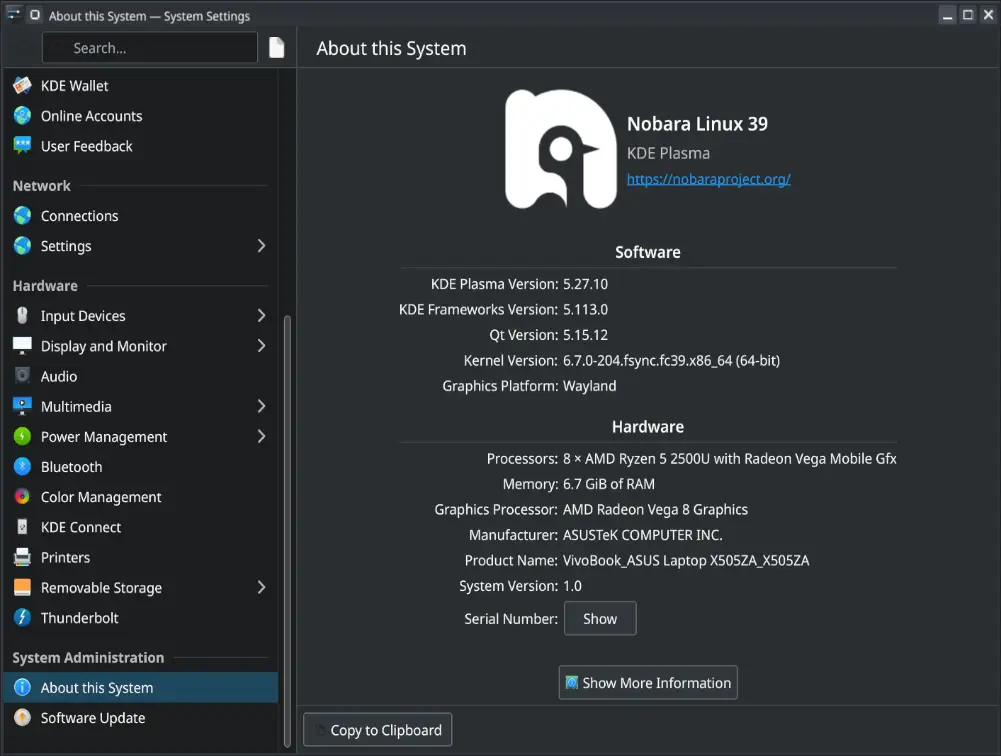
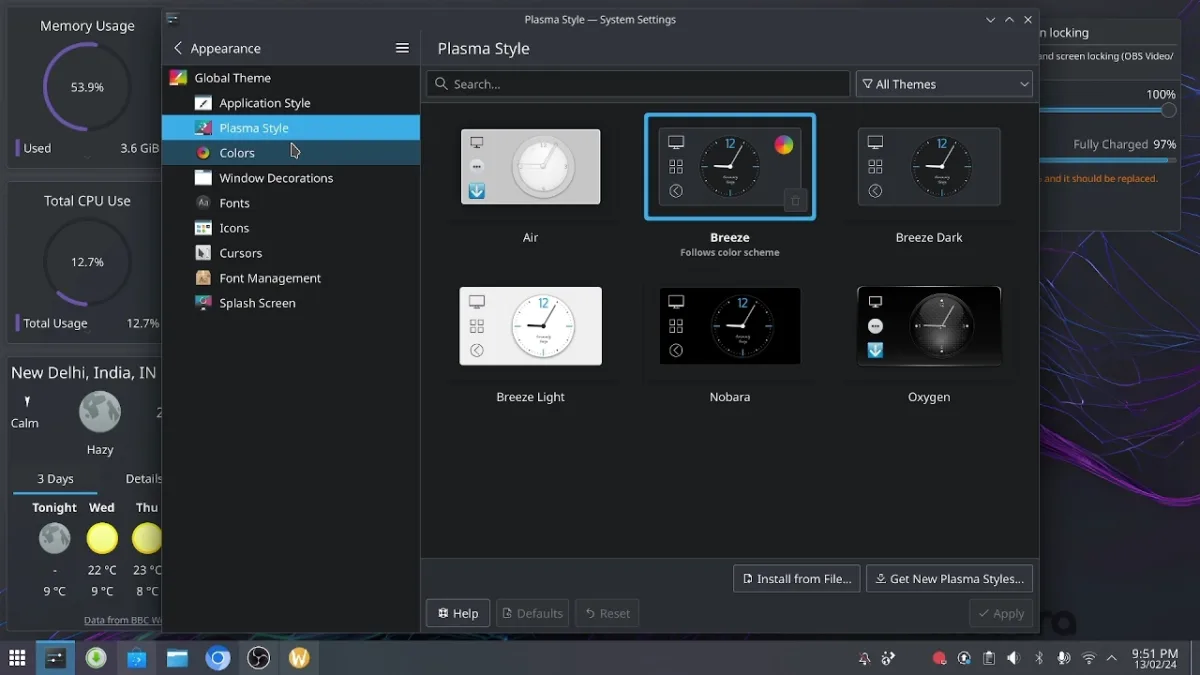
Nobara OS 39 boasts a user-friendly interface based on the KDE Plasma Desktop Environment. It offers extensive customization options, including a diverse collection of wallpapers and widgets. From the default gradient spectrum wallpapers to quirky penguin-themed ones, there’s something for everyone’s taste. Moreover, users can personalize their experience further by exploring various themes and fonts available in the KDE Store.
Exploring Applications
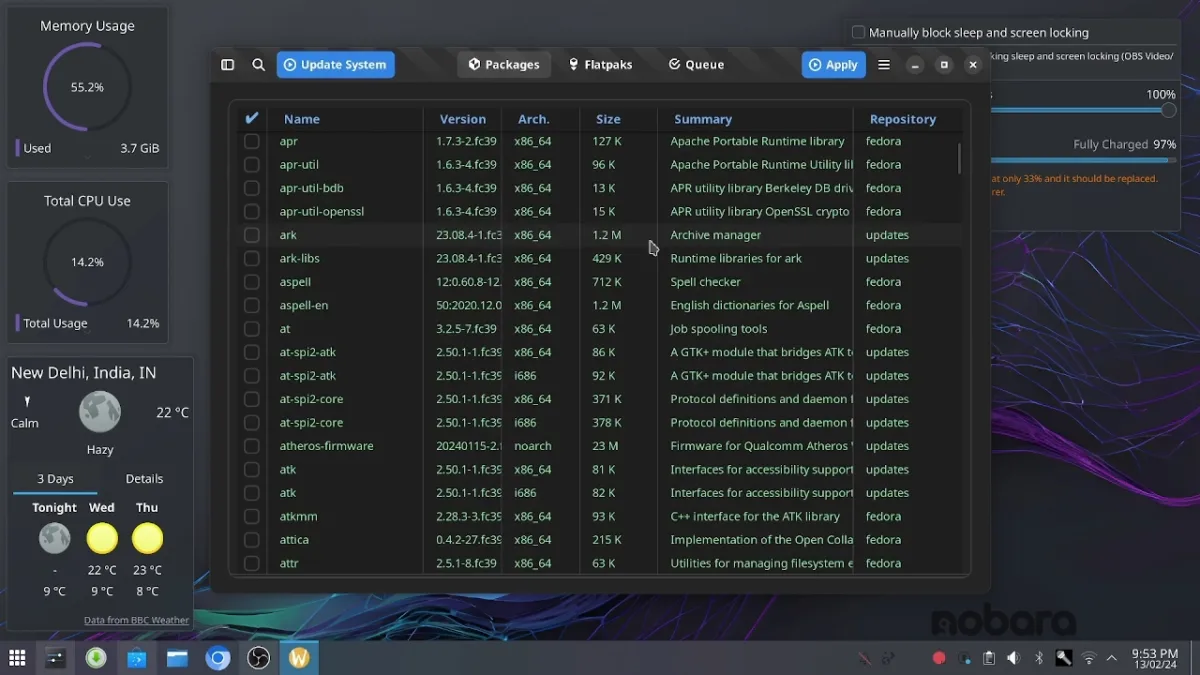
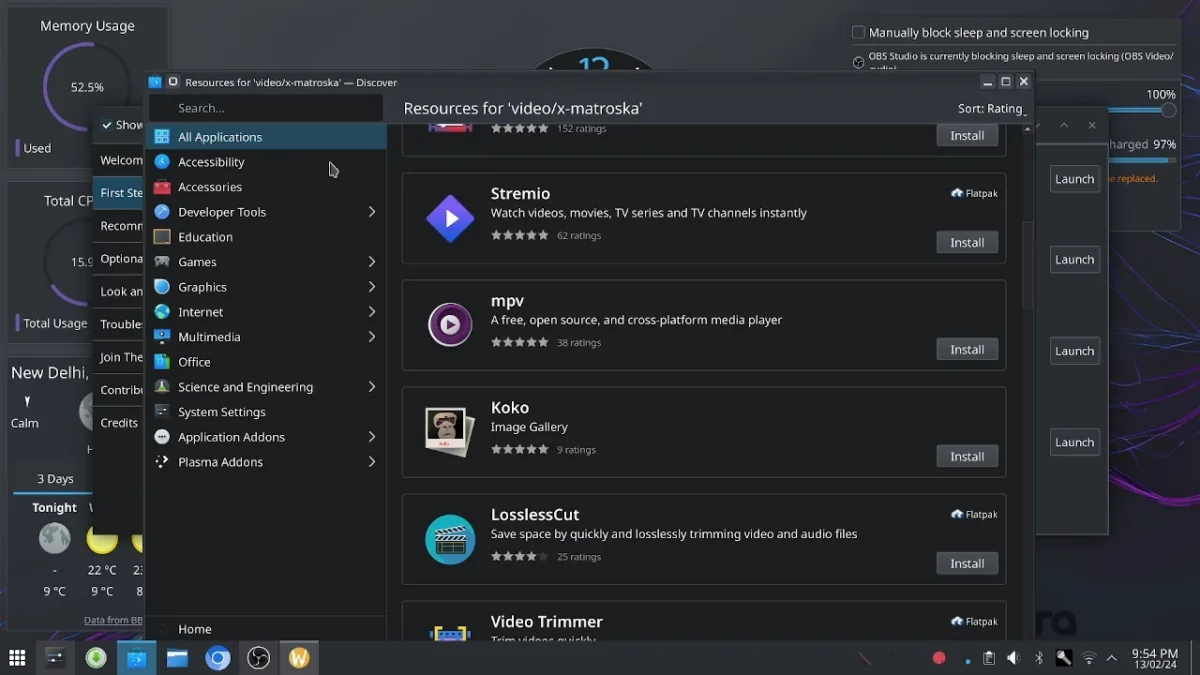
Nobara OS comes equipped with the Nobara Package Manager, which makes it easier to install and update necessary applications. In addition to the default package manager,, we also get the Flatpak repository preloaded which also facilitates the installations. Additionally, there’s the Plasma Discover Store which makes it easier to discover and install various Linux apps.
Gaming Experience on Nobara OS
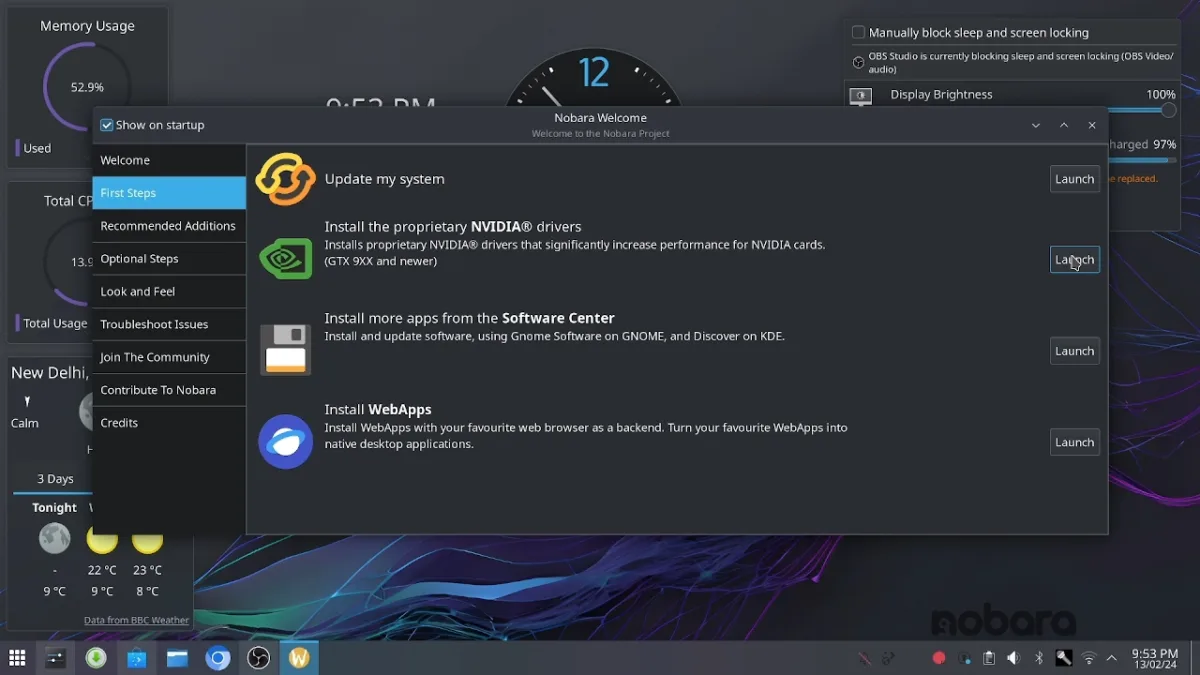
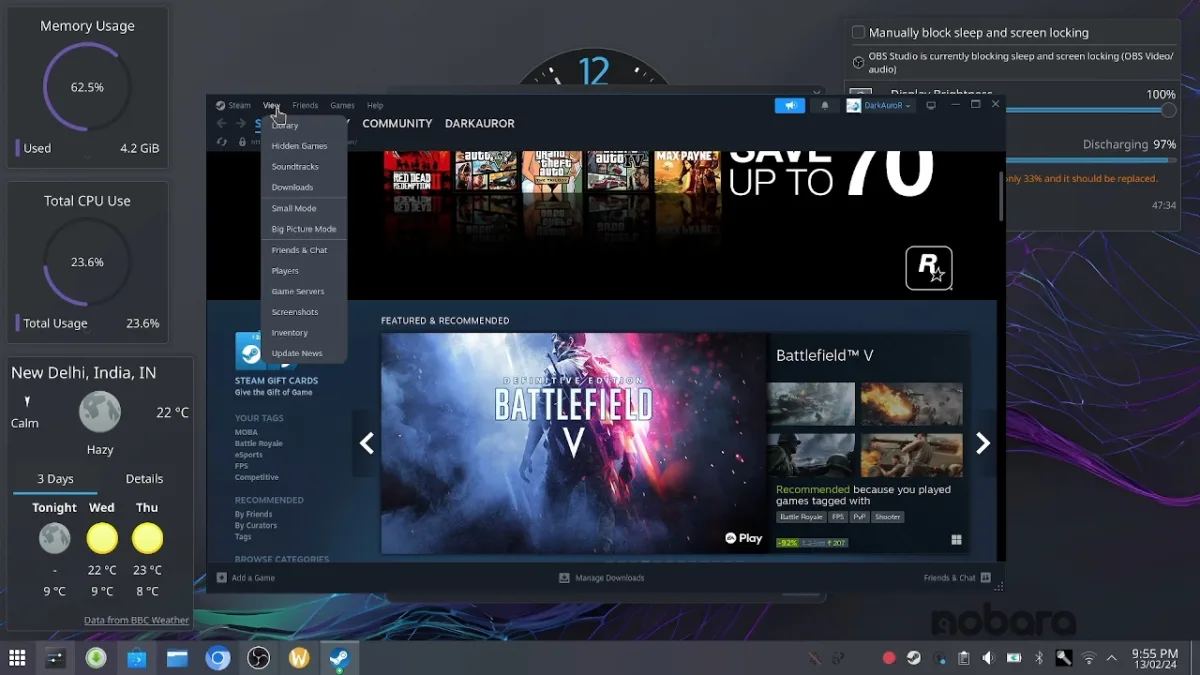
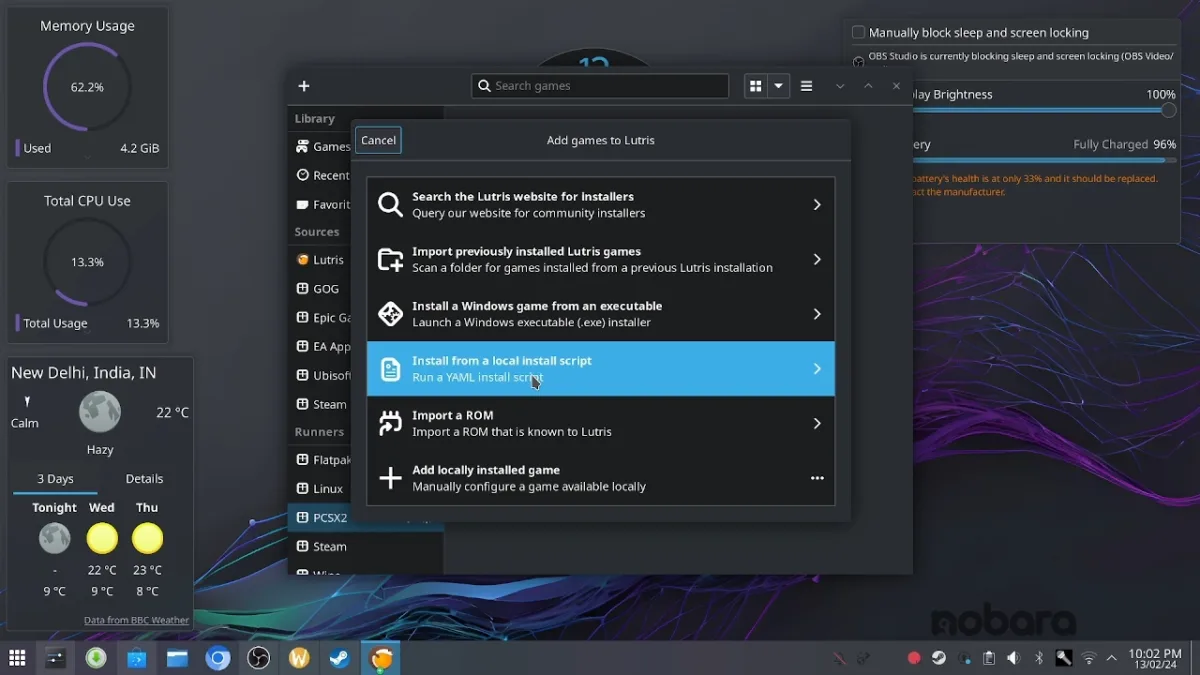
One of Nobara OS’s exceptional features is its gaming capabilities. With built-in support for FPS meter, Steam, and Proton, gaming enthusiasts can enjoy a seamless experience. Additionally, for Nvidia GPU, we can easily update the drivers for the best compatibility. I tried some games and the experience was slightly better than other popular Linux Distros. Moreover, we can use the Lutris app to run emulators and side ROM files to play console games.
Nobara OS installation and Preparing for Dual Boot
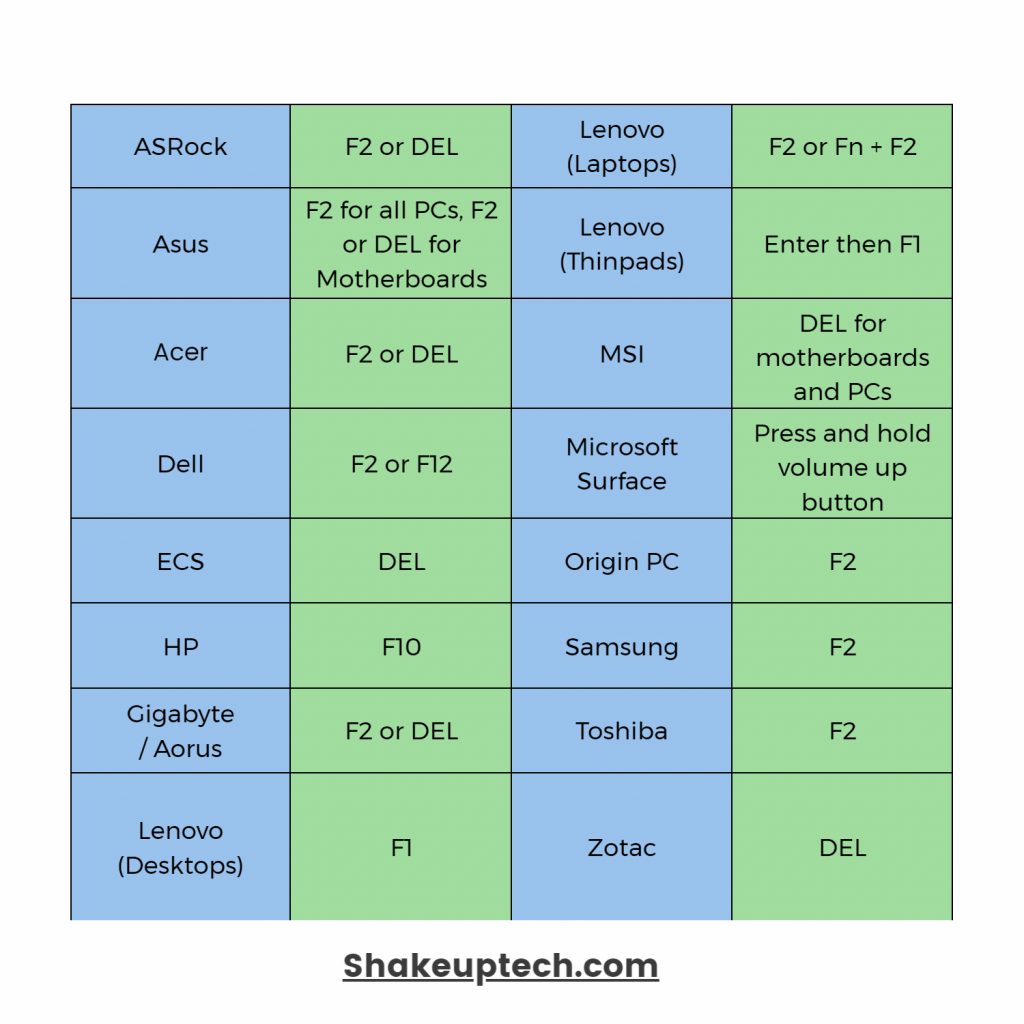
- Power on your system and press the power button along with the BIOS key (refer to manufacturer’s instructions).
- Enter the BIOS menu. Locate the “Secure Boot” option, usually found under the boot or security tab, and disable it.
- If you have an older system, also disable the boot legacy option. Save the settings and reboot the system.
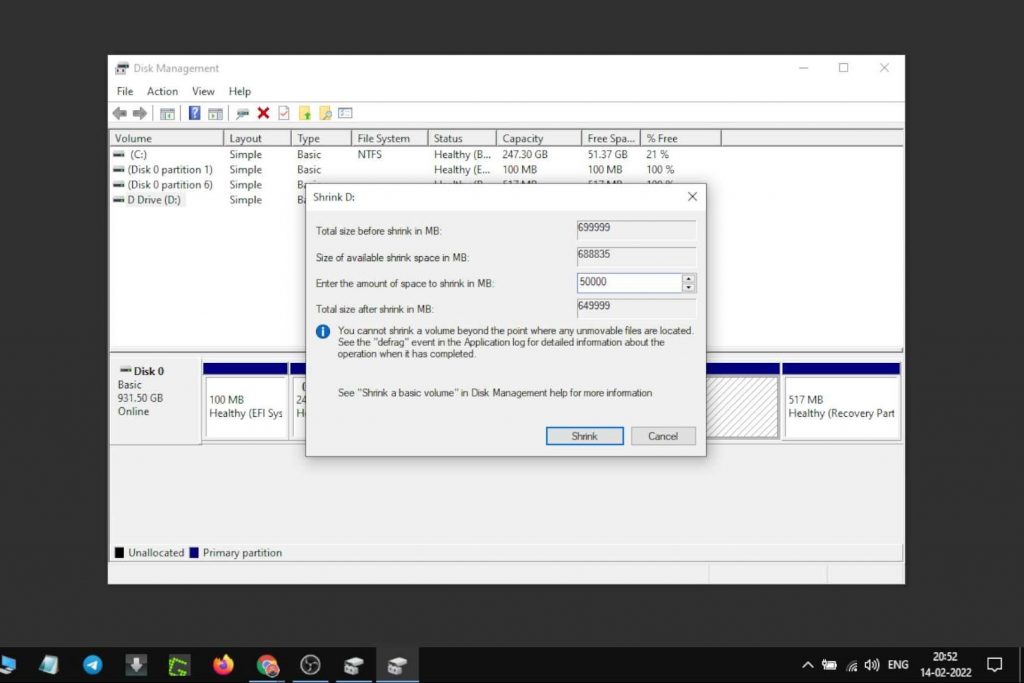
- On the Windows desktop, right-click the start menu and select “Disk Partition”.
- Identify the C or D drive and right-click on it. Select “Shrink” to allocate space for the dual-boot setup.
- Choose the desired storage space, typically 20 GB or more, for the Nobara OS partition.
- Follow the on-screen instructions to create the partition, ensuring not change any other settings.
Download Nobara OS
- Visit the official Nobara OS website. Download the Nobara OS ISO image file from the website. Ensure to select the Official version from the available options.
- Additionally, download the Balena Etcher application from their official website. This application will be used to create the bootable USB drive later on.
Creating a Bootable USB drive for Nobara OS:
- In the Balena Etcher window, select your USB drive from the drop-down list.
- Choose the Nobara OS ISO image that you downloaded earlier.
- Find out the appropriate partition scheme for your system. Right-click on “Disk 0” and select properties to identify the partition type.
- Under the “Volume” tab, locate the partition type (e.g., GUID Partition Table or GPT) for your system.
- Once the settings are configured, initiate the process of creating the bootable USB drive.
- Be aware that all data on the USB drive will be formatted during this process. The creation process may take some time to complete.
Dual-Boot Installation
- After the flashing process is completed, shut down your PC or laptop.
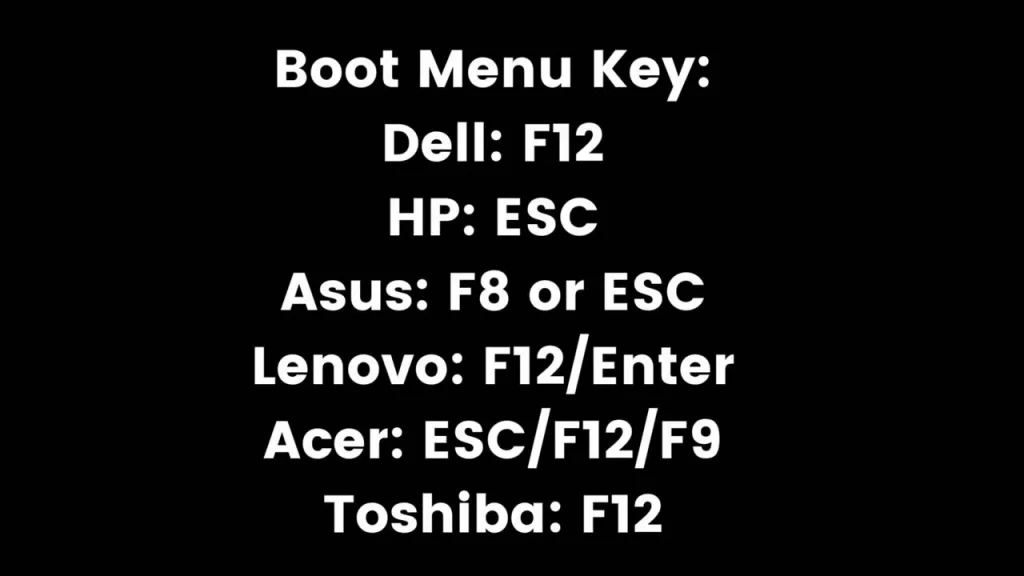
- Press the power button along with the Boot keys (refer to manufacturer’s instructions) simultaneously to enter the boot menu.
- From the list of devices displayed, select your USB drive as the boot device.
Installing Nobara OS
- Click on the “Start Nobara” option. You will see the installer window.
- Select your language, region, keyboard layout, etc.
- In the main installation menu:
- Select “Erase Disk” to install Nobara OS as the main operating system on your computer. Note that this will erase Windows and all your data.
- Alternatively, select “Replace a Partition” and choose the partition specifically made for Nobara OS to dual-boot it with Windows.
- Proceed with the installation set a username and password at the end and start the installation process. After the installation is complete, it will ask for a reboot.
- If you do not see the grub menu to choose between Windows and Nobara OS, you can manually use the boot menu key to boot into Nobara OS.
Conclusion
In conclusion, Nobara OS 39 offers an effective combination of performance, customization, and gaming capabilities. The options for Nvidia Drivers, and preloaded gaming programs and emulators make it a very compelling choice. By following this guide, you can install Nobara OS and unlock its full potential for gaming and productivity. If you have any questions, feel free to ask in the comments.

