Do you want to experience the freedom and flexibility of Android on your computer? Look no further than Bliss OS 16! Based on Android 13, Bliss OS offers one of the best pure Android OS experiences for your PC. In this comprehensive guide, we’ll walk you through the process of downloading and installing Bliss OS 16 on your computer step by step.
What is Bliss OS & Why Choose it?
Bliss OS is an open-source operating system based on Android, designed to bring the Android experience to desktop and laptop computers. With Bliss OS, you can enjoy all the benefits of Android, including access to the Google Play Store and a wide range of apps, on your PC.
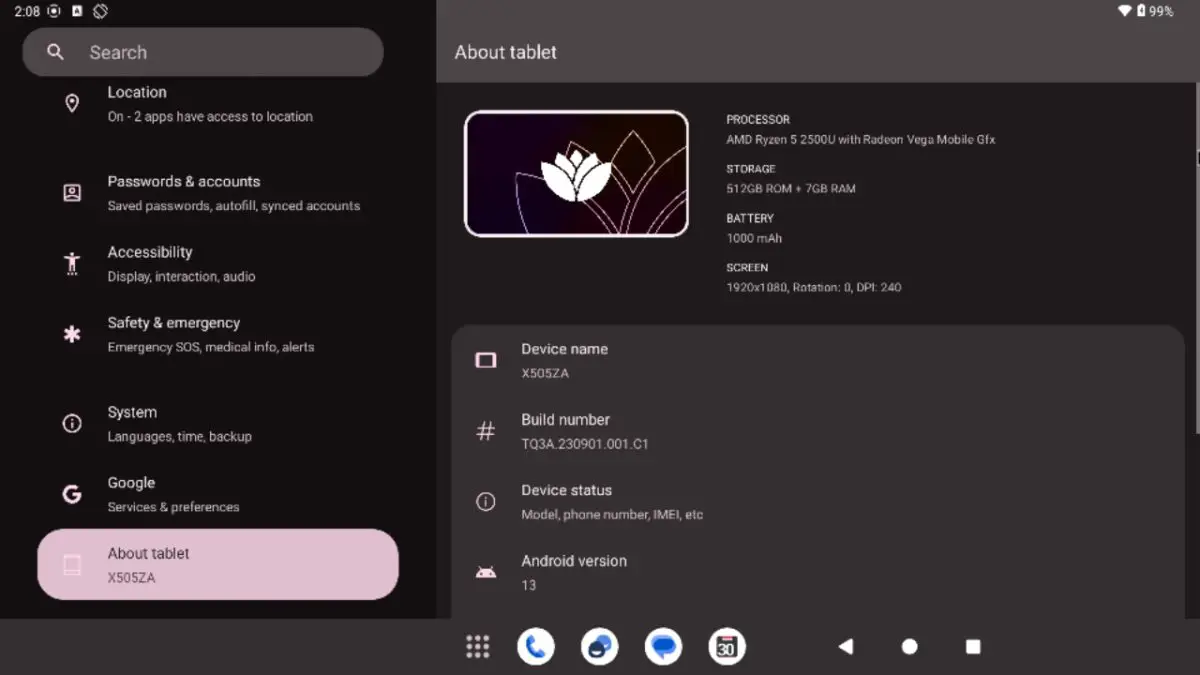
Bliss OS 16 is the latest version of the operating system, built on Android 13. It offers improved performance, stability, and compatibility compared to previous versions. The improved support for bigger screens is the main advantage here. Unlike the previous Bliss OS version, you won’t feel like you are using a smartphone version of Android.
Key Features of Bliss OS 16
Bliss OS 16 comes packed with a host of features designed to enhance the user experience. One of its standout features is its full support for Android apps, thanks to access to the Google Play Store. This means users can enjoy their favourite apps and games right on their PC, whether they’re productivity tools, social media apps, or mobile games.

Downloading Bliss OS 16
- Visit the official Bliss OS website and click on the “Download” option.
- Choose the Bliss OS 16 version that suits your needs (GApps or non-GApps).
- Select the ISO file for Bliss OS 16 and download it to your computer.
Installing Bliss OS 16
- Download and install the balenaEtcher application on your computer.
- Open balenaEtcher and select the Bliss OS 16 ISO file you downloaded earlier.
- Insert a USB flash drive into your computer and select it as the target drive in balenaEtcher.
- Click on “Flash” to start the flashing process. This will create a bootable USB drive with Bliss OS 16.
Now the following instructions are for installation as the primary OS, if you want to dual-boot with Windows, then check here.
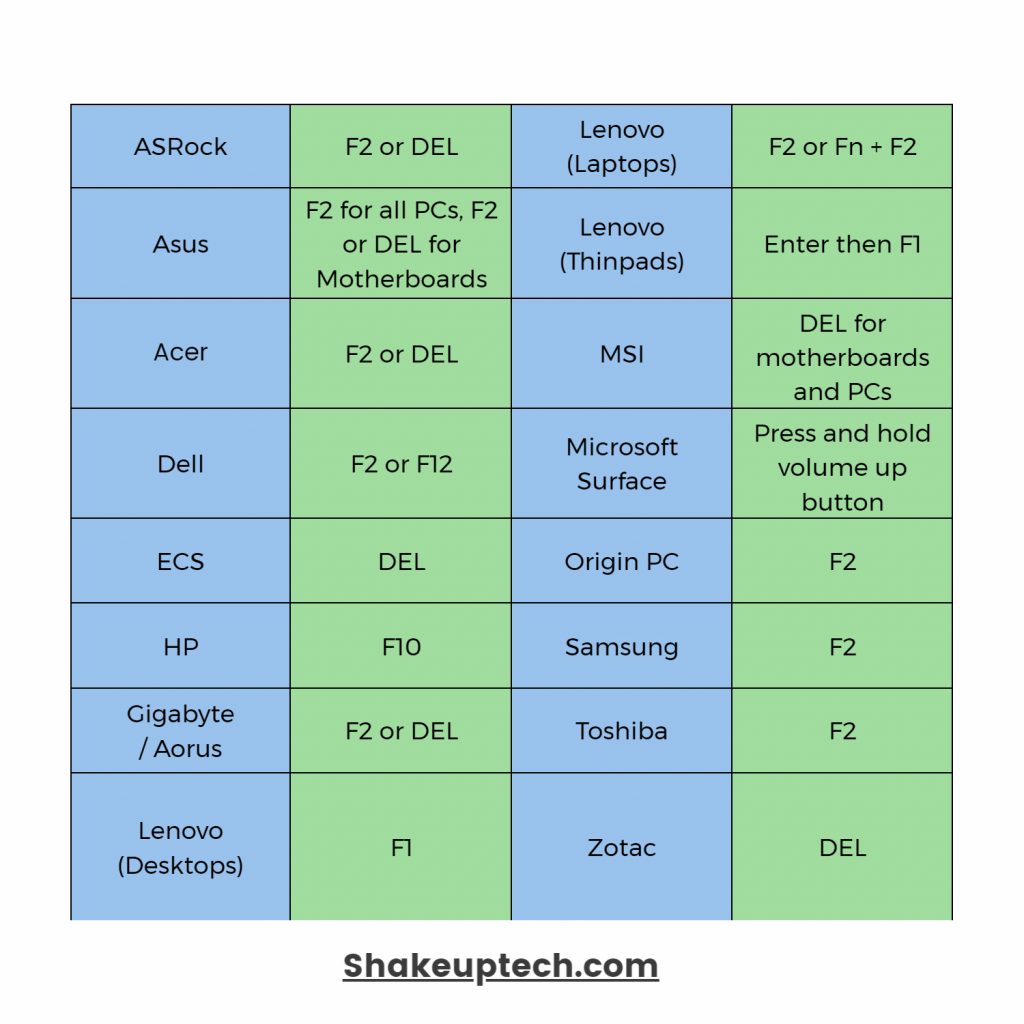
- Once the flashing process is complete, power off your computer. Now press the power key and BIOS key together to enter the BIOS settings.
- Here, try to find and disable secure boot and set the boot option to UEFI.
Similarly, power off and use the boot key to enter the boot menu.
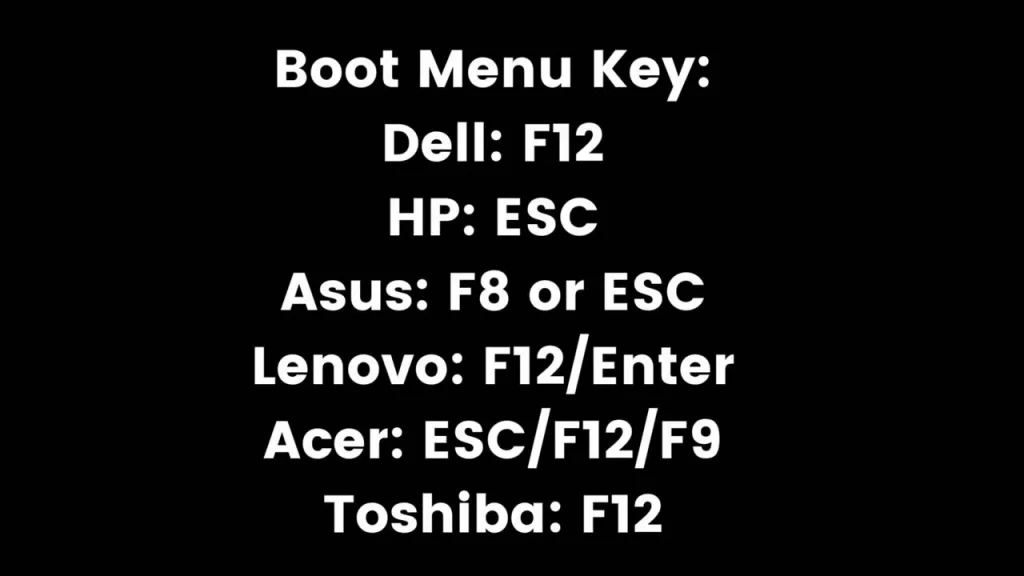
- Use the boot menu key to select the USB drive as the boot device. Select the Bliss OS installation menu from the boot menu.
- Choose the EFI partition as the Bootloader installation target. It is usually 100 MB or 500 MB. Do not format and continue.
- Then choose the main partition as the installation target for the Bliss OS 16. Format the partition as ext4 and proceed with the installation.
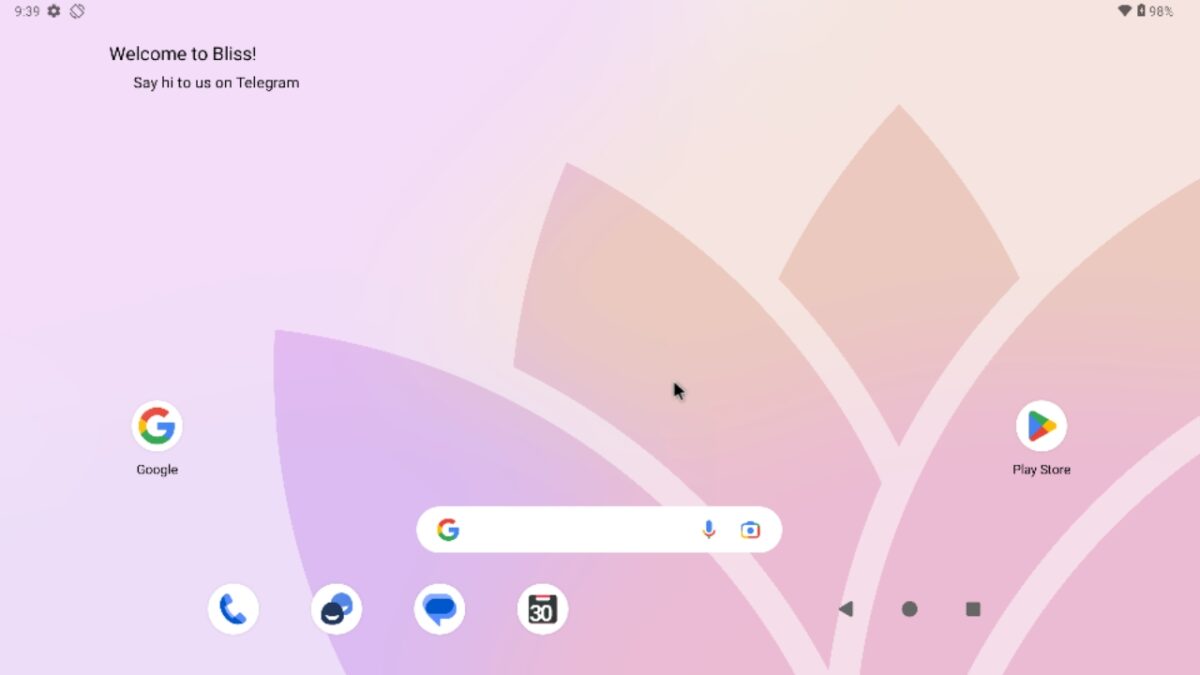
- Once the installation is complete, reboot your computer and choose the Bliss OS launcher from the home screen.
Detailed Video Guide
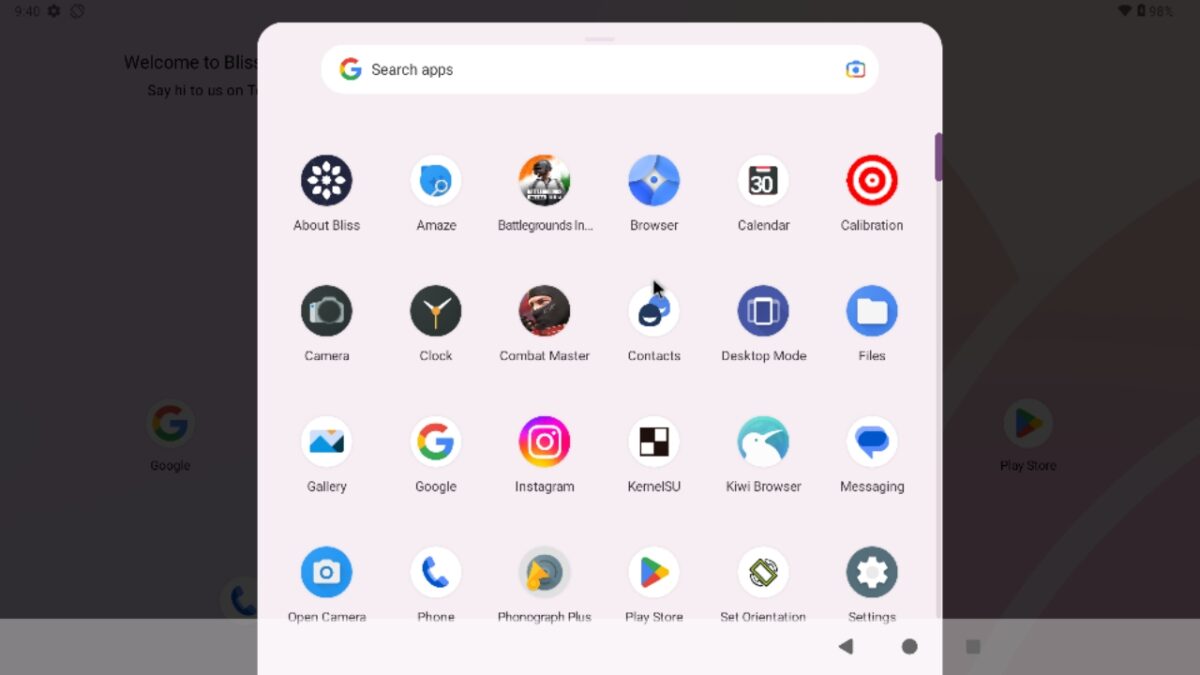
Upon booting into Bliss OS 16, users are greeted with a familiar Android interface. Blissify option hosts a plethora of customisation options for the lock screen, home screen, icons, display, gestures, and much more. Also, Bliss OS offers Material You theming options, allowing users to personalize their experience to suit their preferences.
Personal Experience & Review
Now that was the brand new Bliss OS 16 update with Android 13. I found the experience much better than in the previous updates. Surprisingly, Inside did not face any crashes that I had on previous Android versions. One thing is that they need to work on the gaming experience. The key mapping service doesn’t work and thus limits its capabilities. Overall, as I said, if you want a pure Android 13 experience, then try the new Bliss OS 16.
Quick Look at Bliss OS Alternatives
- PrimeOS: Designed specifically for gaming, PrimeOS provides a gaming-centric experience with support for keyboard and mouse controls.
- Android-x86: If you’re looking for a more vanilla Android experience, Android-x86 is a lightweight and customizable option.