Android is one of the most popular operating systems out there. We use it on our smartphones all the time and the freedom of installing apps and modding is what makes it so fun. Now we can use Android on our laptop as well, using the Android x86 Project. So let us see how to Install and Dual Boot Android x86 and Windows 10/11 on our Laptop.
What is Android x86 Project?
The Android x86 Project is one of the most popular Android OS ported for the Windows system. They started out hosting patches for Android but later realized how much more they can achieve with their codes. Android x86 has ported many Android versions for laptops and PC, like Android Nougat, Oreo, and Pie. I tried all three versions of Android x86. And In my personal usage, I found the Android Oreo to be the most stable out of the bunch.
The testing was done on my HP laptop with an intel i5 6th gen processor and on a Ryzen 5 2500U chipset Asus laptop. But still, the performance might vary for different devices. It was quite easy to Dual Boot Android x86 with my Windows 10 laptop. The GRUB menu was easily created and I could easily choose to boot between Windows or Android x86. I will explain more about its features and stability in the experience part of the post.
1. Install and Dual Boot Android x86 and Windows 10/11
1.2. Requirements
- 32-bit or 64-bit System
- 8GB or Above USB
- Intel or AMD Chipset
- UEFI or MBR Boot System
1.3. Downloading and Creating Image
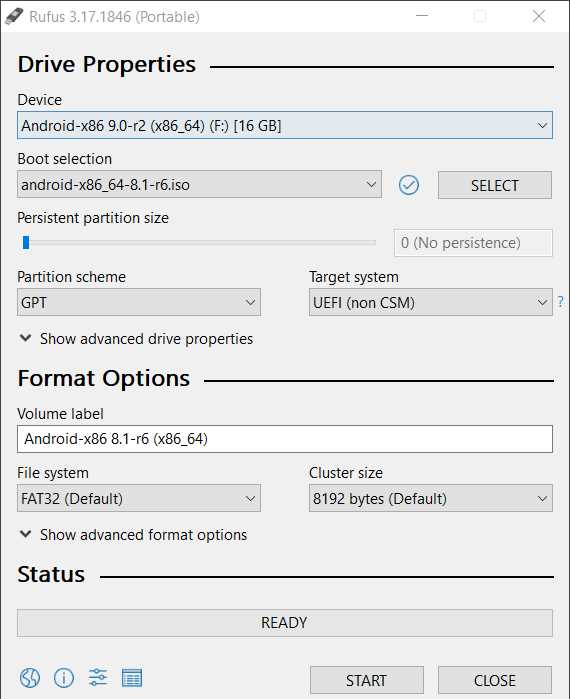
If you have a 64-bit system then download from this link and for 32-bit systems use this link. The download speeds from the servers are quite fast. After the download is complete we need to create a bootable USB drive. We will be using a program called Rufus to do this task. You can get the Rufus program from this link.
Now install and open the program, we need to first locate our downloaded ISO image. We need at least an 8GB or above USB drive for this process. Select your USB drive from the drop-down. Then under the partition scheme select GPT and now we are good to go for the bootable process.
We can also use this on MBR devices as there is no mention of it is not supported. To check our partition scheme, we need to open the Windows search bar and type “Create Partition”.Open the “Create Partition and Format Hard Disk Partition” program.
Here right-click on disk 0, and select properties. Under the volume tab, we can see our partition scheme. Now that we know our partition we can proceed with the Rufus program. Hit the start option and it will format the USB and create an Android x86 bootable drive.
1.4 Creating Partitions
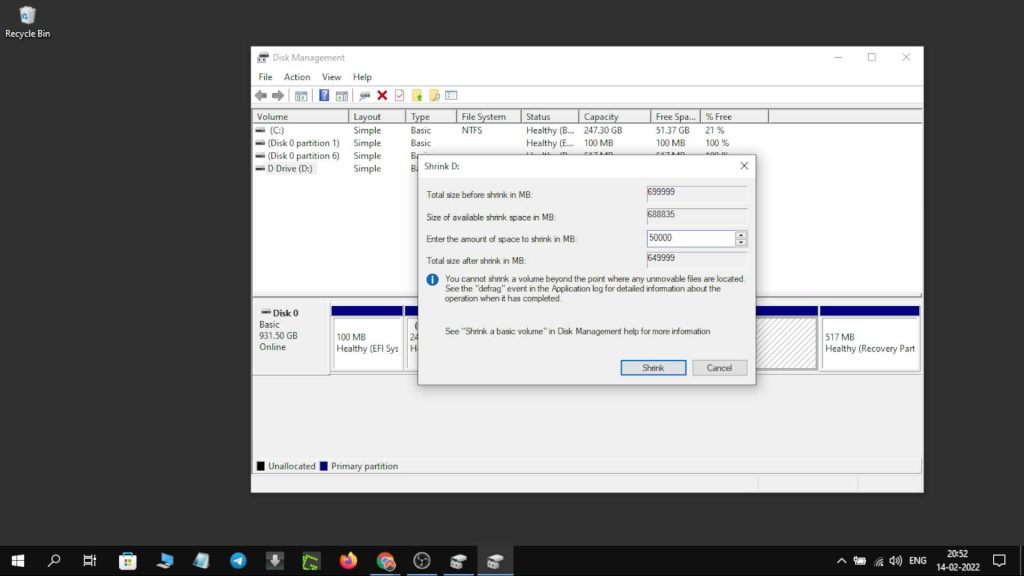
On our hard drive or internal storage, we need to create a partition to install Android x86 OS. We can make a partition size of upward 15GB. Search for “Create Partition” again and in the Windows search bar and open the Create Partition and Format Hard Disk program.
In the program right click on the D Drive and then select the Shrink option. You can choose the partition size of 15GB and up, so type 15000MB for 15GB. Now hit next and your new partition will be created. We can then right-click on the new Unallocated space and create a New Volume. Just follow the on-screen steps and then finish.
1.5 BIOS and Android x86 Installation
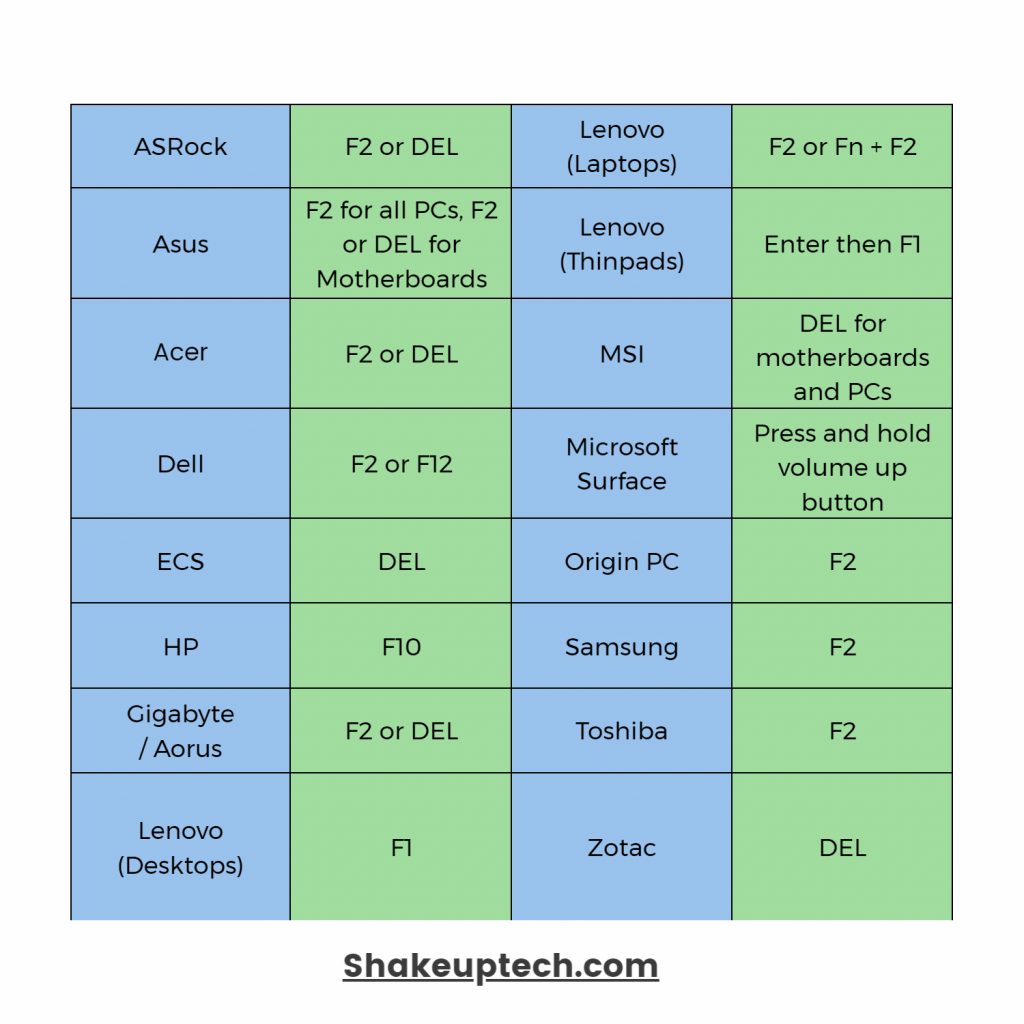
Now to continue the Dual Boot Android x86 process, we need to boot into our laptop’s BIOS menu. We can do that by pressing the BIOS key while the device is booting. Check out the image below to find your model’s BIOS key.
Now after booting into the BIOS, we need to select Boot Device Options and then select our USB drive. This will open up the interface where can choose whether to check the Android OS before installing with the LIVE demo mode. Or just go with the installation process.
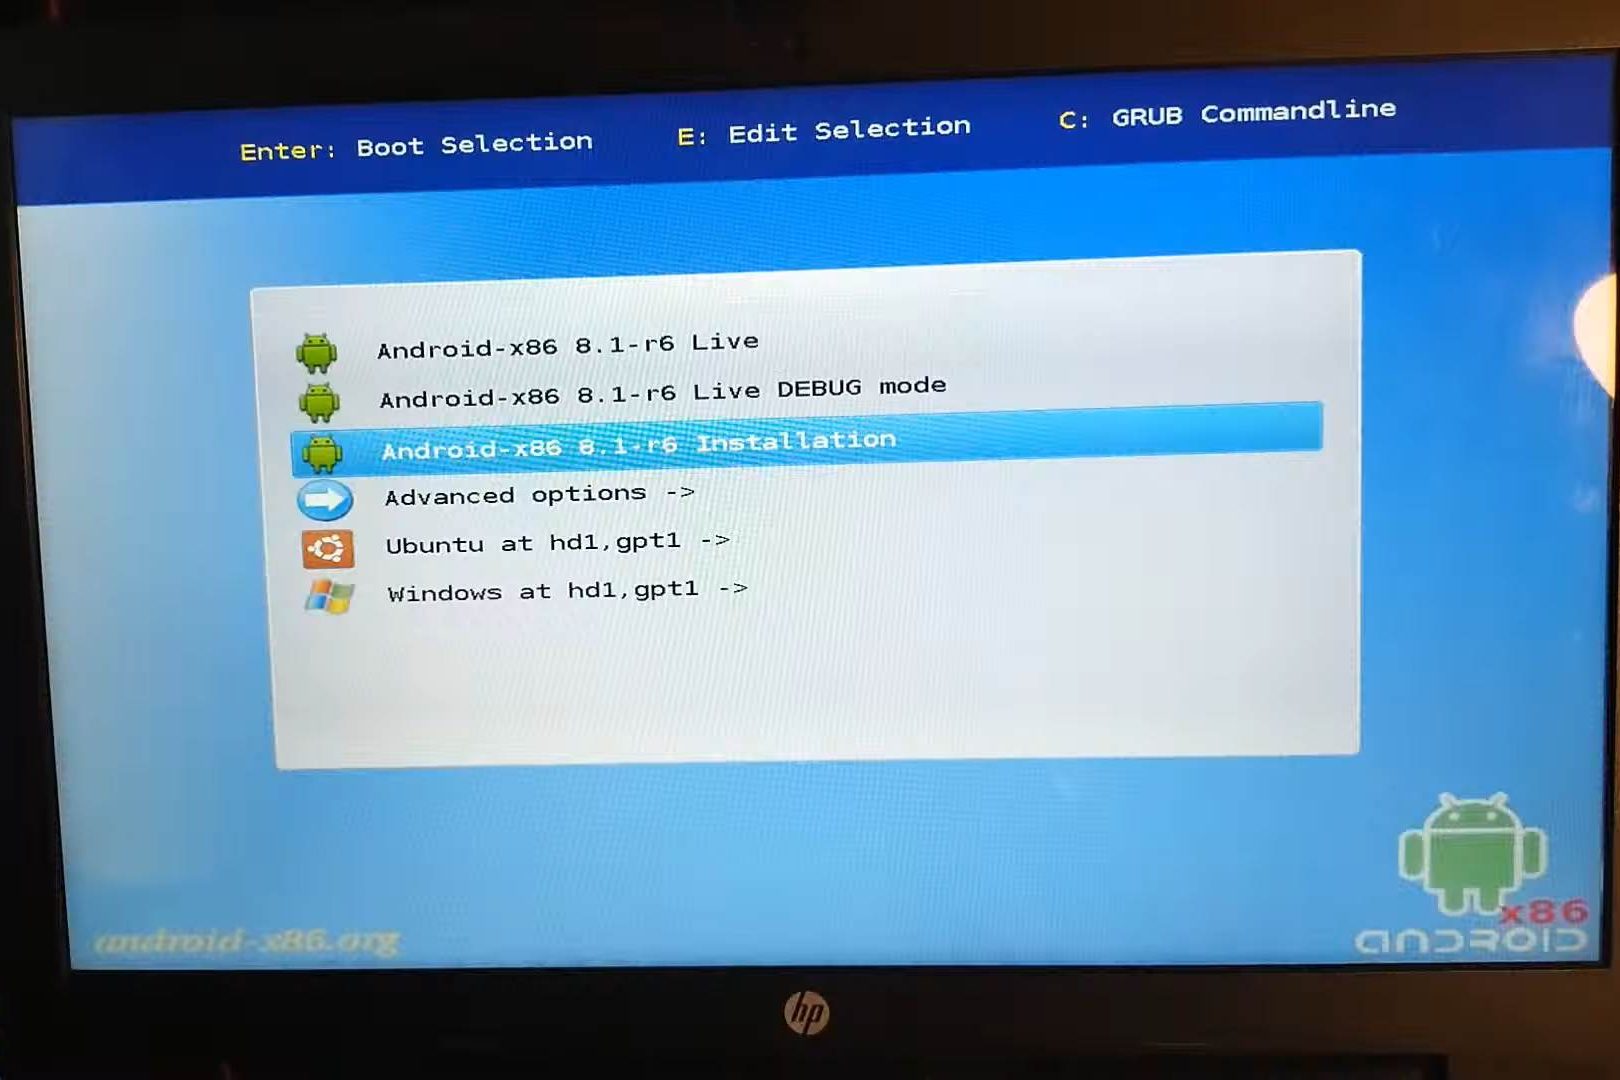
It is always better to test the LIVE demo of the operating system before installing. We get an idea about the compatibility of the OS with our system. And also to see if there is an issue with the Wi-FI or such. So we will now proceed with the process to Dual Boot Android x86 and Windows 10/11.
Select the partition that we created earlier by observing the size. Now we have to format it in Ext4 format to proceed.
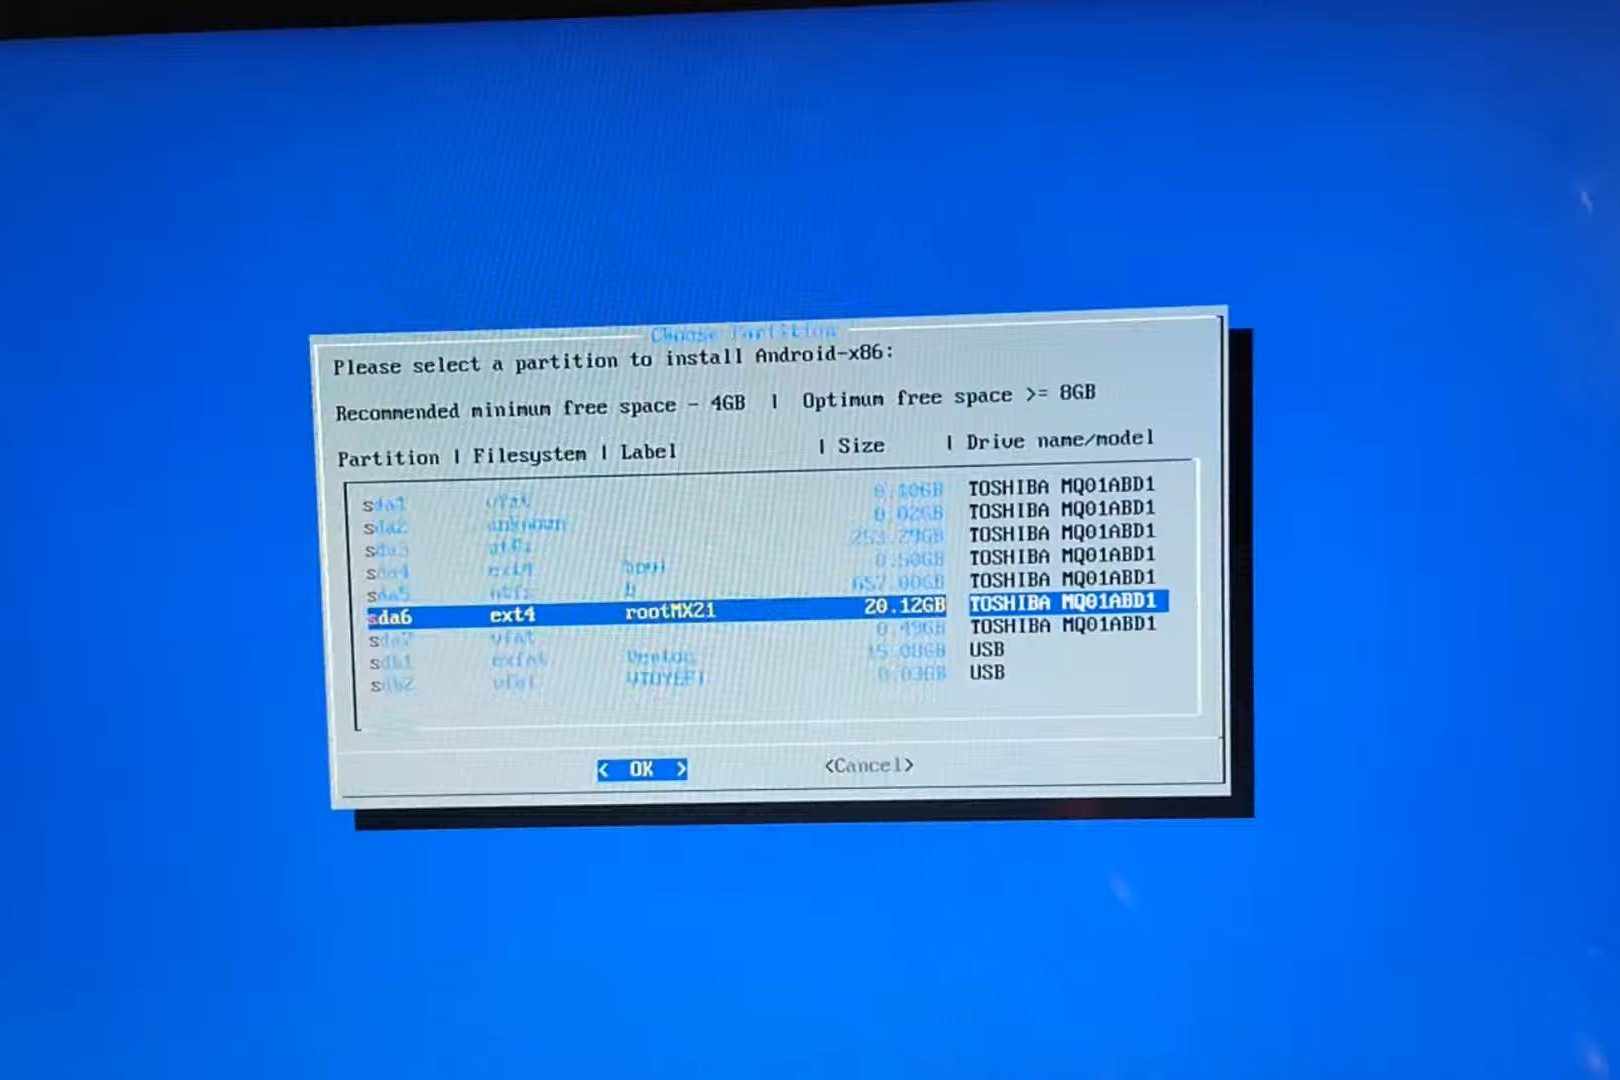
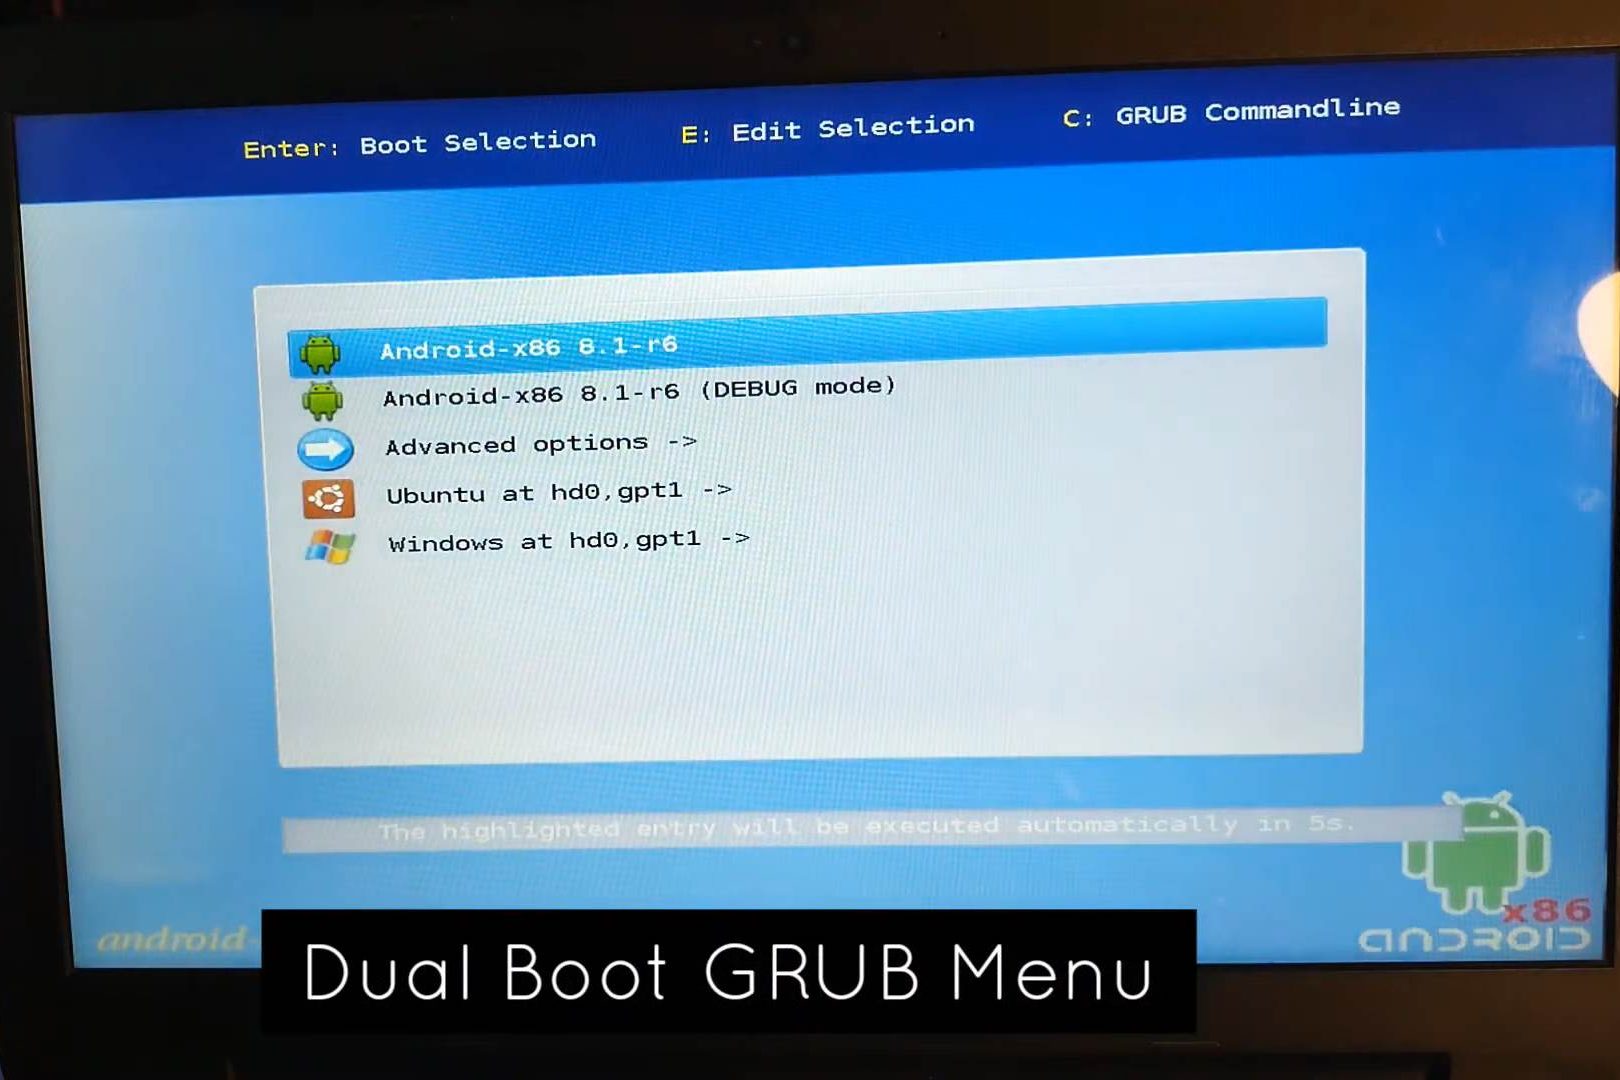
Then allow creating the EFI Grub menu to see the dual boot menu when rebooting the laptop. Also, allow any other prompt permissions and proceed. After it is done syncing the installation and everything we can either Reboot or start Android x86. You can reboot to check the dual boot menu and then chose the Android x86.
2. Experience with Android x86 for Laptop and Desktops
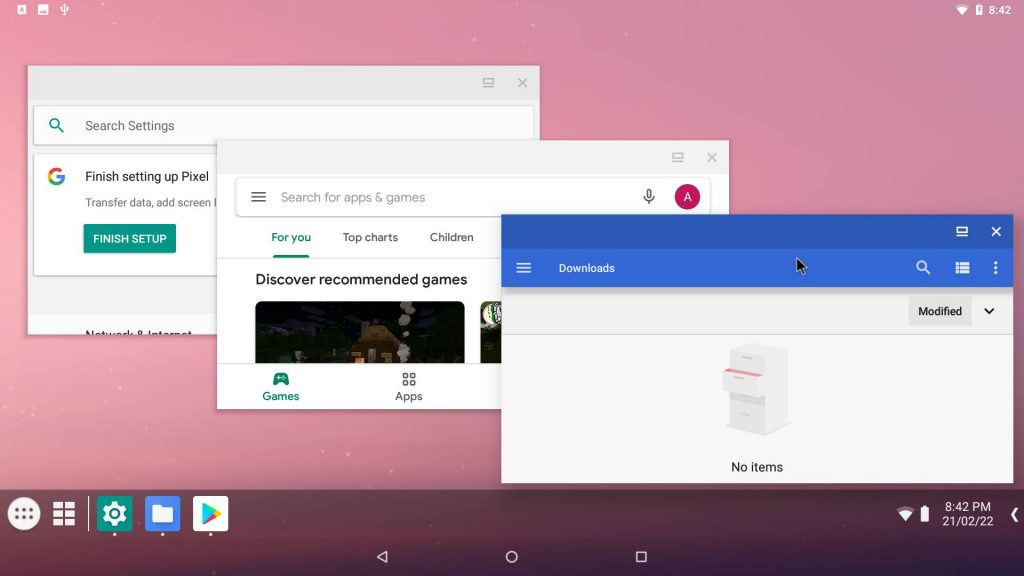
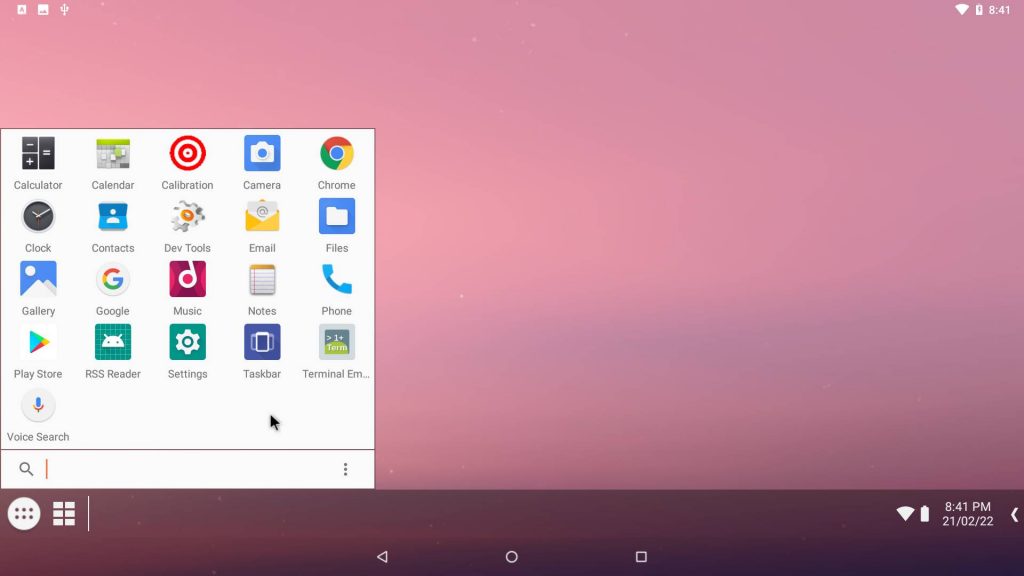
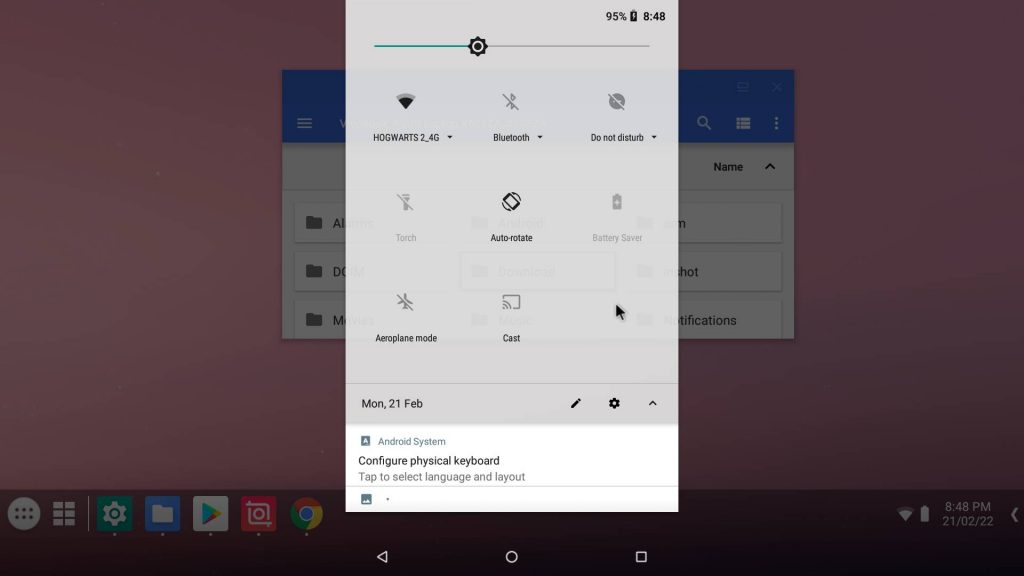
The review is going to cover the Android x86 v8.1 version, as it’s the most stable out of the bunch. When we boot into the Android x86 for the first time, we are given the choice between two launchers. Either Launcher 3 or Taskbar launcher. Launcher 3 provides the same desktop experience as we get in smartphones and tablets.
The Taskbar however is meant to give a Desktop feeling, with a Windows-like Start menu comprising of all the apps installed on the device. The startup was smooth and I did not get any kind of errors. But I prefer the usual Tablet-like user interface.
I tried multiple screen recording apps and none of them worked. Screen recording has issues in most Android OS for PCs and laptops. In the Android x86 options, we need to enable the Native Bridge. This will allow the ARM-based apps to run well. We can then install games and various apps from the Google Play Store.
I tried playing a game called Subway Surfers but it was not registering the mouse click as touch. In Android OS like Prime OS, which is mainly built for Android games. The keyboard and mouse can be used to play various Android games. However, in a game called Candy Crush, the mouse seemed to work well. So I guess it depends upon the type of game.
3. Is Dual Booting Android x86 Worth it?
We can enable the developer options and then turn on the Root option. We can then use apps like root explorer or apps that required root access and tinker around. Android apps like YouTube and Chrome worked like a charm. We can use apps like InShot and Kinemaster to edit videos and take advantage of the larger laptop screen.
Overall Android x86 8.1 is pretty smooth and can be used for daily usage. For people who would like a stable, minimal, and lightweight Android OS on their old or new laptop. Android x86 Oreo version is a great option. You can even try the Fyde OS, again a great Android OS but it’s more similar to Chrome OS.

I really like your blog.. very nice colors & theme. Did you design this website yourself or did you hire someone to do it for you? Plz reply as I’m looking to create my own blog and would like to find out where u got this from. kudos|
Thank you. I used WordPress and Neve theme.
Thank you for the kind words. If you are really interested in a topic then you can start a blog around that. Good luck.