So if you have dual-booted Chrome OS and want to remove the Chrome OS, we can easily do so by simply deleting the Chrome OS partition from the disk management. But to remove Chrome OS Flex which has been installed as primary, the process is quite different. Let’s see how to Remove Chrome OS Flex and install Windows without any second PC or Rufus.
Why Remove Chrome OS Flex?
Chrome OS on Chromebooks is quite stable. They come straight from the manufacturer with the OS pre-installed. But if we manually install Chrome OS or Chrome OS Flex on non-certified computers. We can usually run into several bugs and issues.
Most of these issues are manageable and even can be fixed. But there are certain deal-breaker issues that can be quite frustrating to deal with.

I tried Chrome OS Flex on my Ryzen 5 2500U laptop. The experience was good but I was facing sudden restarts and crashes.
The speaker, WiFi, and display all were working as expected. I even installed Linux and it did work out fine as well. But the sudden system shutdown and restarts weren’t something I could deal with.
So like me, many could face similar troubles with Chrome OS Flex. As there is no one fit for all solutions. Google has a list of certified devices that can run Chrome OS Flex without issues. you can refer to my Install Chrome OS Flex, Revive Slow Computers! [ISO Download] post for more information.
How to Remove Chrome OS Flex?
To start with removing the Chrome OS we need to first select an OS to use instead. It could be Windows 10 or 11, Ubuntu, or any other Linux distro.
So download the ISO of the desired operating system. For Windows, you can visit the Microsoft website and download either Windows 10 or Windows 11.
Make Bootable USB
So the only way to completely remove Chrome OS Flex from our system is to replace it with another OS. For this, we need to make a bootable USB. But we will not be creating bootable USB for Windows. Instead, we will create it for Linux Mint, which is a very popular Linux Distribution.
On Windows, we can use Rufus or other programs. But Linux support on Chrome OS has not been the most reliable for many. Also folks on Chrome OS Flex, some of them even do not have access to Linux Environment.
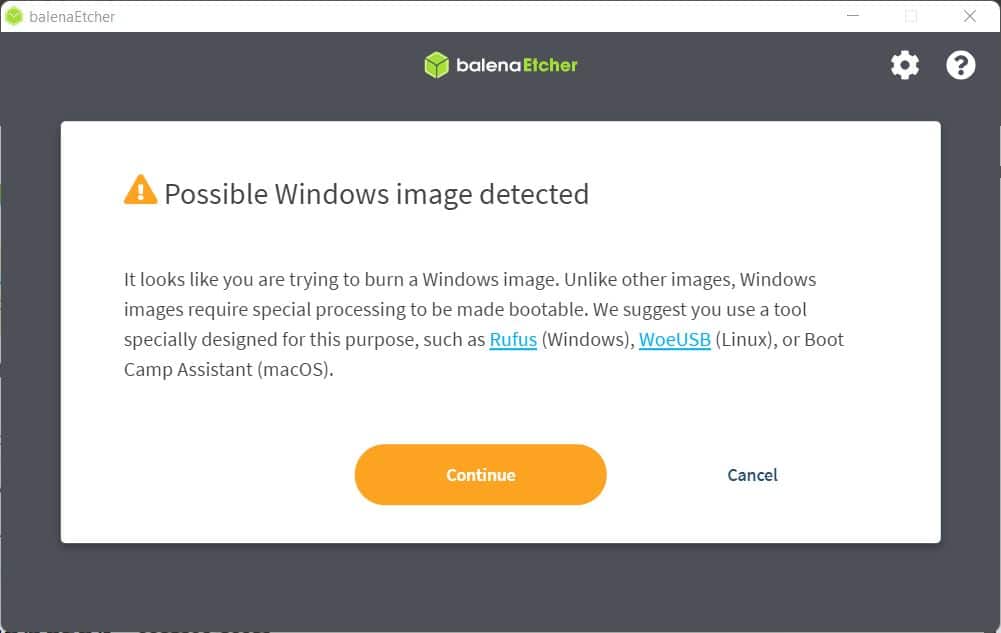
After trying and doing research, I have found that creating Windows ISO bootable images is not an easy task. Only a handful of programs can do it. On Windows, it can be done by Rufus and for Linux, we need a program called WoeUSB. So on Chrome OS, it’s not possible right now.
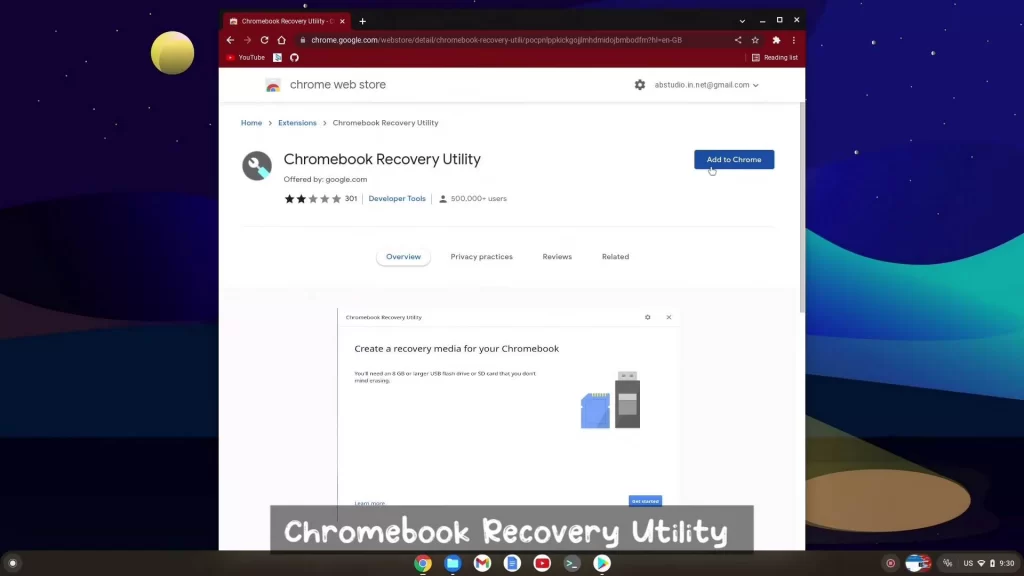
So for now the best and easiest way is to use a Chrome extension called Chromebook Recovery Utility. We can use this Chrome extension on the newer Chrome OS Flex as well.
Downloads
The first thing we need to do is visit this link and download the Chromebook Recovery extension. This is an official extension from Google.
After adding the extension click on its icon and there’ll be a window pop-up. Make sure to have a good and stable internet connection.
We have the tool to make a bootable USB but we still need an operating system image file. We will be using Linux Mint to start the process. Then use Linux Mint to create Windows Bootable USB. So it’s not a straightforward process but this should work out.
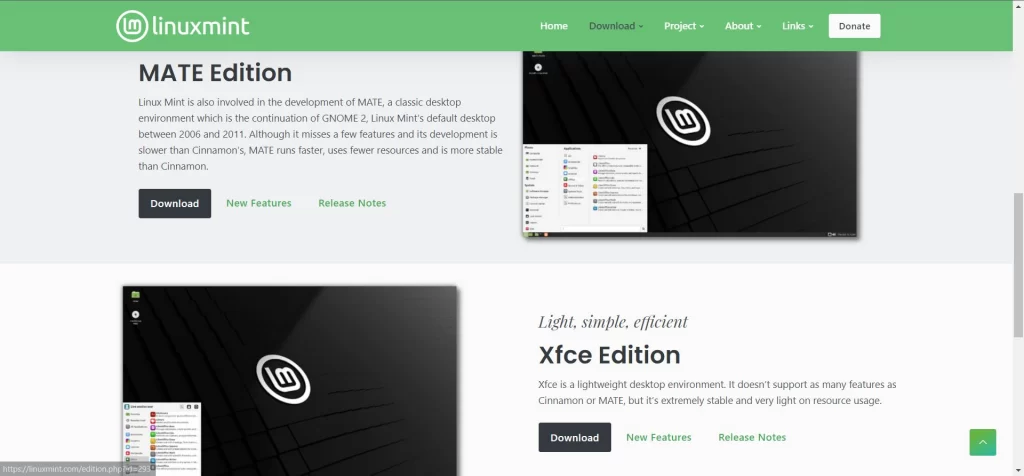
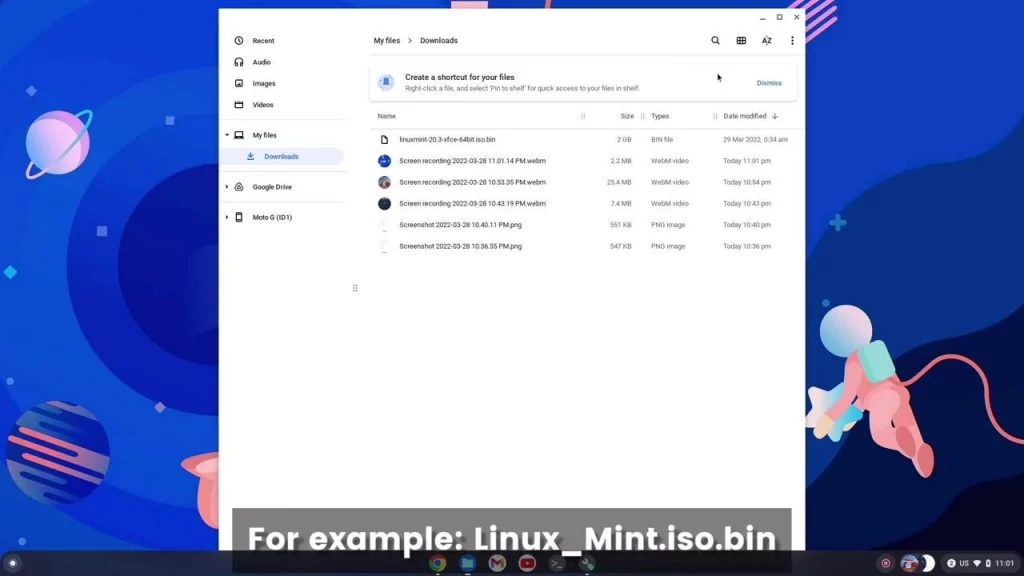
In this post, I’ll be downloading and installing the Linux Mint OS. We can download the latest Linux Mint ISO image file from their website. I’m downloading the XFCE version as it is the st lightest of all.
After downloading the ISO image we need to rename the file. Chromebook Recovery Utility recognizes .BIN file, so we’ll add .BIN after the file name. For example, Linux_Mint.iso.bin.
Getting Started
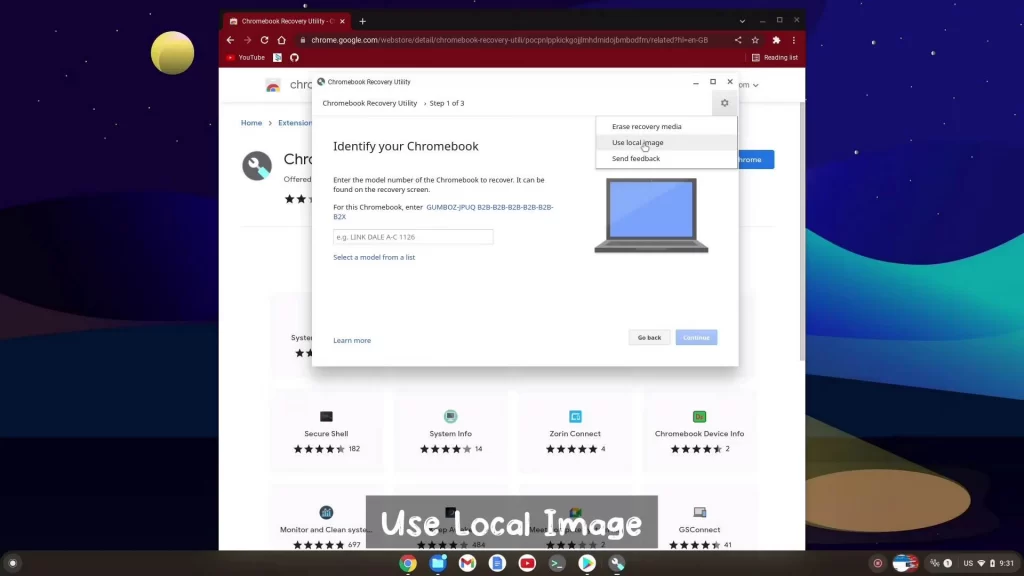
Now after we have downloaded the ISO image of the Linux Distro. Now we can proceed with creating the bootable image. Open the Chromebook Recovery Utility extension by clicking on the icon. We need an 8GB or above USB to create a bootable USB.
Here we will click on the Get Started icon. Then we need to click on the gear icon at the top right corner. Select the Use Local Image option and then we need to select the downloaded ISO image. Then just click on start to initiate the installation process.
Replace and Remove Chrome OS Flex
It will take some time for the process to finish. Now before proceeding make sure you have backed up all your data before removing Chrome OS or Chrome OS Flex.
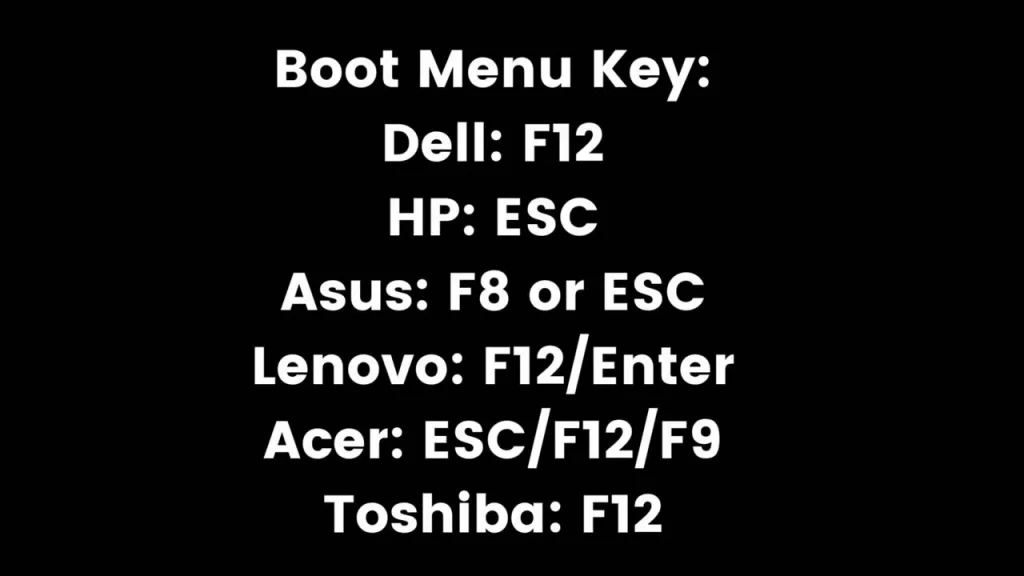
Now boot into the BIOS of your system and here choose the Boot device menu. Among the devices, name select your pen drive and hit enter. Now the set-up process for Windows 11 or Linux will start.
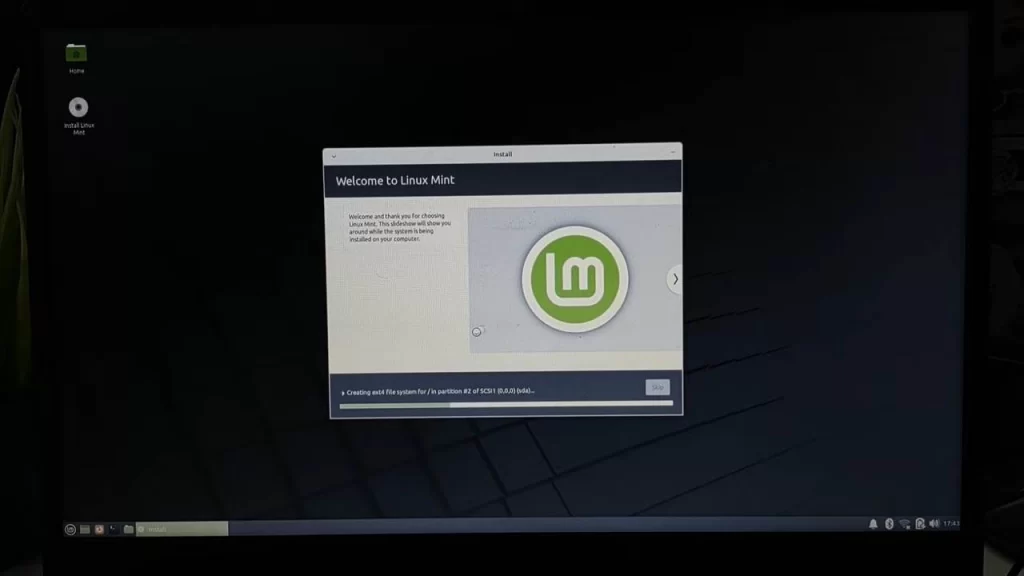
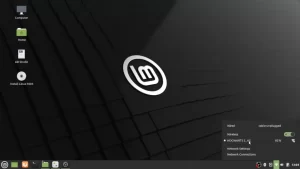
Select the first option, Start Linux Mint. It will do some processing and you will be on the home screen of the Linux Mint OS. Open the installer wizard by clicking on the disk icon. Now we have the option to erase the disks and install Linux Mint. So we will proceed with the first option.
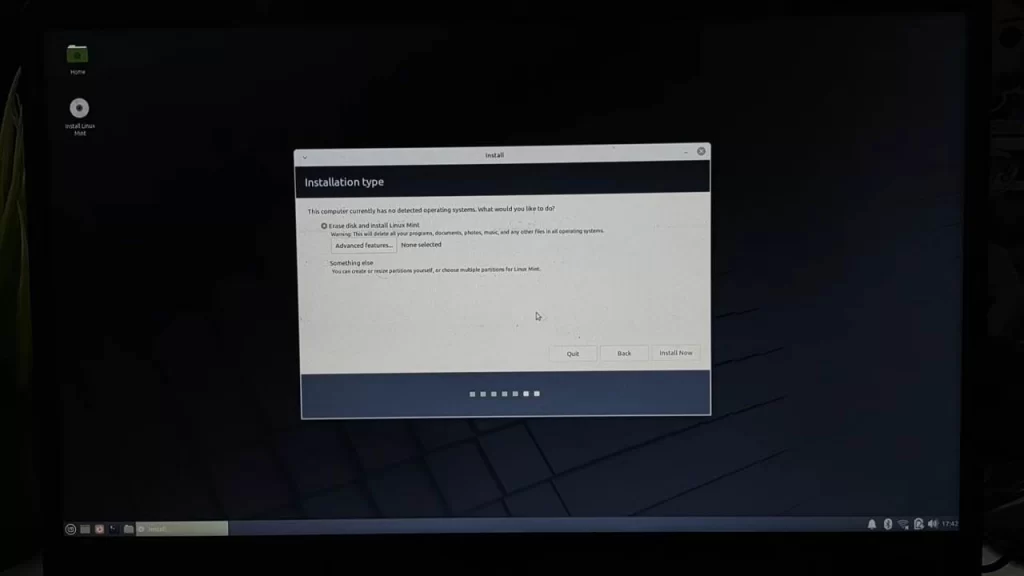
Start the process and it will delete and remove Chrome OS Flex and install Linux Mint as the primary operating system.
Now restart your system and connect it to the internet. Now we need a tool to make a bootable USB on the Linux desktop. We cannot use the typical programs to make the bootable USB as creating Windows media is a complicated process.
WoeUSB
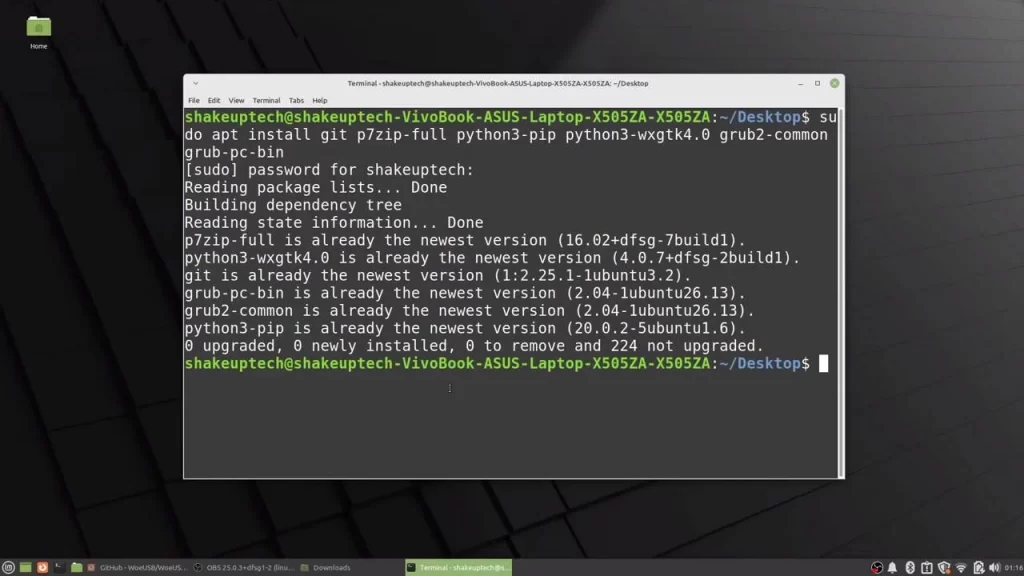
We are going to install the WoeUSB tool using the terminal and commands. On the GitHub website of the WoeUSB, we have the required commands needed to do the same. Right-click on the desktop and open the terminal window. First, run the basic update commands.
sudo apt-get update
sudo apt-get upgrade
Now we can proceed with the next commands,
sudo apt install git p7zip-full python3-pip python3-wxgtk4.0 grub2-common grub-pc-bin
sudo pip3 install WoeUSB-ng
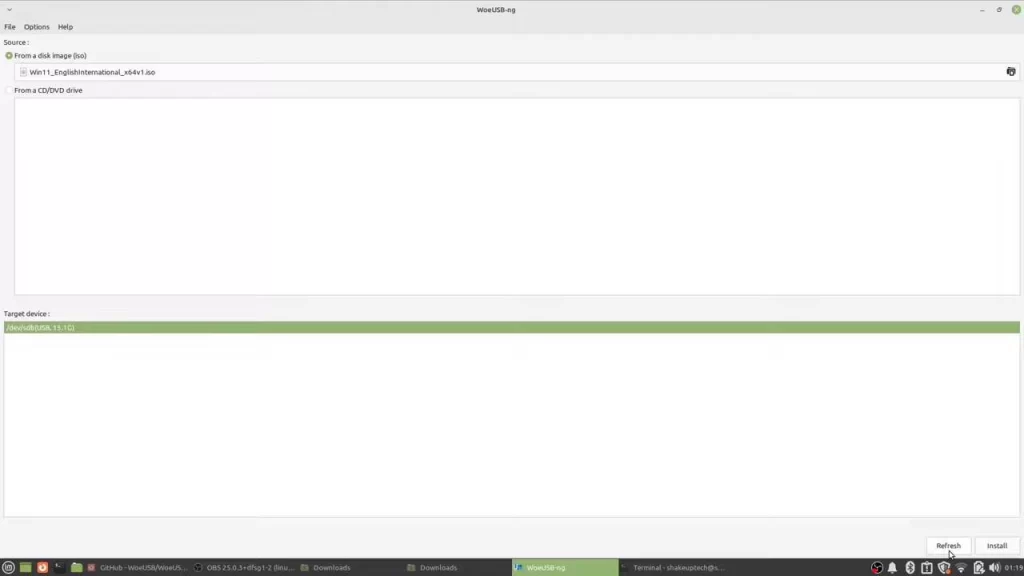
So the WoeUSB tool has been installed successfully. Now in the search bar type Woe and you will see the program name come up. Open the program and we can now start creating the bootable USB.
Select the target image of the Windows ISO image. You can find the location at Other locations > Computer > Home > Username > Downloads. Now select your Windows ISO image. Plug the USB drive if not already. It should get selected automatically.
Finally, Remove Chrome OS Flex
Now start the installation and the process will commence and take some time. After it is done you will see two USB drives but do not worry it will not create an issue. Now you can boot your system into the boot menu and choose the USB drive.
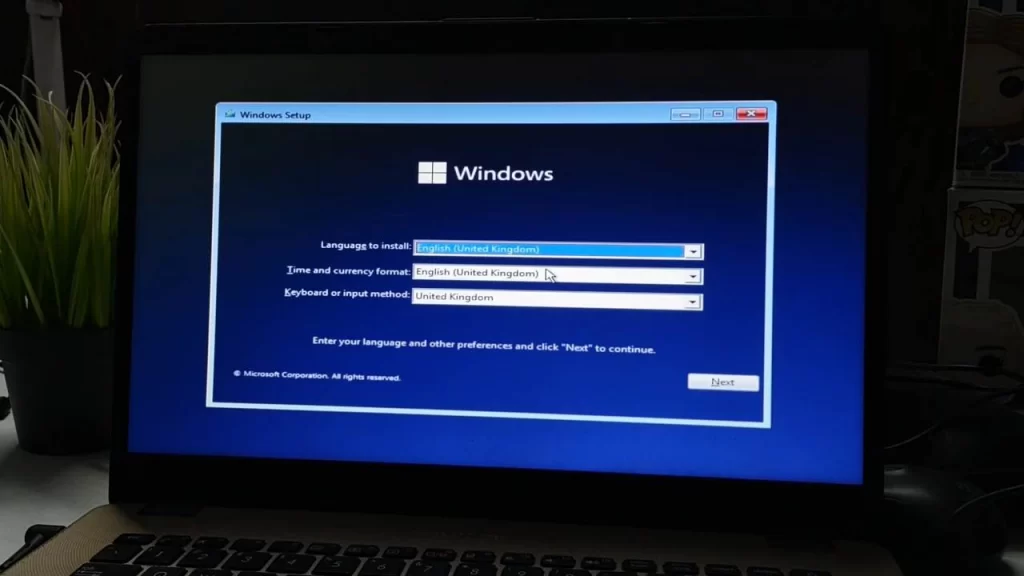
But this time you will not face any driver issues or your USB not showing up. You can now go ahead and install Windows 11 on your system and remove Chrome OS Flex and the Linux Mint completely. you check out the video below for details about deleting and creating partitions while installing Windows.

how do i stop chrome flex from booting up when I insert it into a MacBook pro so I can delete the chrome os system from the drive I put it on