Time To Read: 6 mins
Zorin OS 17.2 has arrived, bringing exciting new features and updates that make it one of the best Windows alternatives for those considering a switch to Linux. This version focuses on enhancing user experience through design, functionality, and convenience, making it a versatile choice for anyone interested in exploring Linux without compromising the familiarity and ease of use found in Windows.
Getting Started
Before beginning, we need to make sure our secure boot is disabled from the BIOS menu of our system. For this, we need to power our system press the power button and the BIOS key (see image below) and enter the BIOS menu.
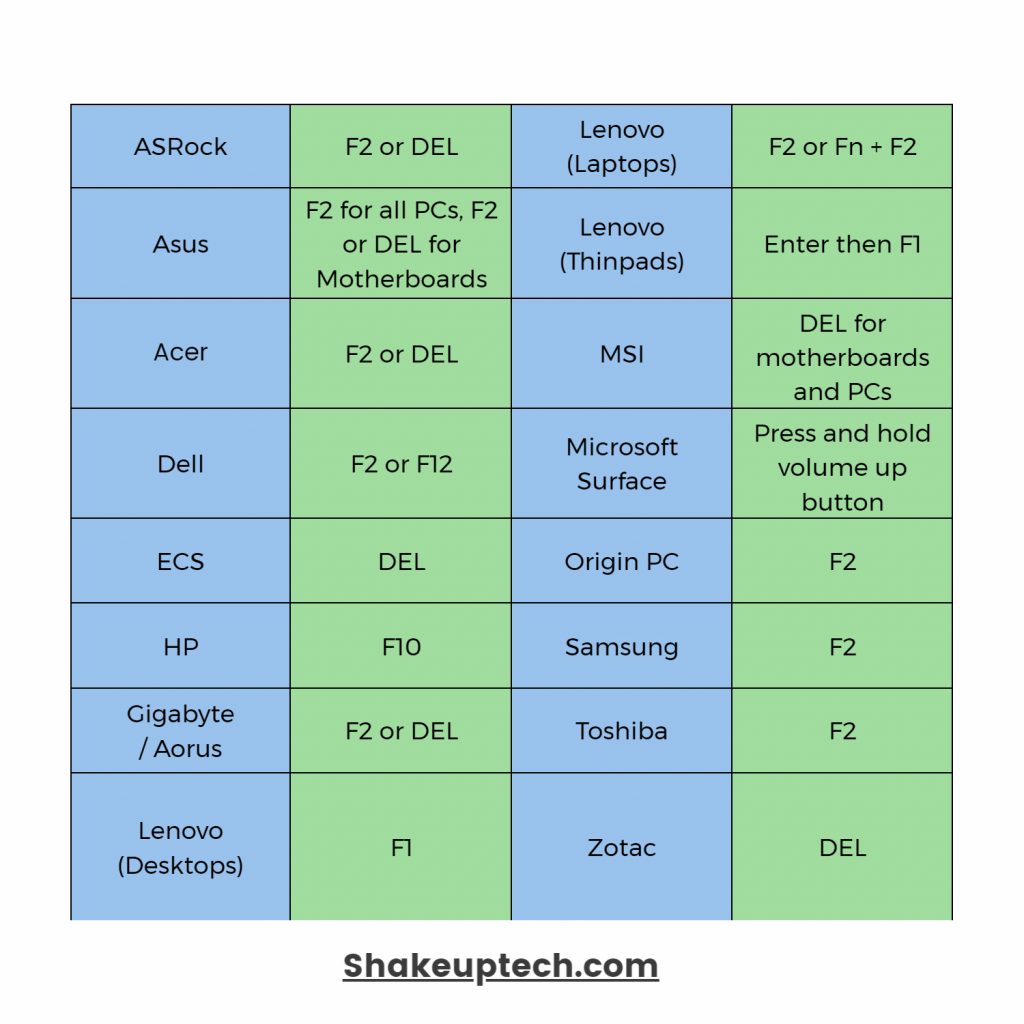
Here, we need to find the “secure boot” option which is usually under the boot or security tab, and turn it off. Also if you have an older system, make sure to disable the boot legacy option as well. Now save the settings and reboot the system.
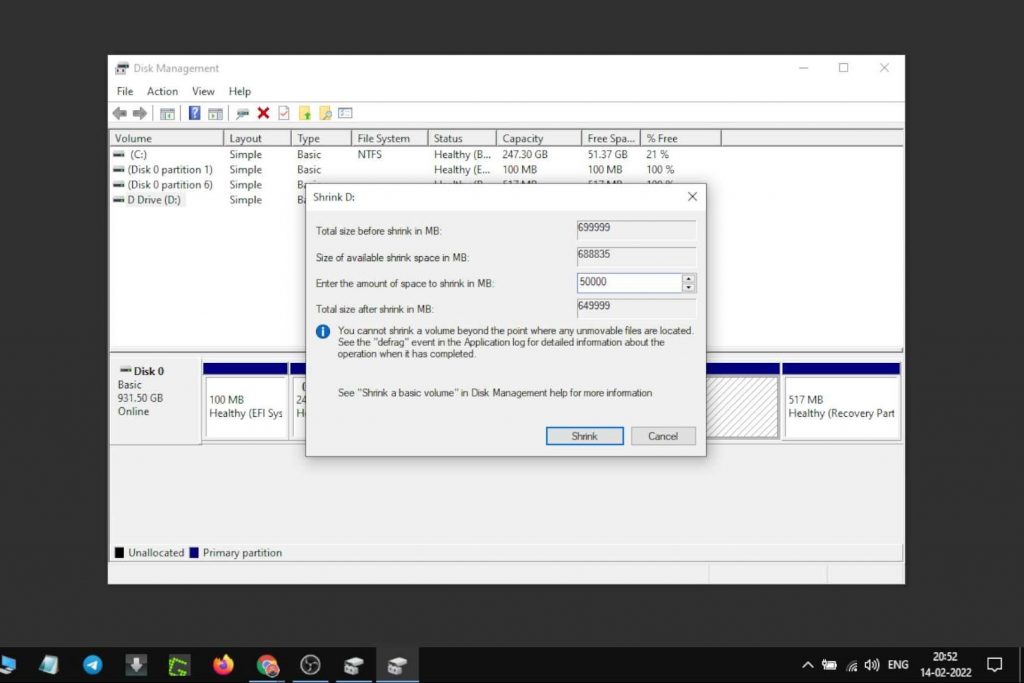
Creating Partition to Dual Boot Zorin OS
On the Windows desktop, right-click on the start menu and select “Disk Partition”. Here, we will shrink our C or D drive to make space to dual-boot Zorin. Right-click on the C or D drive select shrink and choose the desired storage space, usually 20 GB or more. Create the partition by following the instructions and don’t change anything.
Download Zorin OS 17.2
To start with the dual Boot Zorin OS process, we need to download some necessary files first. Firstly, visit the official Zorin OS website and download the latest Zorin OS ISO image file. Moreover, we have three versions of Zorin OS. The first one is the paid one which is called the Zorin OS Pro version. It comes with additional apps, features, builds, and dedicated support too.
However, for most users, the Zorin OS 17.2 core version would be ideal unless you have a system older than 15 years. For teat, you need to download the Zorin OS Lite version. Additionally, we need a program to create a bootable USB and for that, we will download the RUFUS program or Balena Etcher.
DOWNLOAD (Official)
Create a Bootable USB Drive
Open the RUFUS program and we’ll see a small window. Select your USB from the drop-down list. We need to select the Zorin OS ISO image that we downloaded earlier. Now in the partition scheme select according to your system. Right-click on the “Disk 0” and select properties. In properties and under the “volume” tab, we can see our partition type. For my system, it is GUID Partition Table or GPT. Similarly, check yours as we’ll need this information when using RUFUS.
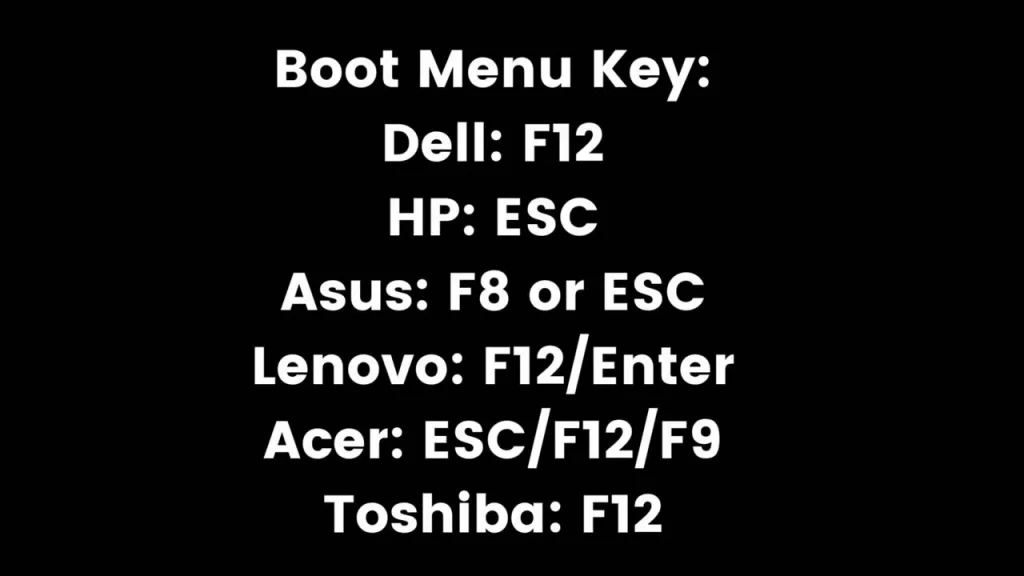
We can now begin the process of creating the bootable USB drive. You must remember that all your data on the USB drive will get formatted. The process will take a while and finally, we are ready to dual-boot Zorin OS and Windows. After the flashing, we need to shut down our PC or laptop. Now press the power and Boot keys (see image below) together and enter the boot menu. Select your USB from the list of devices.
Install and Dual Boot Zorin OS 17.2
Now we have the option to install Zorin OS as primary or replace a partition. Moreover, to Dual Boot Zorin OS, we need to select the Something Else option. Thereafter, it will show all your partitions, so locate your partition by its size then click on it, and select Change. Now select EXT4 Journal System and in the mount point select (/), which is the root. Also, make sure to tick the format partition option. Now we can proceed to install the operating system. Accept the warnings and continue with the process. After we need to choose our time zone and then create a username and password. Finally, the installation of Zorin OS will begin and it’ll take time.
Zorin OS 17.2 Review
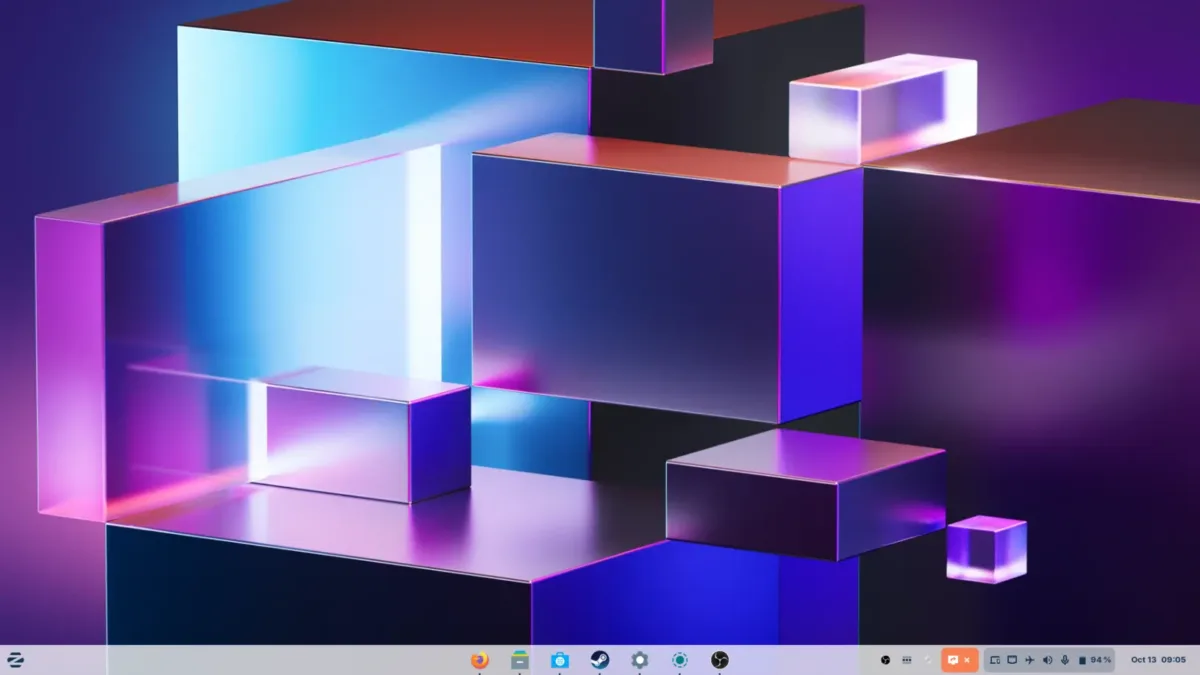
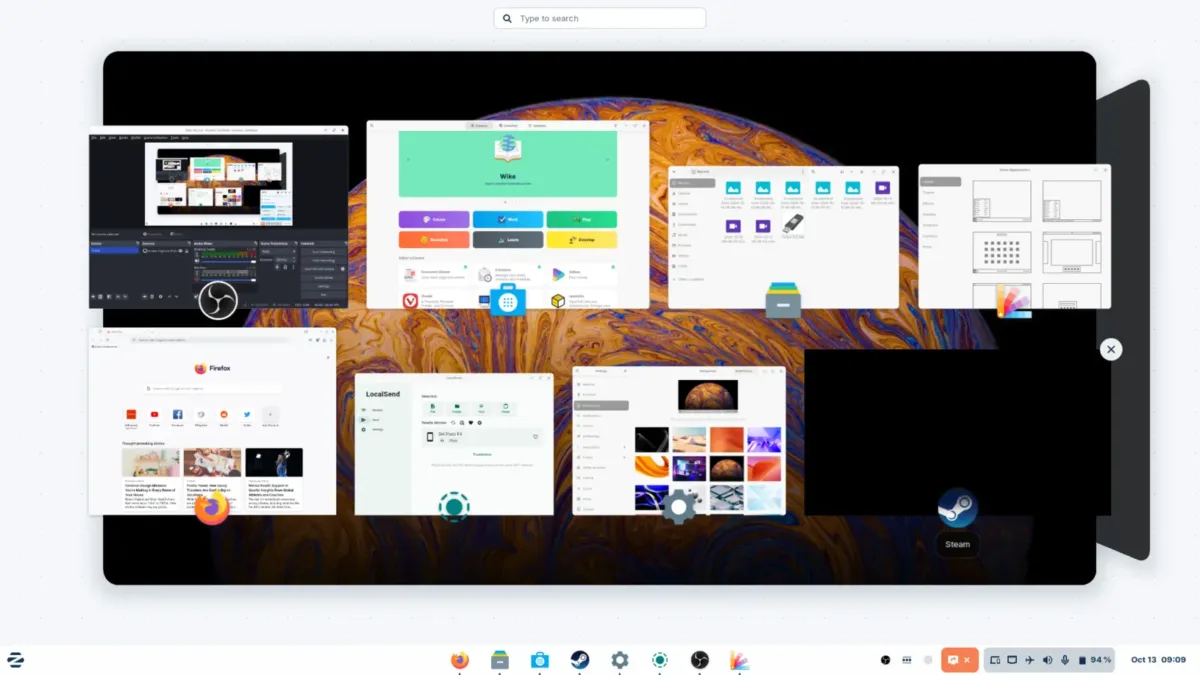
1. Stunning 3D Desktop Transitions
One of the most visually striking updates in Zorin OS 17.2 is the 3D desktop transition effect. This feature allows users to switch between workspaces with a smooth 3D transition that adds a cool, dynamic feel. You can view different workspace angles, which helps manage multiple tasks more enjoyably.
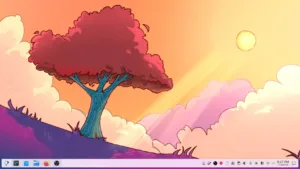
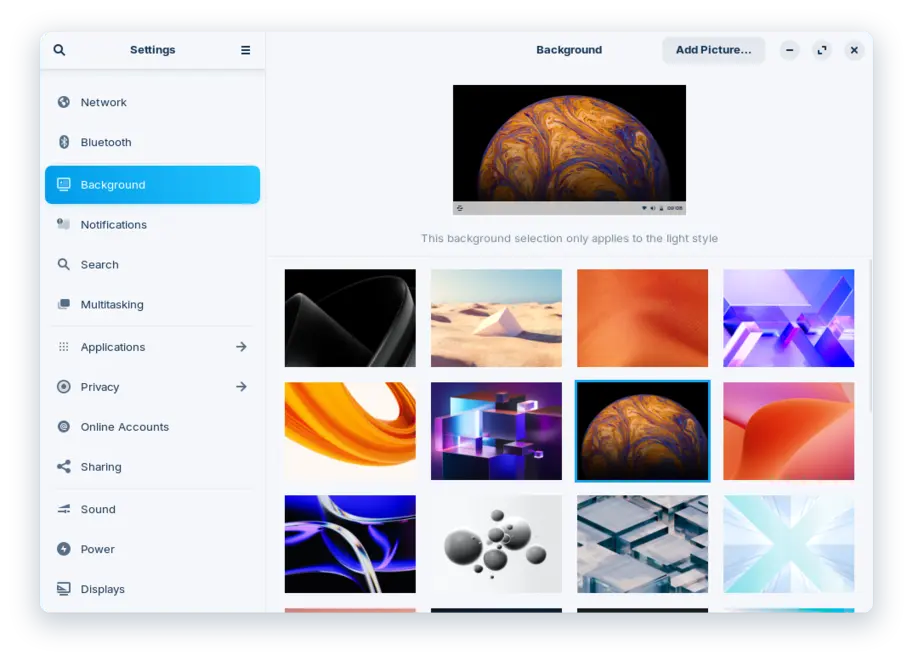
2. Minimalistic Wallpaper Choices
Though Linux is known for its rich wallpaper variety, Zorin OS 17.2 offers a streamlined selection of three wallpaper options: the Zorin logo wallpaper, a light mode wallpaper, and a dark mode wallpaper. Despite the limited choices, these wallpapers are well-designed and fit seamlessly with the OS’s aesthetics.
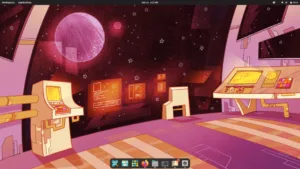
3. Customizable Desktop Layouts
Zorin OS 17.2 includes several desktop layout options, making it easy to switch between the default layout, a classic Windows-like menu, and more. For example, the third layout option is particularly popular due to its large icons and accessibility. The layout can be easily switched using the Windows key, and users with the Pro version have access to additional layouts.

4. Zorin Connect App
With Zorin Connect, you can sync your Android phone with Zorin OS for an integrated experience. The app allows you to reply to messages, check notifications, and view your phone’s battery life directly from your desktop. It also supports file transfers, multimedia control, and even remote control functions, making it incredibly convenient to manage both your desktop and phone from one place.
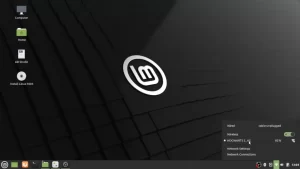
5. Enhanced Customization Options
Zorin OS 17.2 brings multiple customization features, including dark and light modes, accent colours, power saver and balance modes, and quick access to Zorin Connect. These options allow users to personalize the appearance and functionality of their OS. There’s even a screen recording feature accessible from the quick settings toggle, ideal for recording tutorials or gameplay.
6. Multitasking and 3D Window Management
Zorin OS 17.2 enhances multitasking with 3D desktop effects and window-snapping options similar to those in Windows. You can split the screen to view two apps side by side and easily switch between workspaces. This feature is handy for those who prefer an organized workspace and need to multitask effectively.
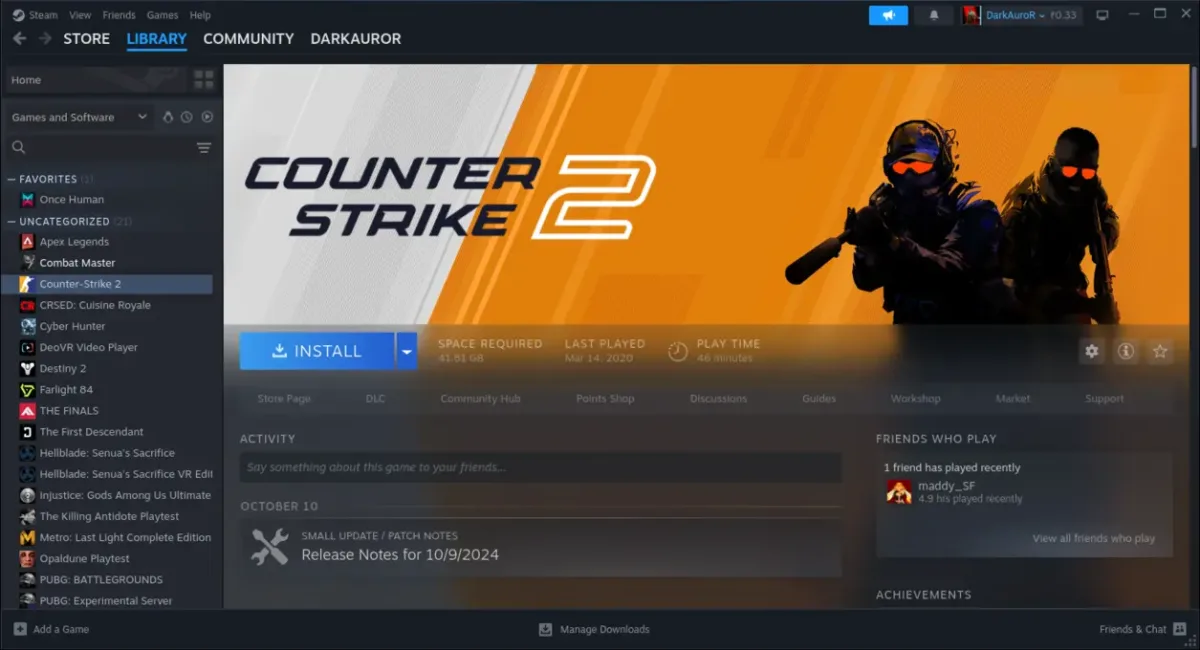
7. Built-in App Store
Zorin OS 17.2’s App Store, reminiscent of Flathub, features popular applications like Blender and Discord. It also supports codec installation and Steam drivers for gamers. The App Store ensures that software installation and updates are straightforward, making it easy for users to access their favourite applications.

8. Compatibility with Windows Applications
Zorin OS 17.2 supports Windows applications through PlayOnLinux, which is a great addition for users who want to run familiar Windows programs. The setup is simple, and users can install and launch Windows apps, such as WordPad, directly from Zorin OS, creating a seamless bridge between the two platforms.
9. Online Account Sync
With its online account feature, Zorin OS 17.2 syncs Google accounts across native apps, such as email and calendar, making it feel like part of the Android ecosystem. This functionality is especially helpful for those who rely heavily on Google services and want to stay organized and connected.