OBS Studio is the most popular option available to stream or record your Computer’s screen. And due to its cross-platform availability on platforms like Windows, Linux, and Mac, it has succeeded in developing its user base. Also, the fact it is so reliable and not so hard to get used to. In this post, I have shared the various OBS Studio settings and explained them.
How To Set-Up and Use OBS Studio
Downloading Application
- Open Chrome
- Search for OBS Studio & Download from their official site https://obsproject.com/download
- After it’s finished downloading, run the app as administrator and wait for it to install.
Getting Started
- After opening the program, it’ll prompt you to choose the program optimization level.
- Choose either ‘recording’ or ‘streaming’ according to the required usage.
- On the next screen, it’ll ask you to choose screen size and frame rate. Choose your screen size and in frame rate choose 30 or 60 FPS.
The frame rate should be 60 FPS to give the best experience while watching the recording as our display natively refreshes at 60Hz.
Settings
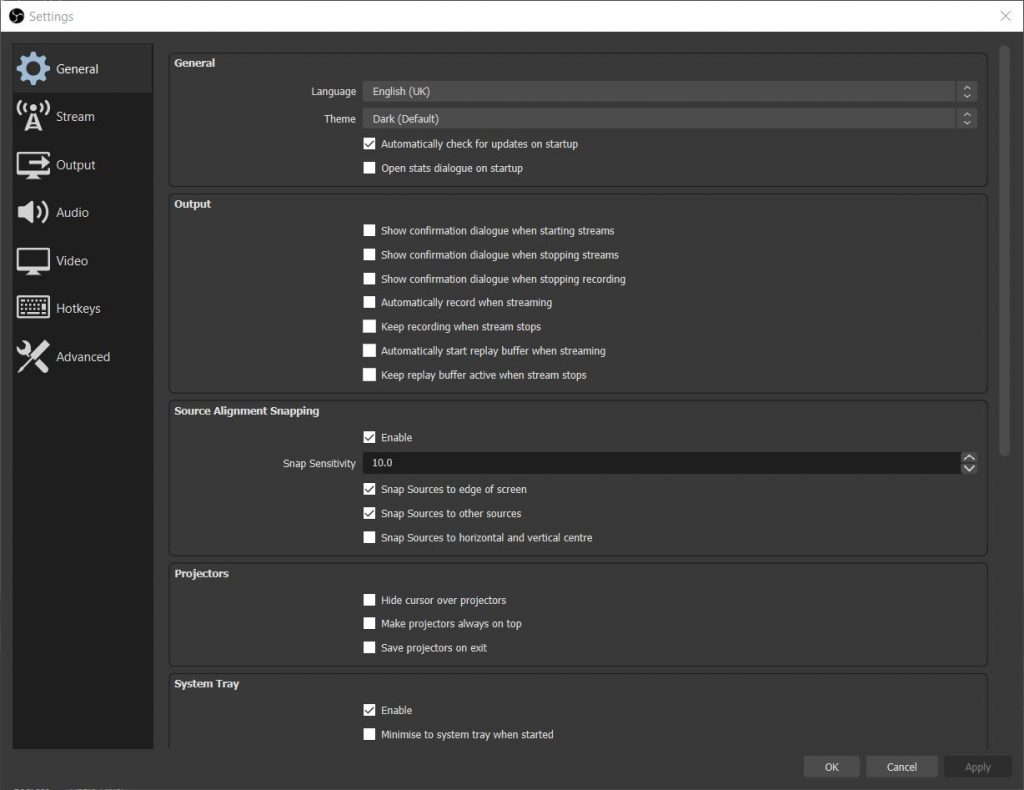
- General
- Not much to do here.
- Stream
- Add your ‘Twitch’ or any other streaming account.
- Output
- Set the output mode as Advanced.
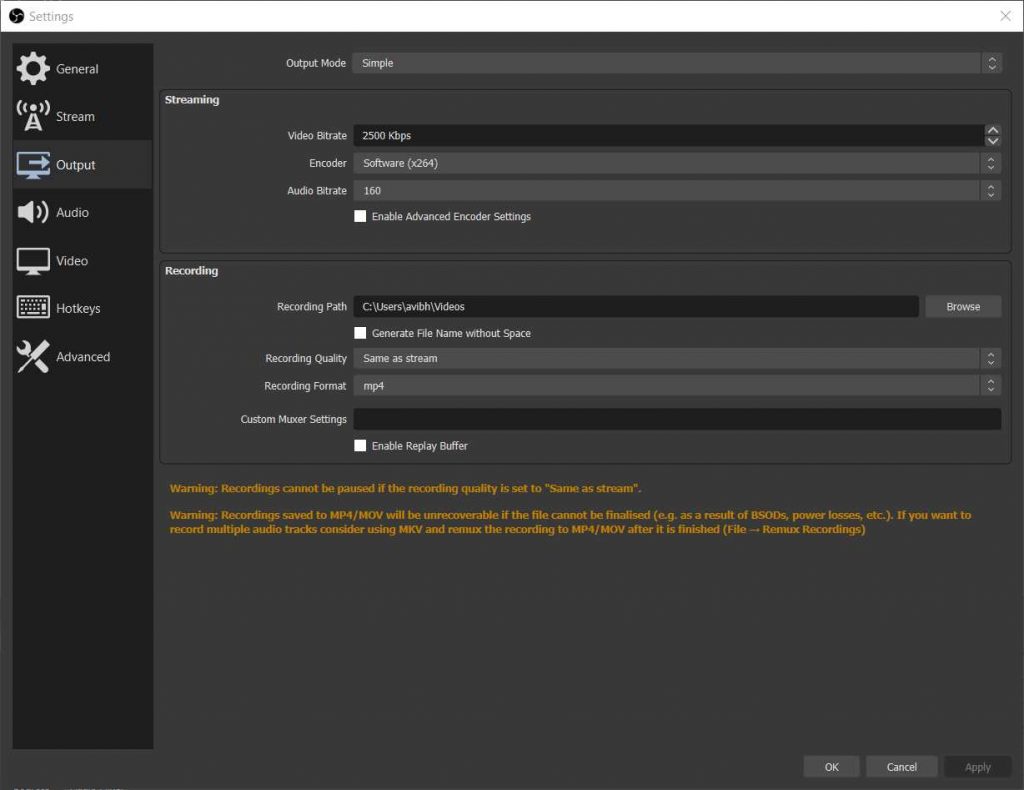
- Streaming
- In the audio track choose the number of mics to record the audio.
- In Encode choose either ‘QuickSync’ if Low-End PC or ‘NVEnc’ if available.
- Rate control: Keep it at VBR for adaptive frame rates or if CBR for constant
- Frame rates.
- For quality, recording choose CQP for high-quality recording at cost of high resource usage and file size too.
- Keep CPU usage according to your PC specs. Faster means easy on CPU while slower means better quality but a high strain on the system. Faster is recommended.
- Recording
- Select the file format as MKV as it saves the recording even if the program crashes.
- You can later use the ‘Remux’ option to convert the file for editing.
There’s even a better option to help in converting the video format in an advanced option that we will discuss later.
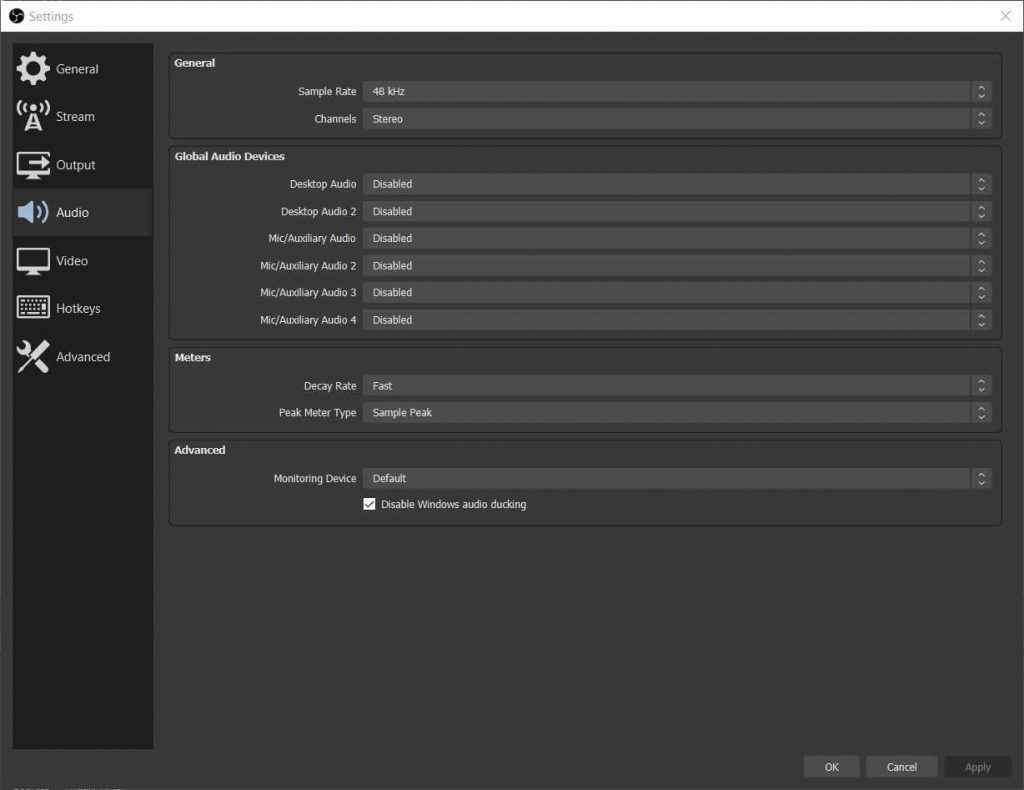
Audio
- Here you can choose the Bitrate for all your audio input sources. Higher is always better but resource hungry.
Check out how to make your Windows 11 even faster. Read here
- Replay Buffer
- Keep it as it is.
- Audio
- Change audio sources, set push to talk settings.
If we have multiple microphones attached to our system we can then manually select the microphone of our choice for the best audio experience.
Video
- Base canvas resolution is your display default resolution.
- Output resolution is for your streaming output.
- Keep it high or low according to performance.
I keep the base canvas as well as the output resolution at 1080p for the best recording quality. Even on this setting the file size is not much but you can experiment between different settings.
- The downscale filter can be left at Bicubic for balanced quality or set it to Lancoz for Nividia graphics.
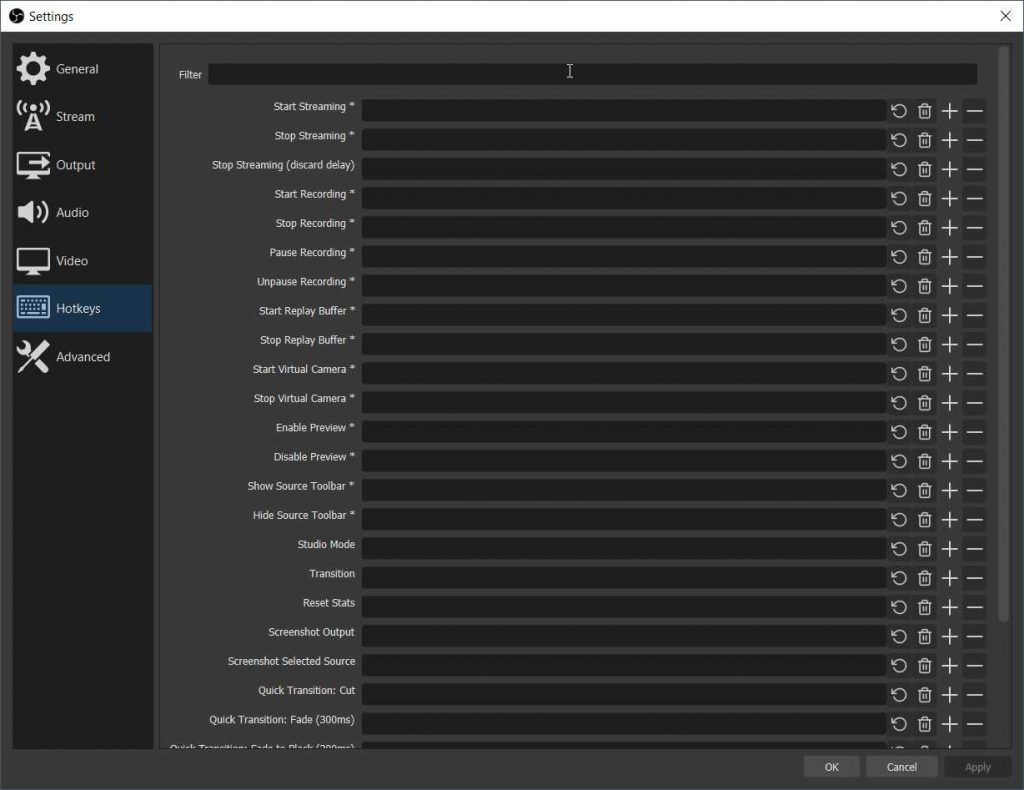
- Hotkeys
- Set for keyboard shortcuts.
Keyboard shortcuts really help in making the process of recording or streaming even more quickly. You can set shortcuts for different sources, mute and unmute, transition change, and much more. Keyboard shortcuts are very helpful if you are going to be streaming for long hours as it’s gonna streamline some complicated features.
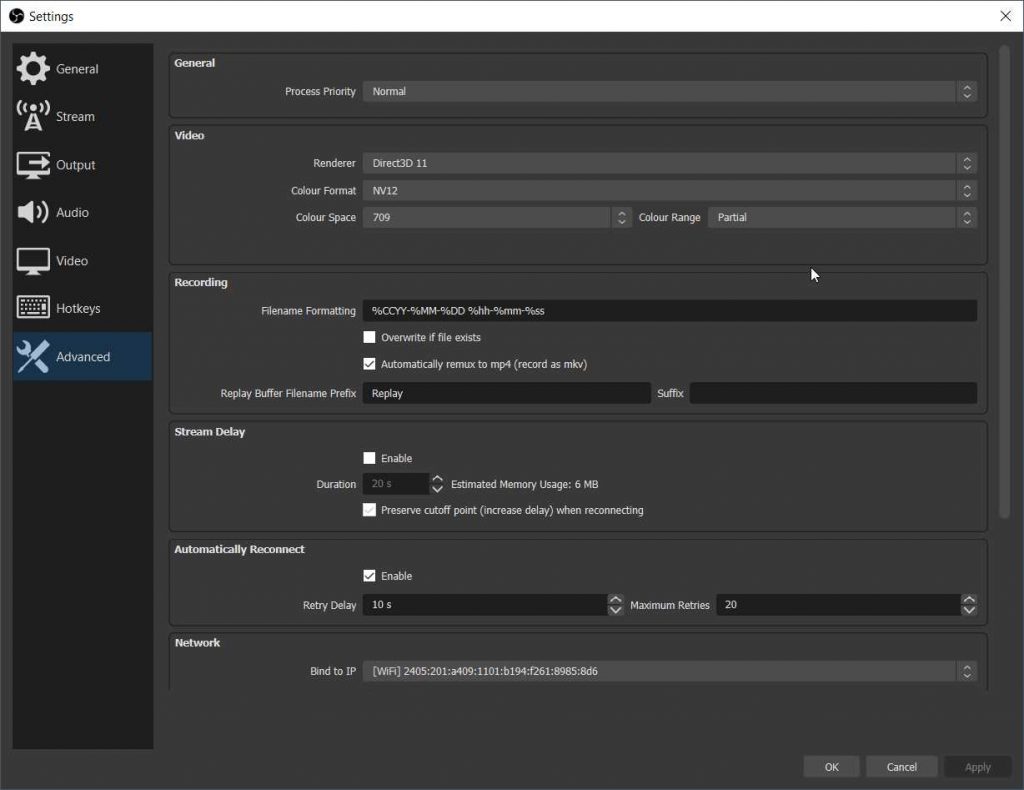
- Advanced
- Here you have some advanced options that we are are not going to touch for now.
- But you can set the Auto Remux to MP4 option to save you some time.
How To Use OBS Studio?
Start Recording PC or Laptop Screen
- Once set up is done just hit the plus icon in the sources option and choose display capture.
- For games choose ‘Game Capture’.
- Resize the on-screen to fit the blank area or right-click on the display capture and use transform to auto-scale it.
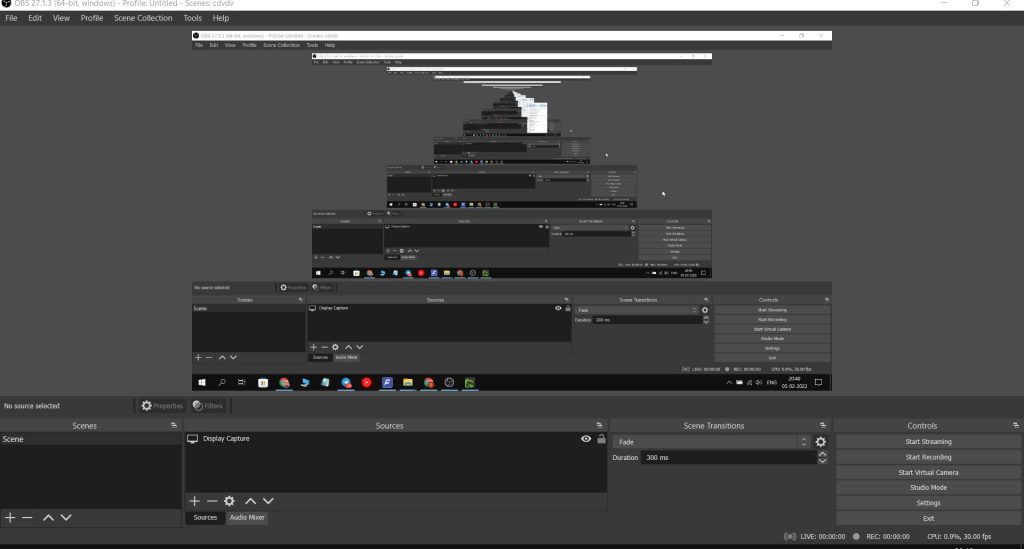
- Then just hit ‘Start recording’ and you will be good to go.
- After the recording is done head over to ‘File’ and select ‘Remux Recordings’, then select the video file and hit convert and it will convert to .MP4 format which is easier to edit.
In my experience I find OBS Studio to be very reliable for recording the screen of my laptop. It works on Windows as well as on Linux so it’s easier to juggle between them. Also, I have not seen any good alternative to OBS Studio which is feature-rich and easy to use.