Time To Read: 4 Mins
Linux Mint is one of the popular Linux distributions available. Basically, It is known for its stability and timely updates. The latest version released is the 21.1 codename Victoria. Let’s see how we can Download and Dual Boot Linux Mint with Windows 11.
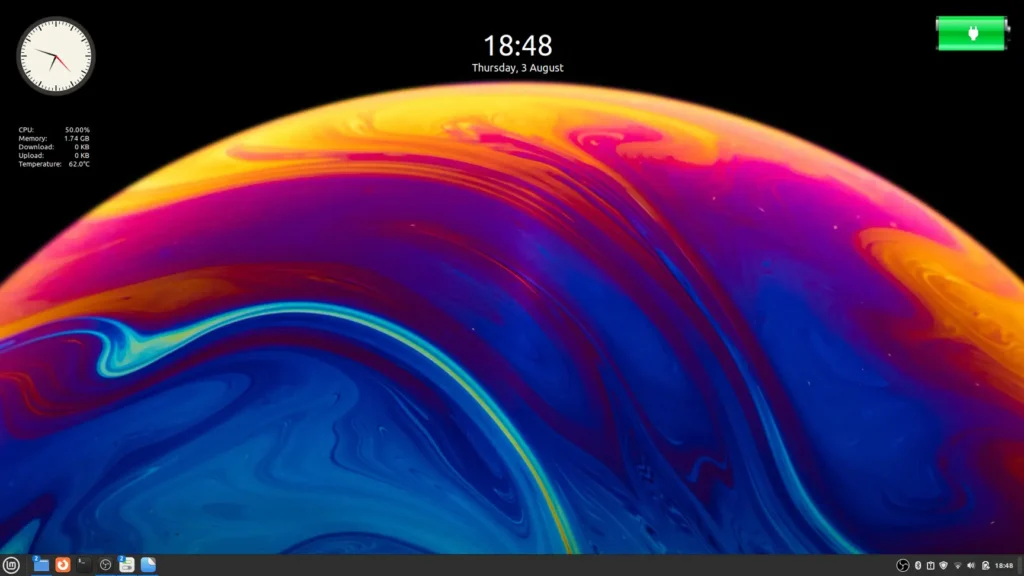
Requirements To Dual Boot Linux Mint
- Secure Boot Disabled
- 20GB or More Free Space
- 8GB USB
Getting Started
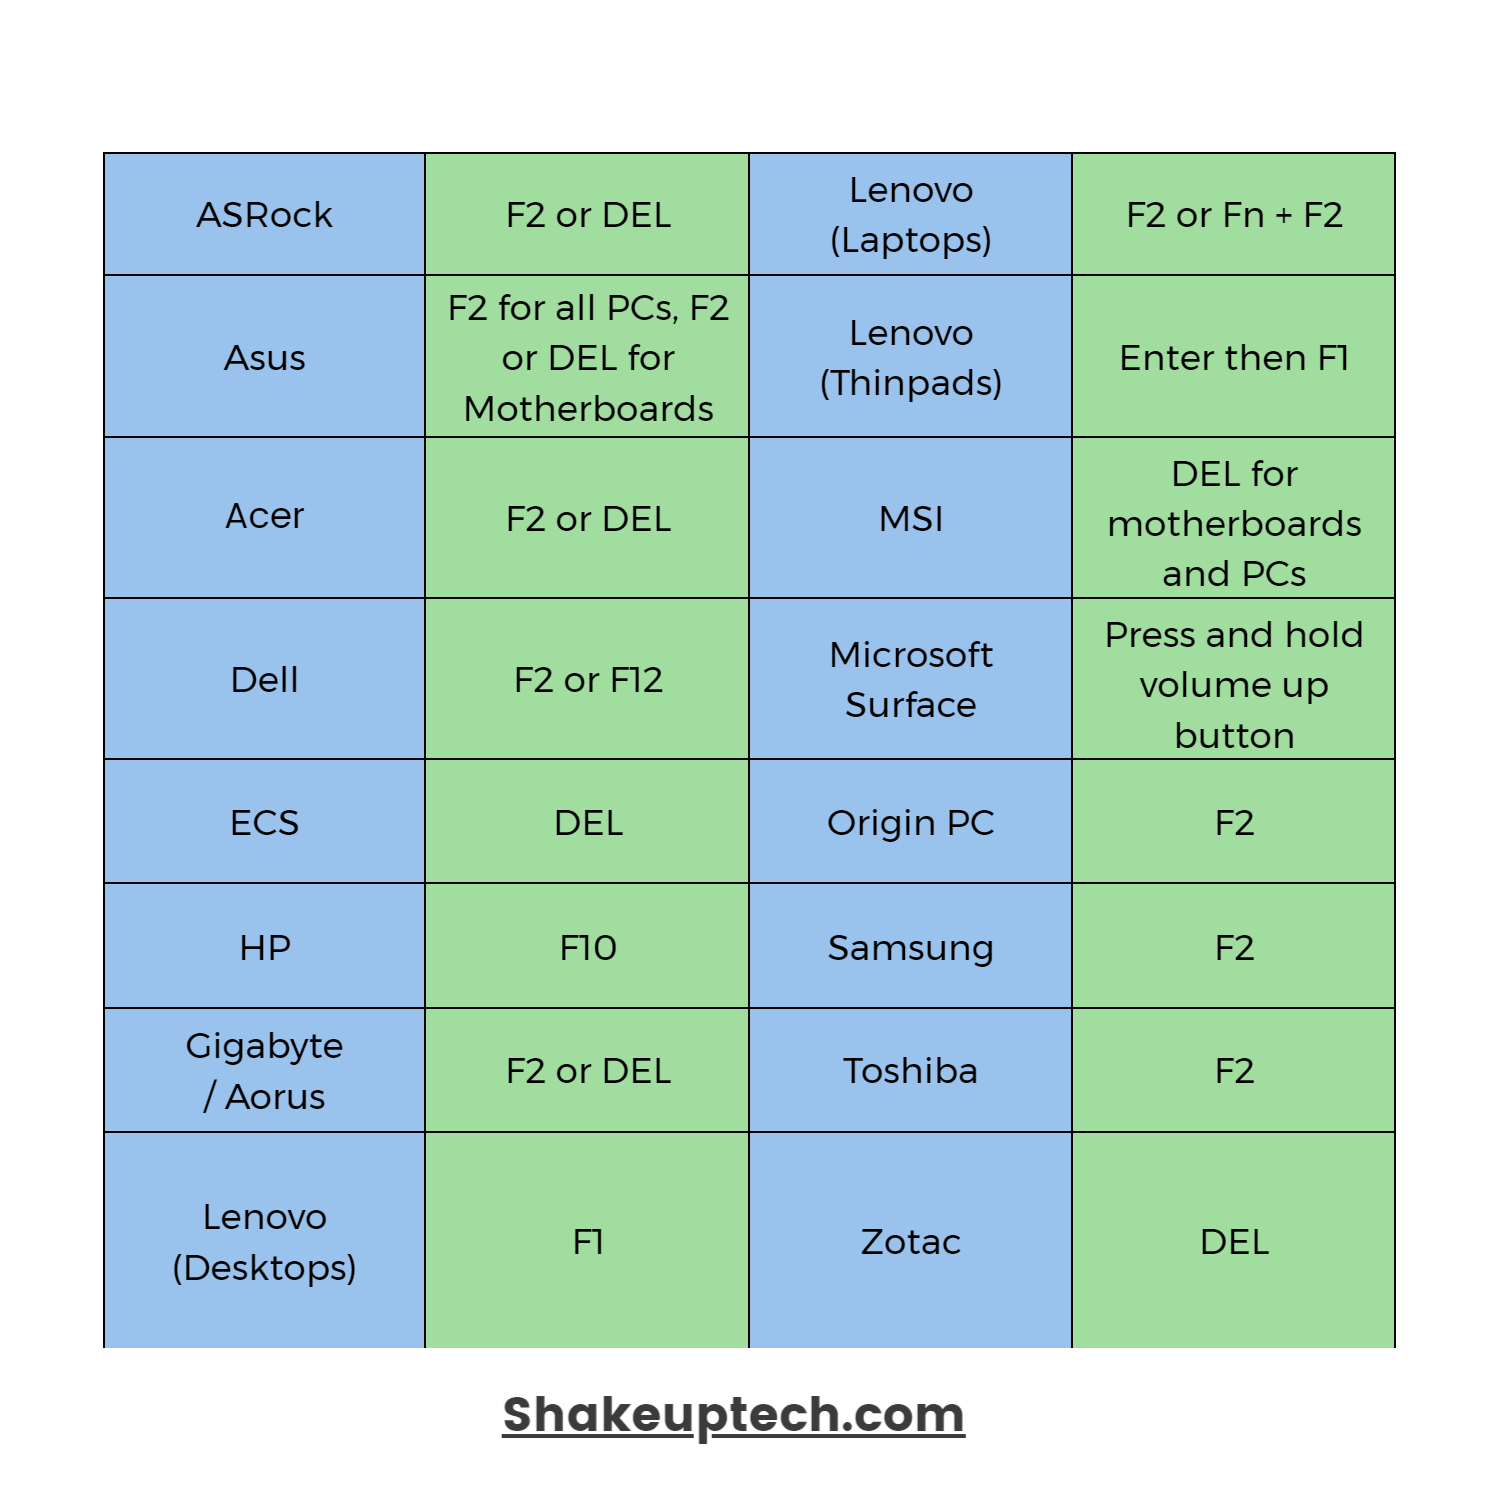
Before beginning, we need to make sure our secure boot is disabled from the BIOS menu of our system. For this, we need to power our system and then press the power button and the BIOS key (see image below) and enter the BIOS menu.
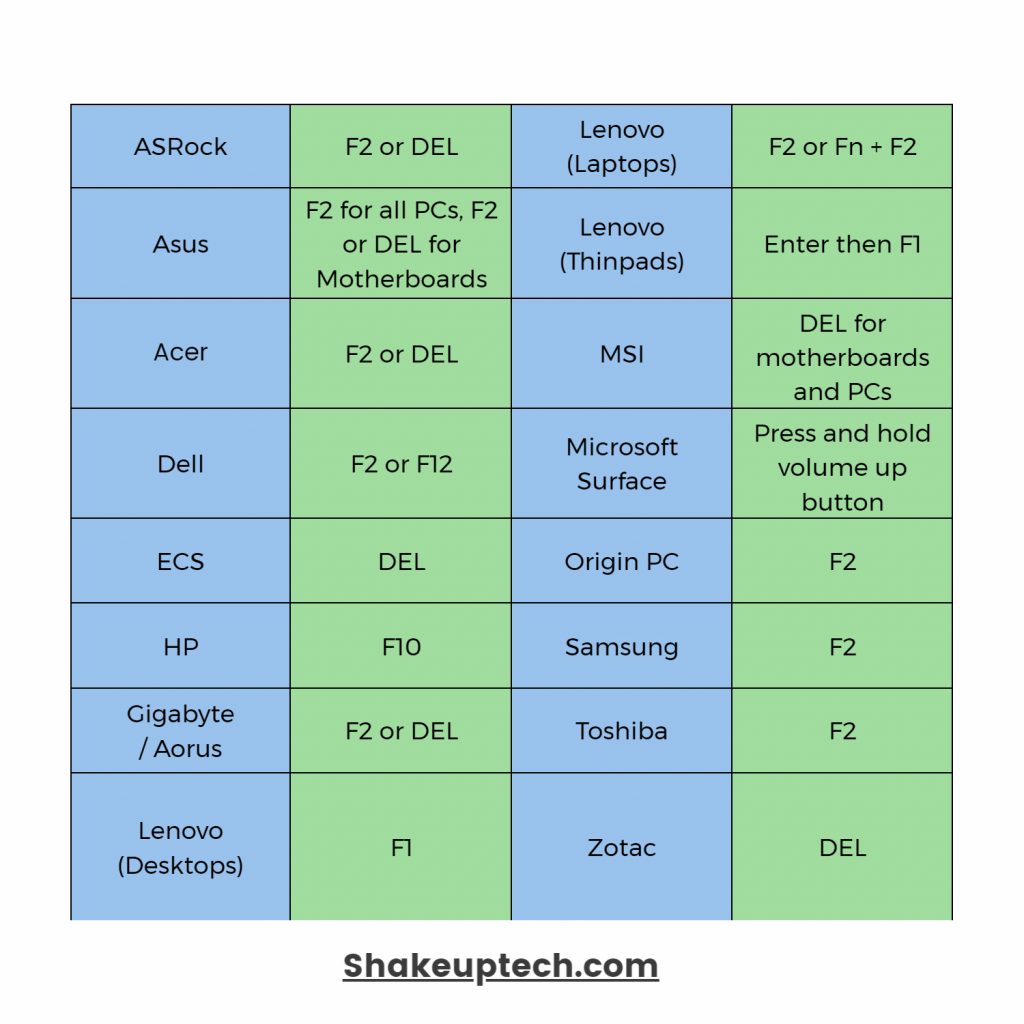
furthermore, we need to find the “secure boot” option which is usually under the boot or security tab, and turn it off. Additionally, if you have an older system, make sure to also disable the boot legacy option as well. Now save the settings and reboot the system.
Creating Partitions To Dual Boot Linux Mint
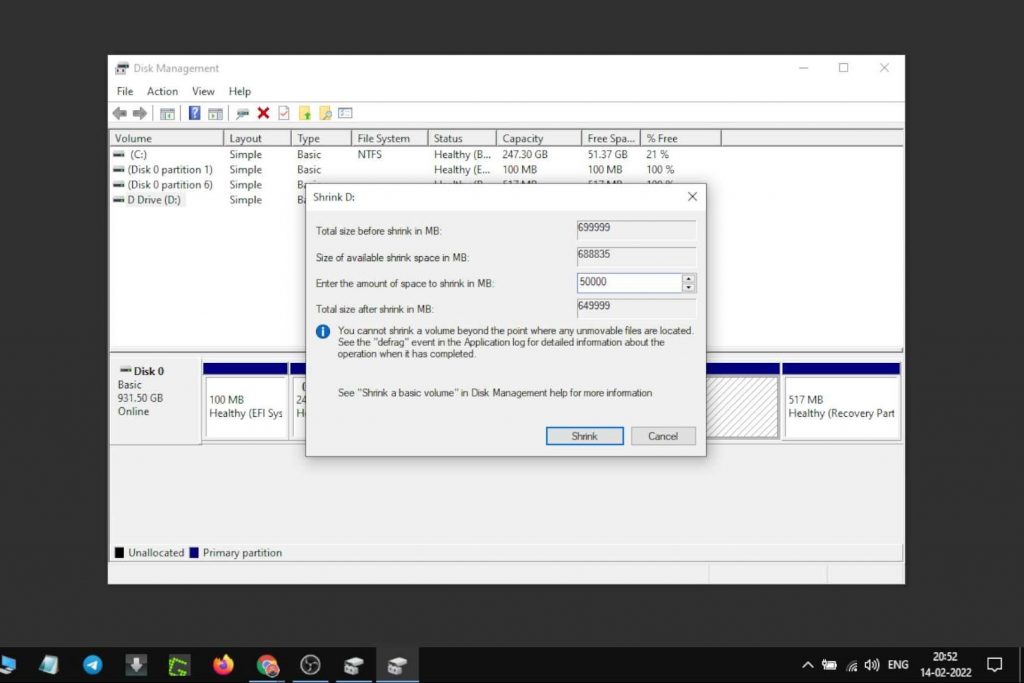
We need to create a separate partition on our drive to install and dual-boot Linux Mint. Right-click on the Windows button and open Disk Management. Here we will right-click on the D Drive and then select shrink. Now choose the desired size, above 20GB then create the partition. Additionally, right-click on Disk0, and under the volume tab, check your partition type as we will need this information later.
Downloads
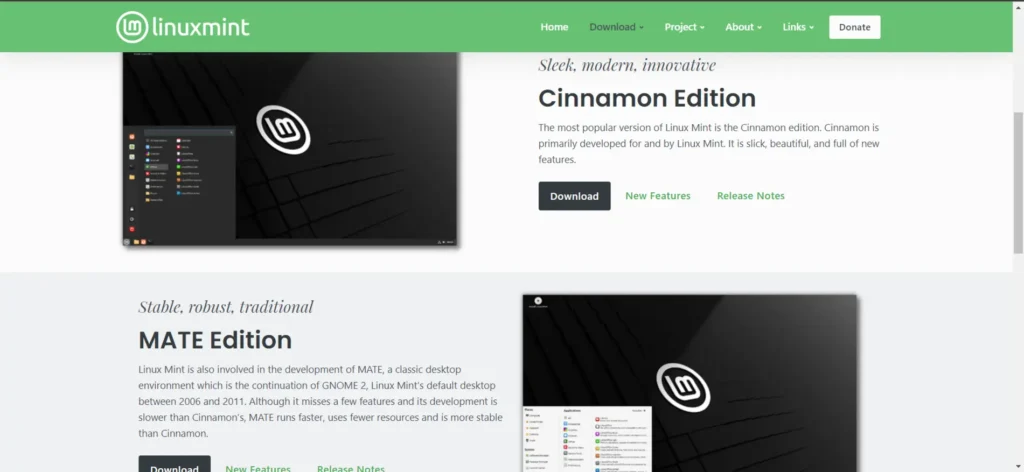
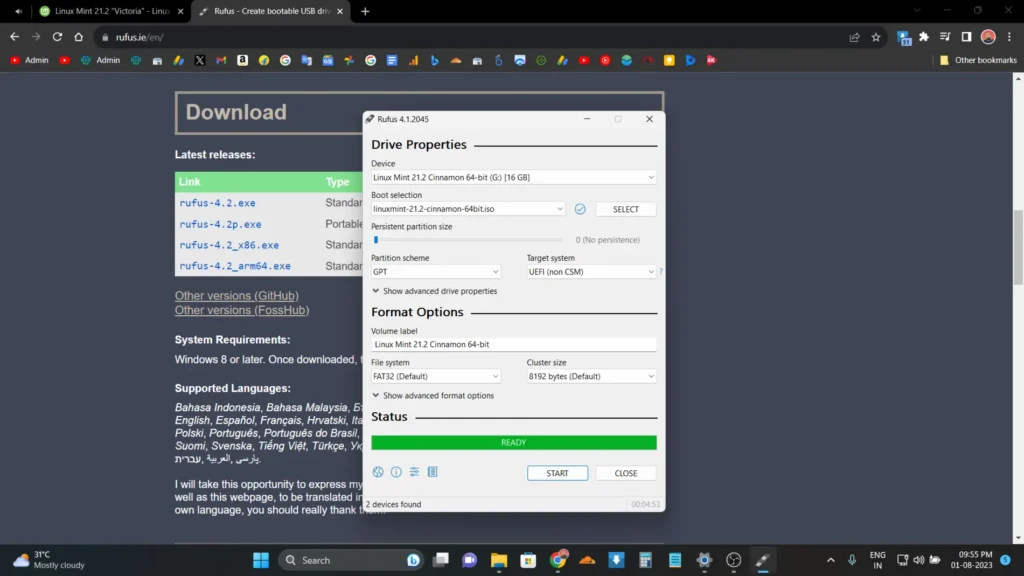
Now, we will download some files and for that, we will visit their official website and download the latest Linux Mint ISO image. There are three versions of Linux Mint from the Mian version to the lighter one. But we will download the Cinnamon Edition, which is the most popular one. Additionally, download the Rufus program, to create the bootable USB drive.
Linux Mint comes in 3 different flavors, each featuring a different desktop environment.
| Cinnamon | The most modern, innovative, and full-featured desktop |
| MATE | A more traditional, and faster desktop |
| Xfce | The most lightweight desktop |
(DOWNLOAD)
Bootable USB
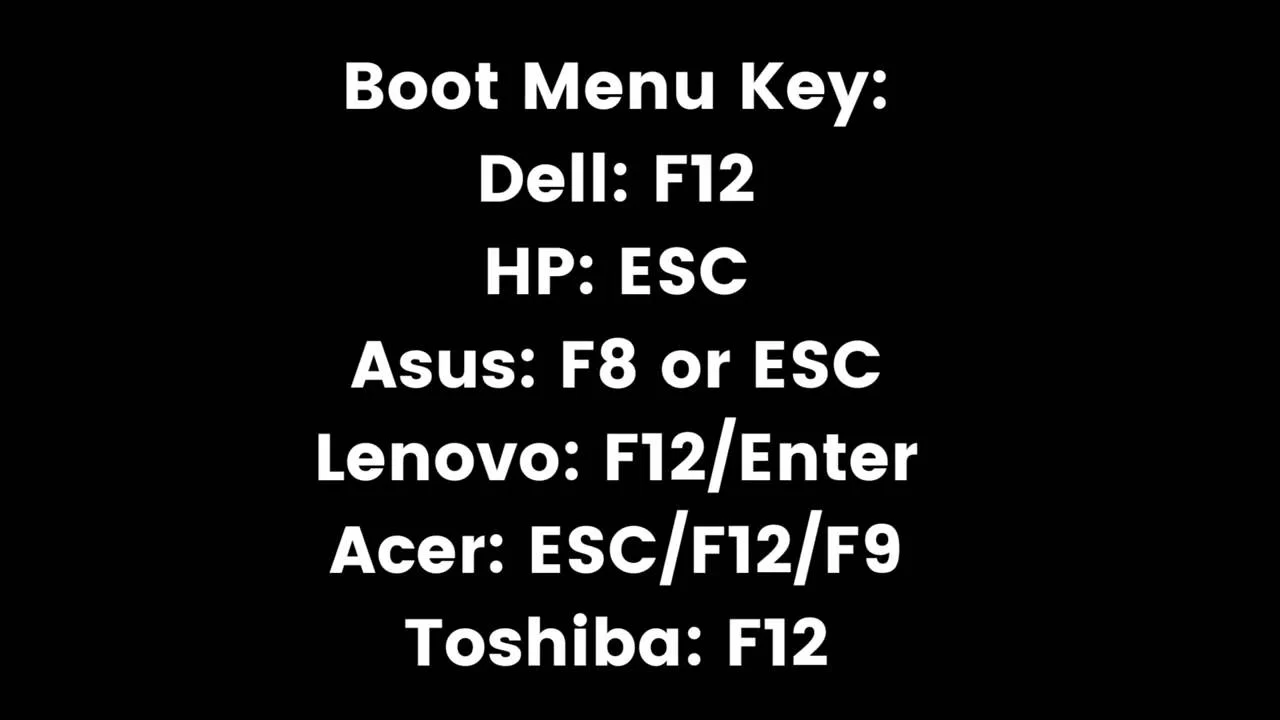
Open the Rufus program and choose your USB drive and select the downloaded ISO image of Linux Mint. Additionally, in the partition scheme choose GPT or MBR as you saw in the Disk Management. We can now begin the process to create the bootable USB drive. However, you must remember that all your data on the USB drive will get formatted. The process will take a while and finally, we are ready to dual-boot Linux Mint and Windows. Now shut down our pc or laptop and press the power key and Boot key (see image below) together and enter the boot menu. Select your USB from the list of devices.
Installation
The installation will not start immediately but instead, we will be taken to the Live version. You can explore around and test things out before installing. Finally, to install we need to click on the Install Linux Mint icon and this will start the installer window. First, we need to select our language and connect to WiFi, which is optional but recommended. Now we have the option to install a codec for the media player, this is also optional.
Dual Boot Linux Mint
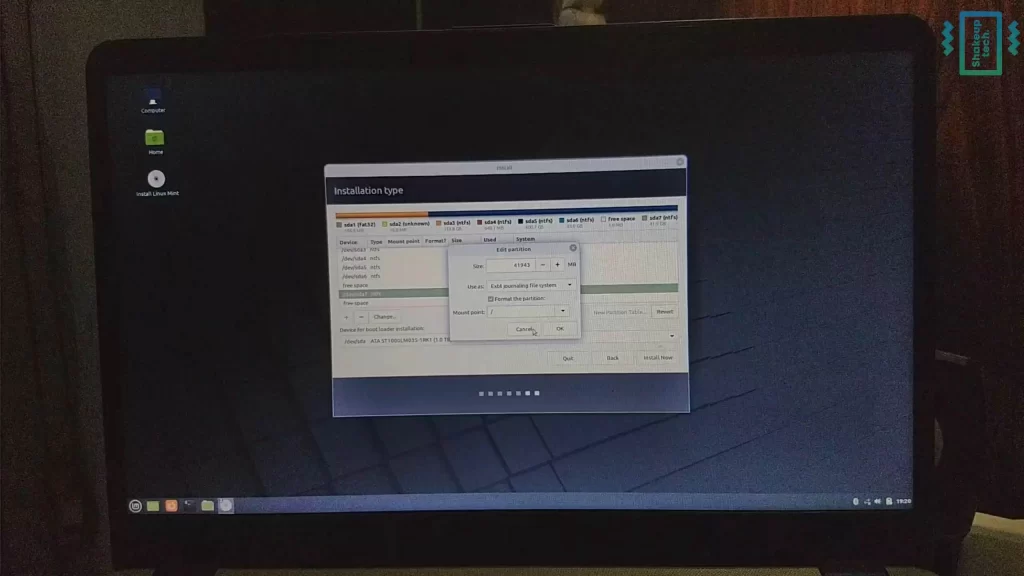
Now we have the option to install Linux Mint as primary or replace a partition. We need to select the Something Else option. It’ll load all the Partitions available. Locate your partition by its size, click on it, and select Change. Now select EXT4 Journal System and in the mount point select (/), which is the root. Also, make sure to tick the format partition option. Now we can proceed to install the Linux Mint. Accept the warnings and continue with the process. After we need to choose our time zone and then create a username and password. Then the installation will begin and it’ll take time.
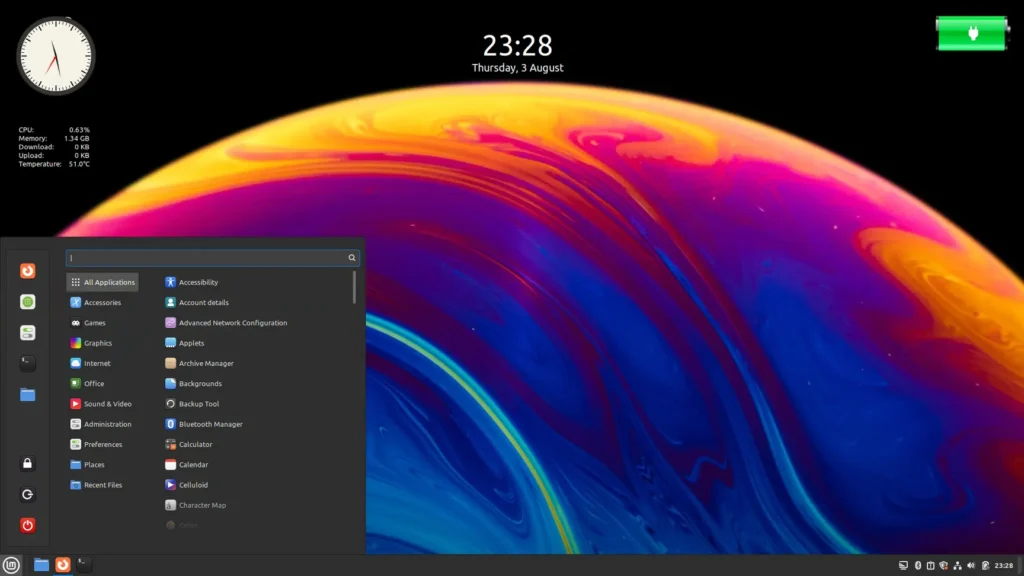
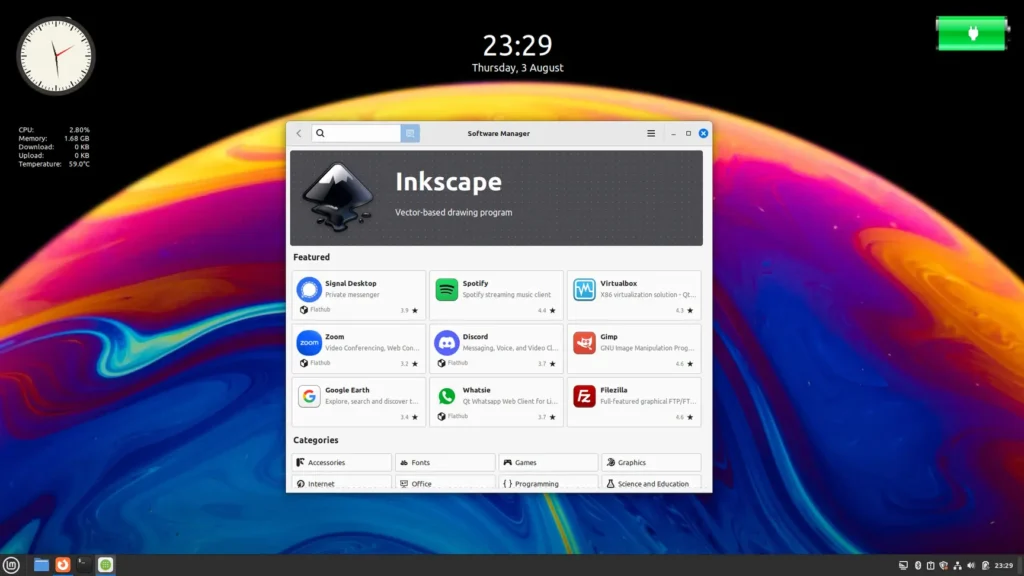
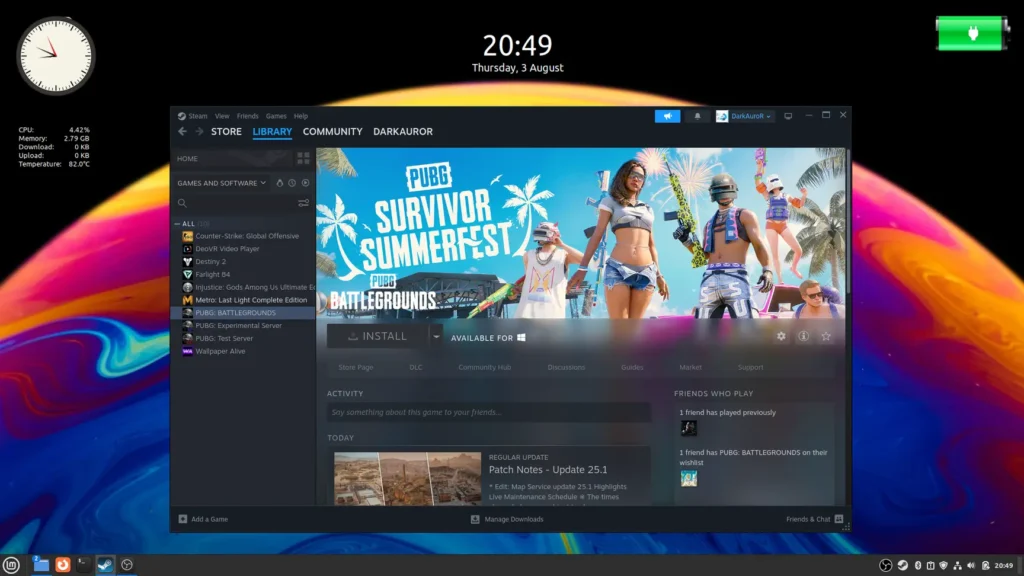
Linux Mint 21.2 Victoria
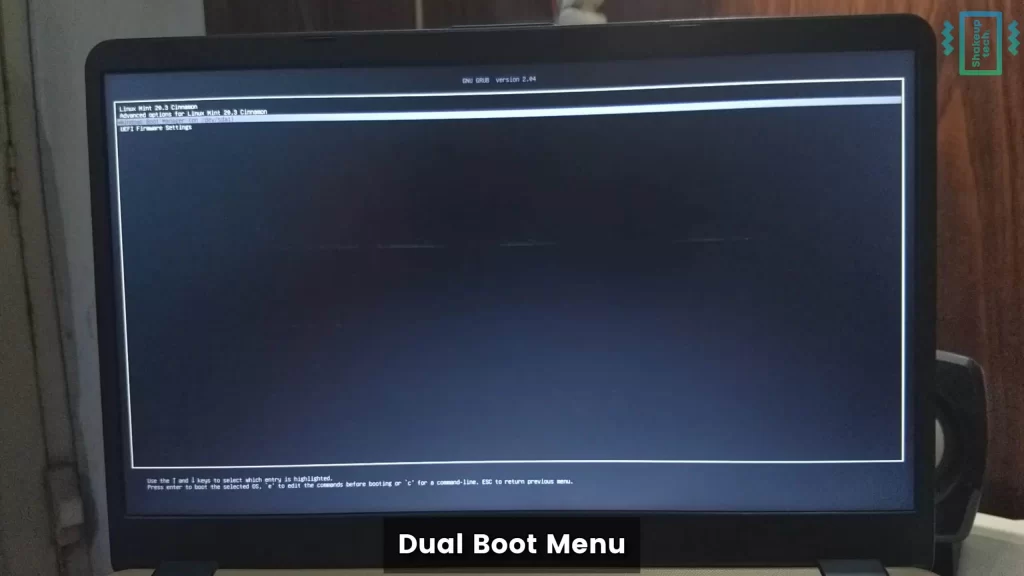
After the installation is done, it’ll ask to restart the system. When restarting we need to remove the USB drive and press enter. After a while, we can see the Dual Boot menu. From here we can choose between Linux Mint and Windows 11.

