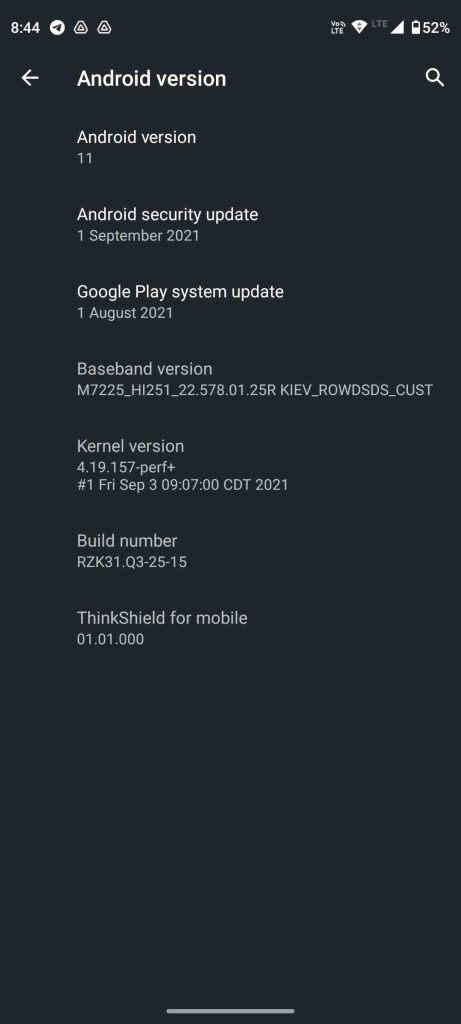
Moto G 5G custom ROM developer Syber Hexen has managed to get the updated firmware file. There’s a method to manually update the device through ADB sideload. We can do this through windows or Linux terminal window. Let’s see how to download and install the Moto G 5G Android 11 Update.
Download Update File
- Make sure to download and install latest android adb tools from this link. https://androidmtk.com/download-minimal-adb-and-fastboot-tool
- It’ll be a zip file. So we need to unzip it and then install the program.
- Once successfully installed there’ll be an adb folder under C drive of the computer. Right click and open terminal in this folder.
- Connect your device through cable to the computer.
- Go to About phone of your device settings and tap on the build number seven times.
- This will enable the developer options in the settings.
- Now from the developer options enable the USB debugging option.
- In the terminal windows type adb devices and you’ll see a prompt asking to allow adb debugging. Allow it and proceed.
- Download the Moto G 5G Android 11 Update zip file from this link.
- https://drive.google.com/file/d/1QYfJbpoC_opD0fvebscxVCPOJLfo02Q2/view?usp=drivesdk (RETIN)
Installing Moto G 5G Android 11 Update
- Copy and paste the file in the adb folder. Now in the terminal type adb reboot recovery and your phone will show a screen with no command. Hold Power button and click the volume up button. You’ll be in the recovery of the device.
- Here select apply update from adb and you will see a black screen with texts at the bottom.
- In the terminal type adb sideload update.zip and the update should start applying.
- You’ll see the progress in the terminal and on the phone as well.
- The process will take some time so have patience. After it’s done the phone will not reboot itself.
- You can either type adb reboot or in the phone select reboot system.
- Once the device reboots after awhile you’ll be booted into Android 11 update.


Read How to Unlock Bootloader and Flash Custom ROM on Moto G 5G!


