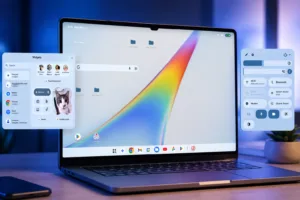
For users of Chrome OS or Chrome OS Flex seeking the benefits of Windows 10, the prospect might seem challenging. Fear not! In this comprehensive guide, we will explore the step-by-step process of installing Windows 10 on your Chrome OS or Chrome OS Flex using a virtual machine. Let’s embark on this journey without further delay.
Requirements For Installing Windows 10 on Chrome OS
Before diving into the installation process, ensure you meet the following prerequisites:
- Good Enough Processor:
- Featuring at least an Intel i3, i5, or i7 processor.
- Ideally equipped with 8GB RAM and 64GB storage.
- Windows 10 or Windows 7 ISO Image:
- Download a fresh copy of Windows 10 for free here.
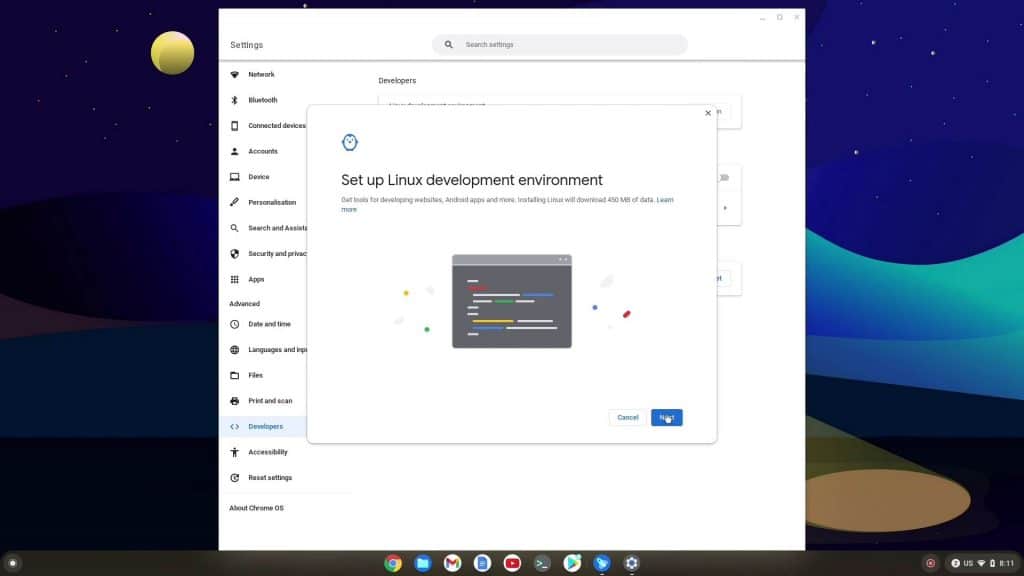
- Linux Support on Your Chrome OS or Chrome OS Flex:
- Check for Linux support in Settings > Developer options > Linux > Turn on.
Installation Steps For Windows 10 on Chrome OS
Step 1: Set Up Linux on Your Chrome OS or Chrome OS Flex
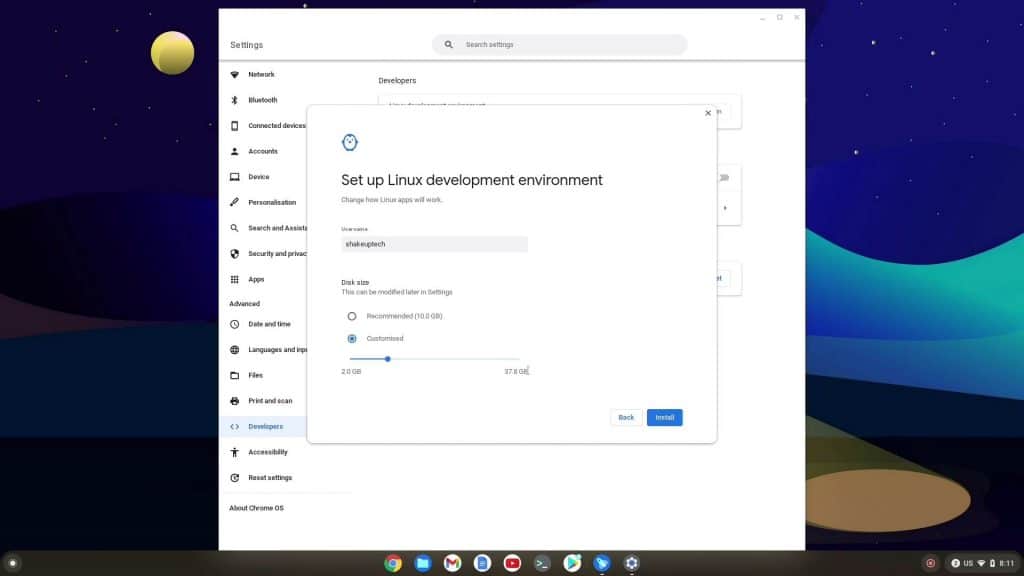
Before diving into the Windows 10 virtualization process, ensure your Linux setup has sufficient disk space, a crucial element for running Windows 10 seamlessly. Allocate at least 25-35GB of storage to Linux. Adjust disk size from Settings -> Linux -> Linux -> Disk Size.
Step 2: Move the Windows ISO Image
Ensure the Windows installation image is accessible within the Linux environment for a smooth setup process. Transfer the Windows 10 or Windows 7 ISO image to the Linux section of the Files app.
Open the Linux Terminal and run the following commands:
sudo apt-get update && sudo apt-get upgrade -yStep 3: Install Virtual Machine Manager
Install Virtual Machine Manager using the command:
sudo apt install qemu-kvm libvirt-clients libvirt-daemon-system bridge-utils virtinst libvirt-daemon virt-manager -yStep 5: Open Virtual Machine Manager
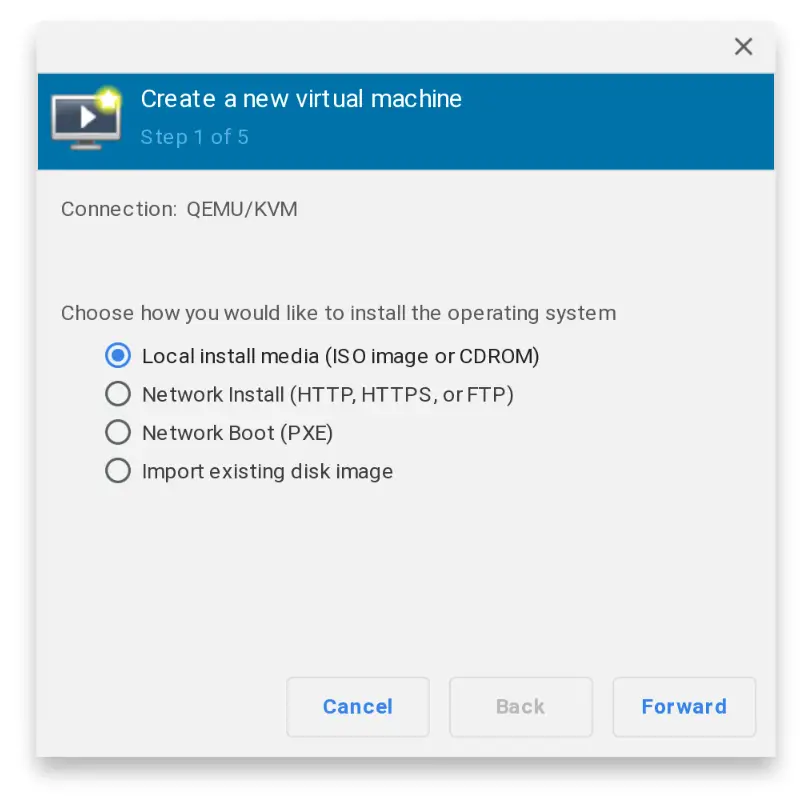
Launch “Virtual Machine Manager” from the Linux apps folder to initiate the creation and management of your Windows 10 virtual machine. Click on “Create New Virtual Machine.”
Step 6: Set Up a Virtual Machine for Windows 10
Now we will configure the virtual machine parameters that are crucial for optimizing Windows 10 performance within the Chrome OS environment.
- Choose “Local install media” and click “Forward.”
- Browse and select the Windows ISO image.
- Adjust memory, CPU cores, and storage size.
- Click “Finish” and activate the Virtual Network when prompted.
Running Windows 10 on Chrome OS or Chrome OS Flex
- Within seconds, Windows 10 will boot inside the Virtual Machine (VM).
- Proceed with the installation as you would on a regular Windows system.
- Adjust the resolution to match your laptop’s resolution.
- For a full-screen operation, click the “full-screen” button at the top-right corner.
Enjoy the seamless integration of Windows 10 within your Chrome OS or Chrome OS Flex, with full internet connectivity and sound functionality.
Managing Windows 10 on Chrome OS or Chrome OS Flex
- To shut down the Windows VM, click “Shut Down” or force close through Virtual Machine Manager.
- To restart Windows 10 on your Chrome OS or Chrome OS Flex, open Virtual Machine Manager, click “Open,” and then select “Run.”
Deleting Windows 10 from Chrome OS or Chrome OS Flex
If you decide to part ways with Windows 10 on your Chrome OS or Chrome OS Flex, the deletion process is straightforward and won’t impact your overall system.
- Shut down the VM and open Virtual Machine Manager.
- Right-click on the VM and select “Delete” to free up storage. This won’t affect your Chrome OS or Chrome OS Flex data.
Conclusion
Congratulations! You’ve successfully installed and run Windows 10 on your Chrome OS or Chrome OS Flex using a virtual machine. Enjoy the seamless integration of two operating systems, and feel free to manage, restart, or remove Windows as needed. Now you have the flexibility to choose between Chrome OS and Windows 10 on your Chrome OS or Chrome OS Flex.