Android 13 Final Beta is out for Google Pixel devices. It is codenamed Tiramisu, which is an Italian Desert name. Maybe Google decided to use the desert names again for its new Android versions. In this post, I will show you how to download and install Android 13 GSI on your smartphone. But since the ROM is a GSI ported from Pixel devices. We cannot expect it to run as well as it does on Pixel devices.
Android 13 GSI Download and Install
Requirements
- Bootloader Unlocked
- Project Treble Ready
- A/B systemless updates supported
- 40% Storage space Available
- ARM64 System
What is GSI?
According to the official Android website, A generic system image (GSI) is a system image with adjusted configurations for Android devices. It’s considered a pure Android implementation with unmodified Android Open Source Project (AOSP) code that any Android device running Android 9 or higher can run successfully.
How To Download Android 13 GSI?
We will be using Android 13 GSI made by NipponGSI. Visit and download Android 13 GSI to install on our smartphone. You can either choose Pixel 4A, Pixel 5 or Pixel 6, whichever works. If either of them does not work then you can comment below or contact me on social media. Also, we need to remember that GSI is not guaranteed to boot on every device.
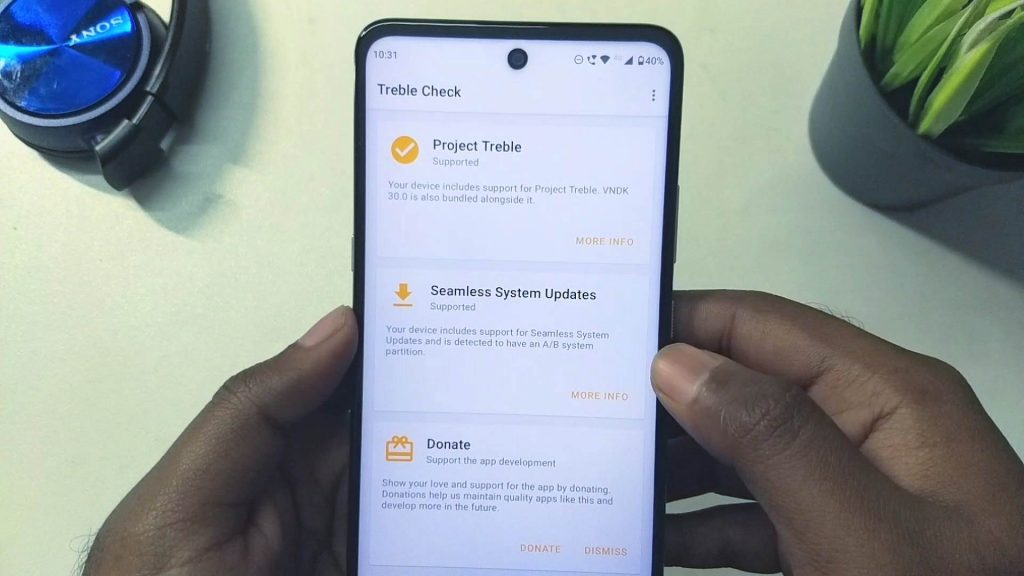
In this tutorial, I am installing Android 13 GSI on my Moto G 5G or Motorola One 5G Ace device. You can check your device compatibility for Project Treble and A/B system with an app called Treble Check.
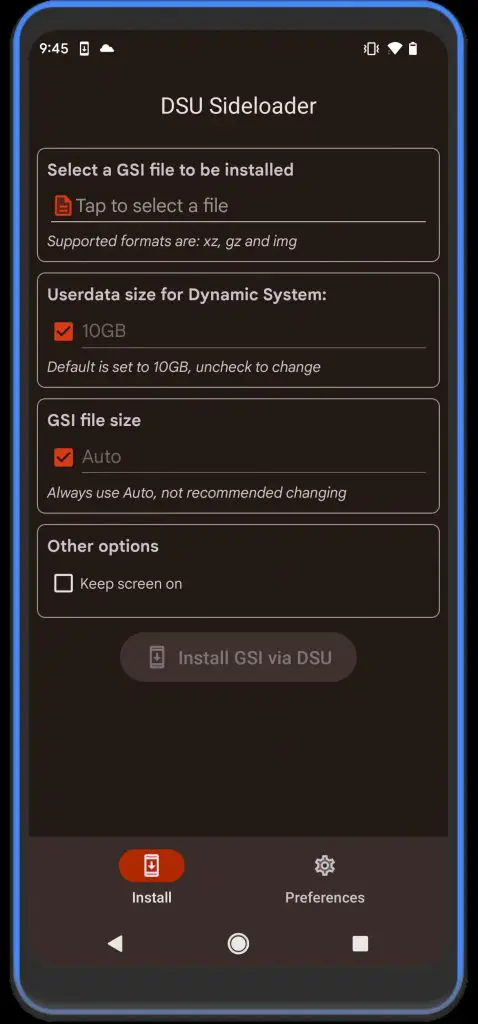
DSU Sideloader App
Now to finally install the Android 13 GSI on our phone we will be using an app called DSU Sideloader. It is a fairly new app and has made installing GSI easier than ever. If you have Root you can easily install GSI without a PC. But even if you are not Rooted, we can still use the ADB method to install the GSI.
I am going to use the ADB method because most of us are not rooted I guess. After downloading the app, install and then launch it. The app is quite beautifully designed, taking inspiration from Android 12 Material You.
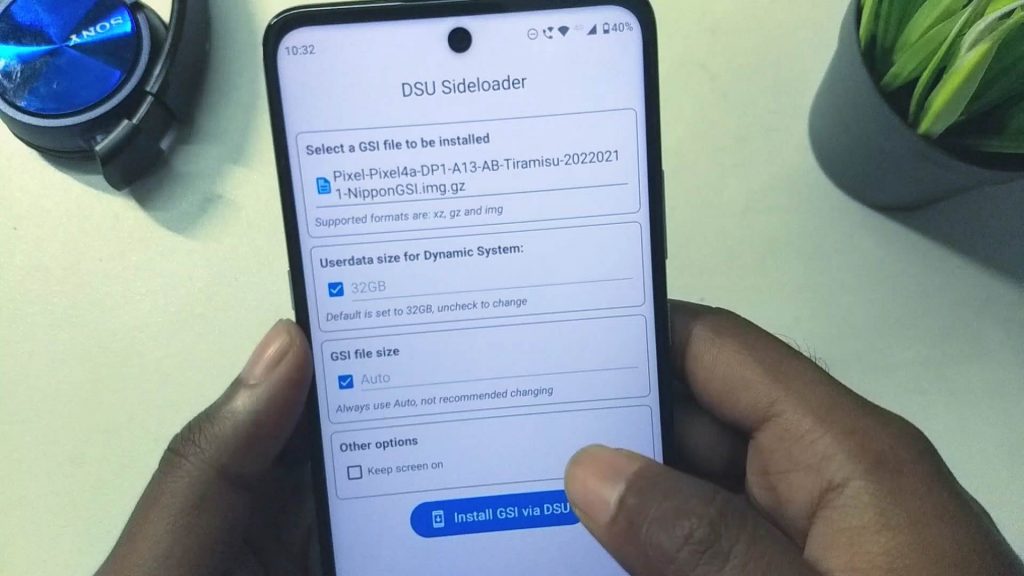
We need to create a new folder for our GSI partition. Make sure the folder name does not have any spaces. Then go to preferences and increase the user data size up to 32GB. By default, it is 2GB but I think it is a bit too low. Now restart the app after choosing the desired size.
Install Android 13 GSI
Now tap on the add image file and choose the Android 13 GSI that we downloaded earlier. This Is our first time installing GSI on our smartphone. But if you are already running a GSI, then discard that first.
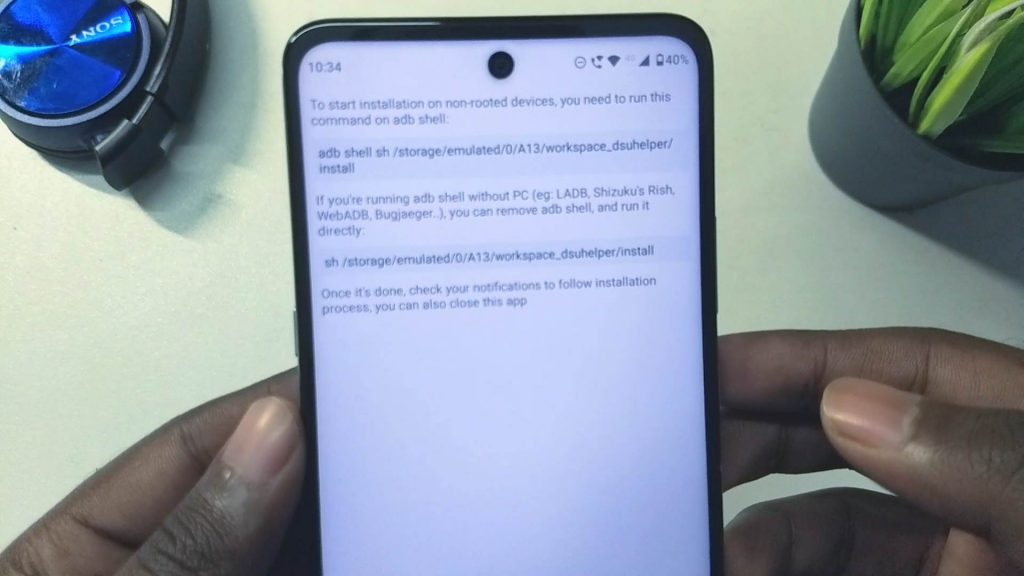
Now check the keep the screen on option and start installing the GSI. It will extract and then compress the file, which will take some time. After it is done extracting and verifying the file, it will give a pop-up to run commands in ADB. So we will now go to our laptop or PC for the next process.
Read Get Android 12 Material You on any Android Phone For FREE!
ADB Commands Install
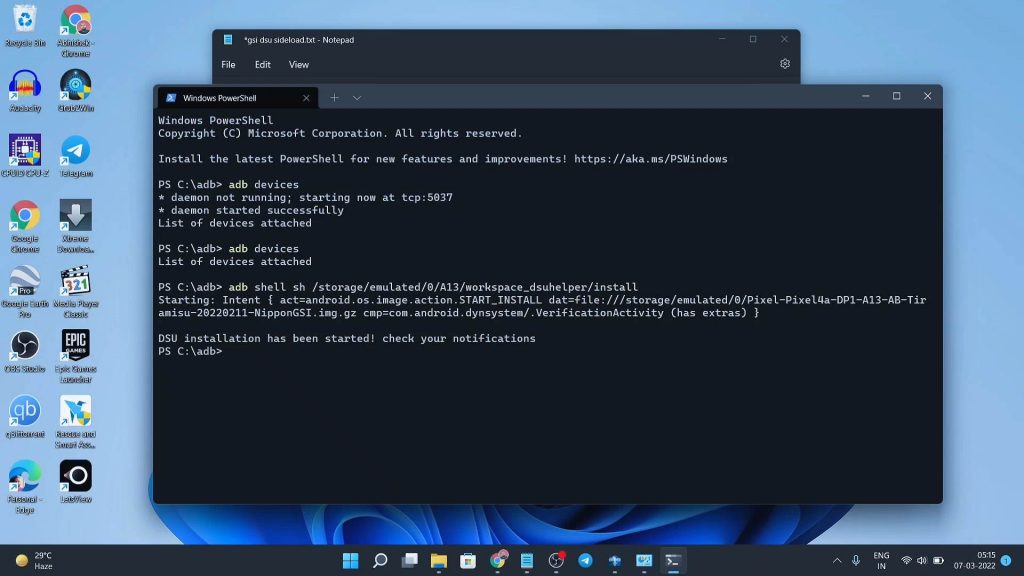
You must have ADB installed on your system. If not go to this website then download and install the 15 Second ADB installer. Then you will have an ADB folder in the C drive. Shift + Right-click and select open terminal here. Here we will type the ADB commands that we saw on our phones earlier.
Make sure you have ADB debugging enabled on your smartphone. Enable developer options by tapping on the build number seven times. Then go to the developer options and enable the ADB debugging option. Then connect your smartphone to the PC and there will be a pop-up asking for ADB debugging permission. Allow the access and then we are ready to run commands on our computer.
adb shell sh /storage/emulated/0/Your folder Name/workspace_dsuhelper/installYou will get a notification on the phone showing the progress of Android 13 GSI installation. it will take some time and then our GSI image will be ready to be booted into. Tap on the restart option and your phone will turn off and then boot into the latest Google Android 13 GSI.
Dual Boot Android 13 GSI
Remember it is like a Dual Boot set-up. So we can restart to go back and forth between stock ROM or GSI ROM. Also, our data on one ROM will affect the other. The side loader app has made it quite easy to dual boot different GSI on our smartphone. To stay on GSI even after reboot you can run this command in the ADB terminal. To disable this, simply replace enable with disable.
adb shell gsi_tool enableWireless Debugging Method – LADB
In this method, we can use an app from the Google Play Store called the Local ADB Shell to install the Android 13 GSI. This app can run the ADB commands right from our phones. But this app is paid but not expensive and totally worth the money.
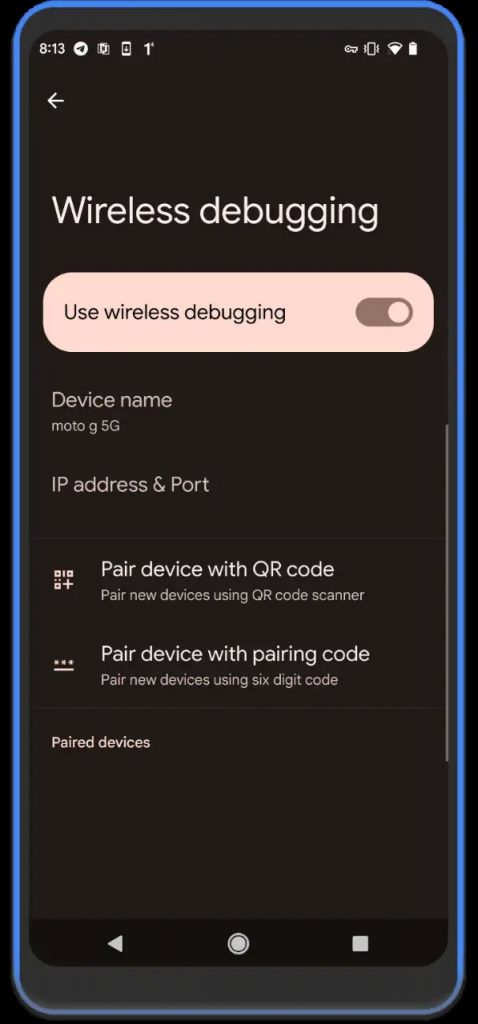
So for it to work we need to enable developer options on our smartphones. Go to the about phone and then tap seven times on the build number. In the Developer Options, enable wireless debugging.
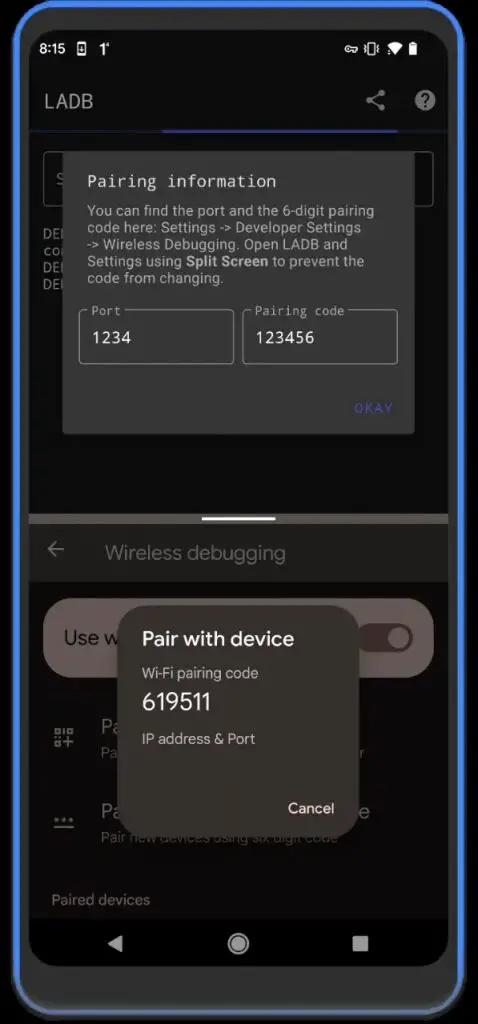
Open the LADB app and then switch to split screen. A split screen will make sure the pairing code doesn’t change. Now open, pair with pairing code in wireless debugging. type the pairing code in LADB and also the port number. The port number is the last five numbers after the semicolon of the IP address.
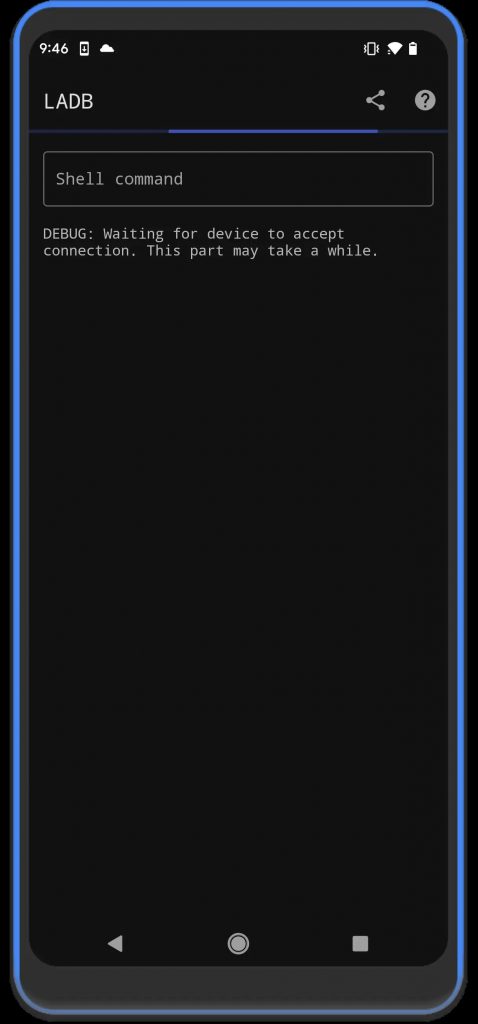
LADB will be paired successfully and now we can run the ADB commands on our phone. Copy and run the commands shown by the DSU side loader app, the second command starting with “sh”. This will start the installation of Android 13 GSi.
sh /storage/emulated/0/Your-folder-Name/workspace_dsuhelper/installDownload and Install Android 13 GSI
You can see that our phone is now similar to Google Pixel devices. We can set it up like normal Android devices. The Wi-Fi and Mobile data were working fine. For me, it restarted again after setting up for the first time. Then finally I could go to the home screen.
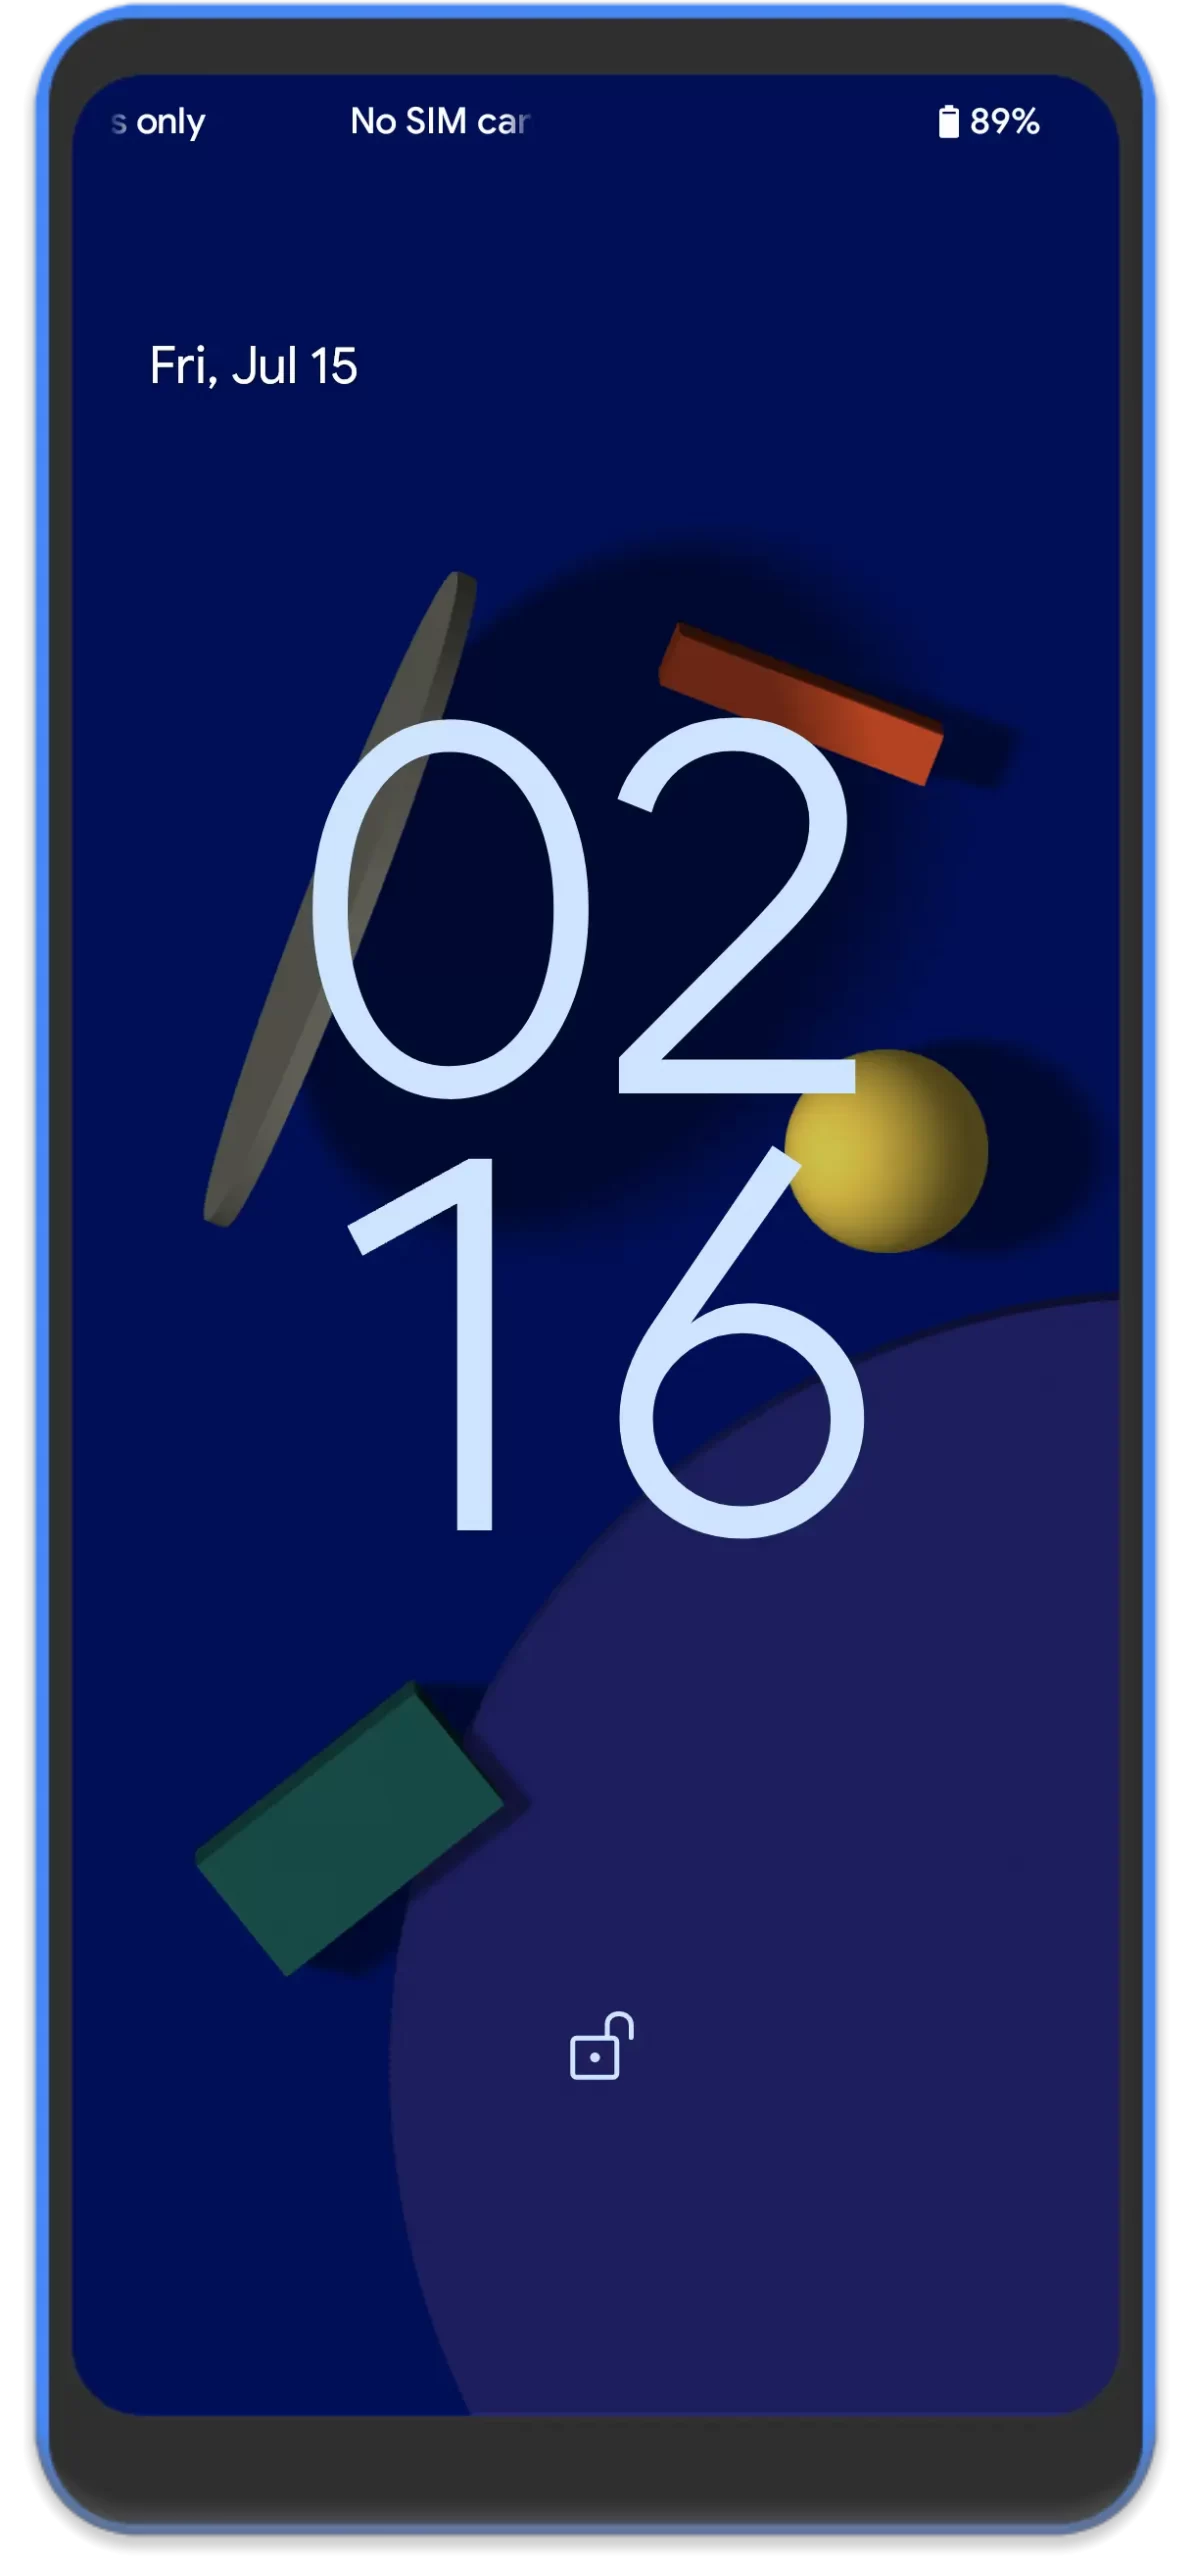
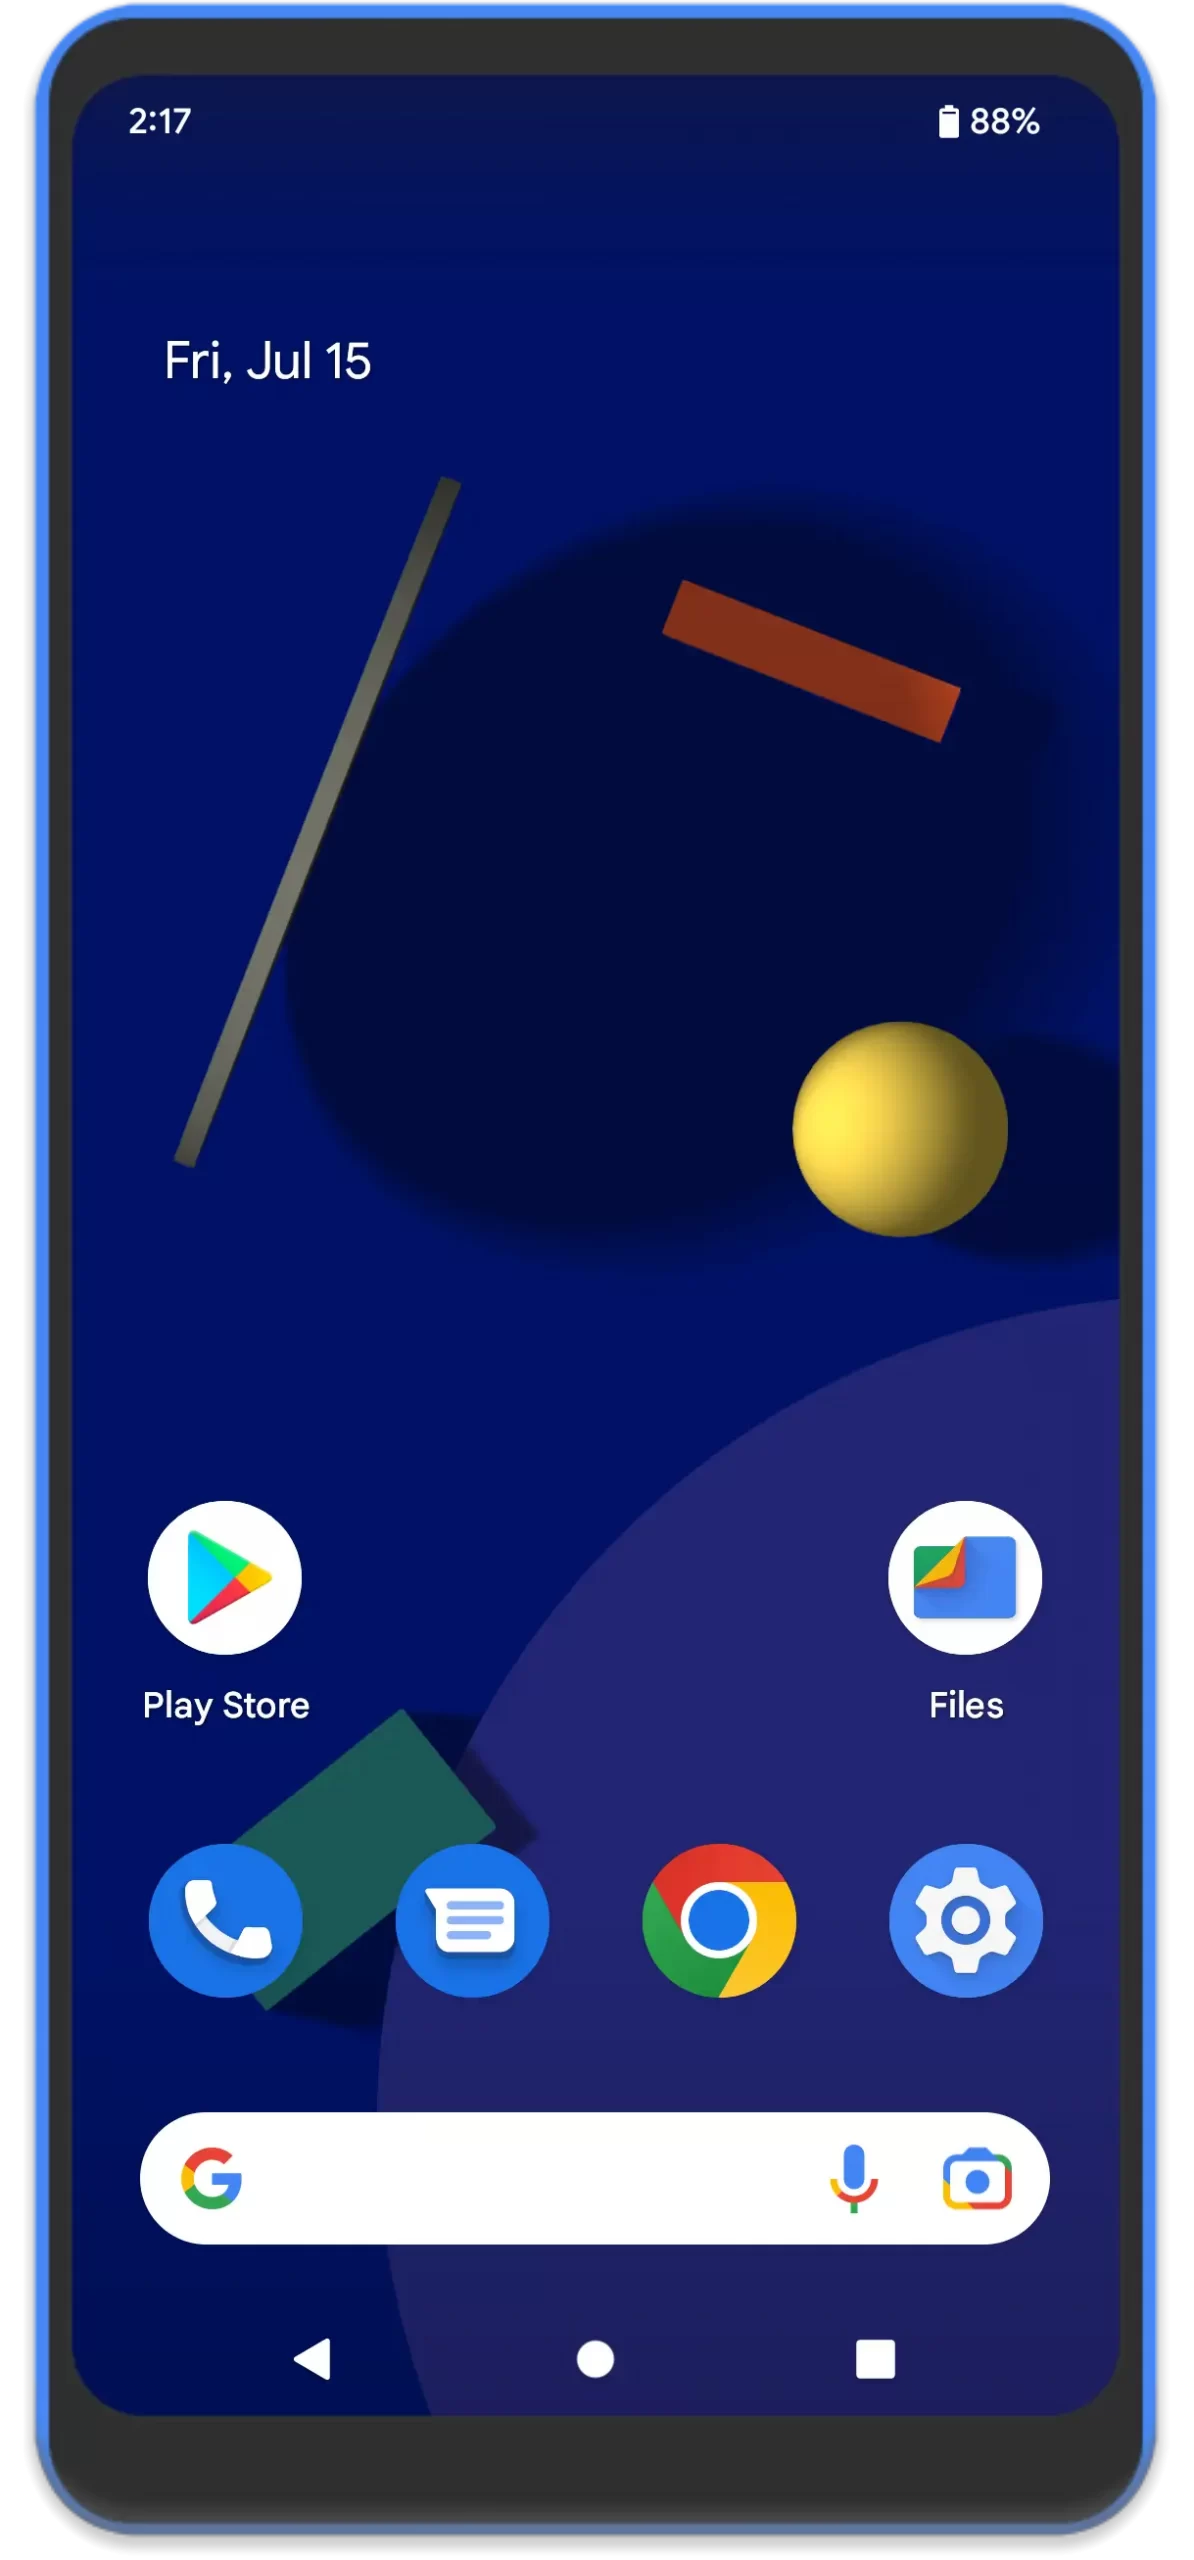
First impressions, it felt super smooth and brand new. Although it is very similar to Android 12, there are minor changes to some elements. on further updates can expect some major changes or maybe not.
Now coming to the cons of the Android 13 GSI. There is an issue with making calls using VoLTE on 4G networks. The calls work for 2G and 3G but for some reason do not work with VoLTE. The issue can be limited to only my region, i.e India.

These issues can be limited to my device only, so do try this on your smartphone yourself. There is no harm done to our phone or data so it is super safe as well. You can follow these steps to Download Android 13 GSI and install it on your phone in dual boot.


Thanks Works Perfectly! 😉
Good To Know! 🙂
Hey I installed Ported gsi pixel 4a 5g
Its boot without root .. When i root With latest magisk Its boot to lock screen then reboot to Power up logo Restart rendomly